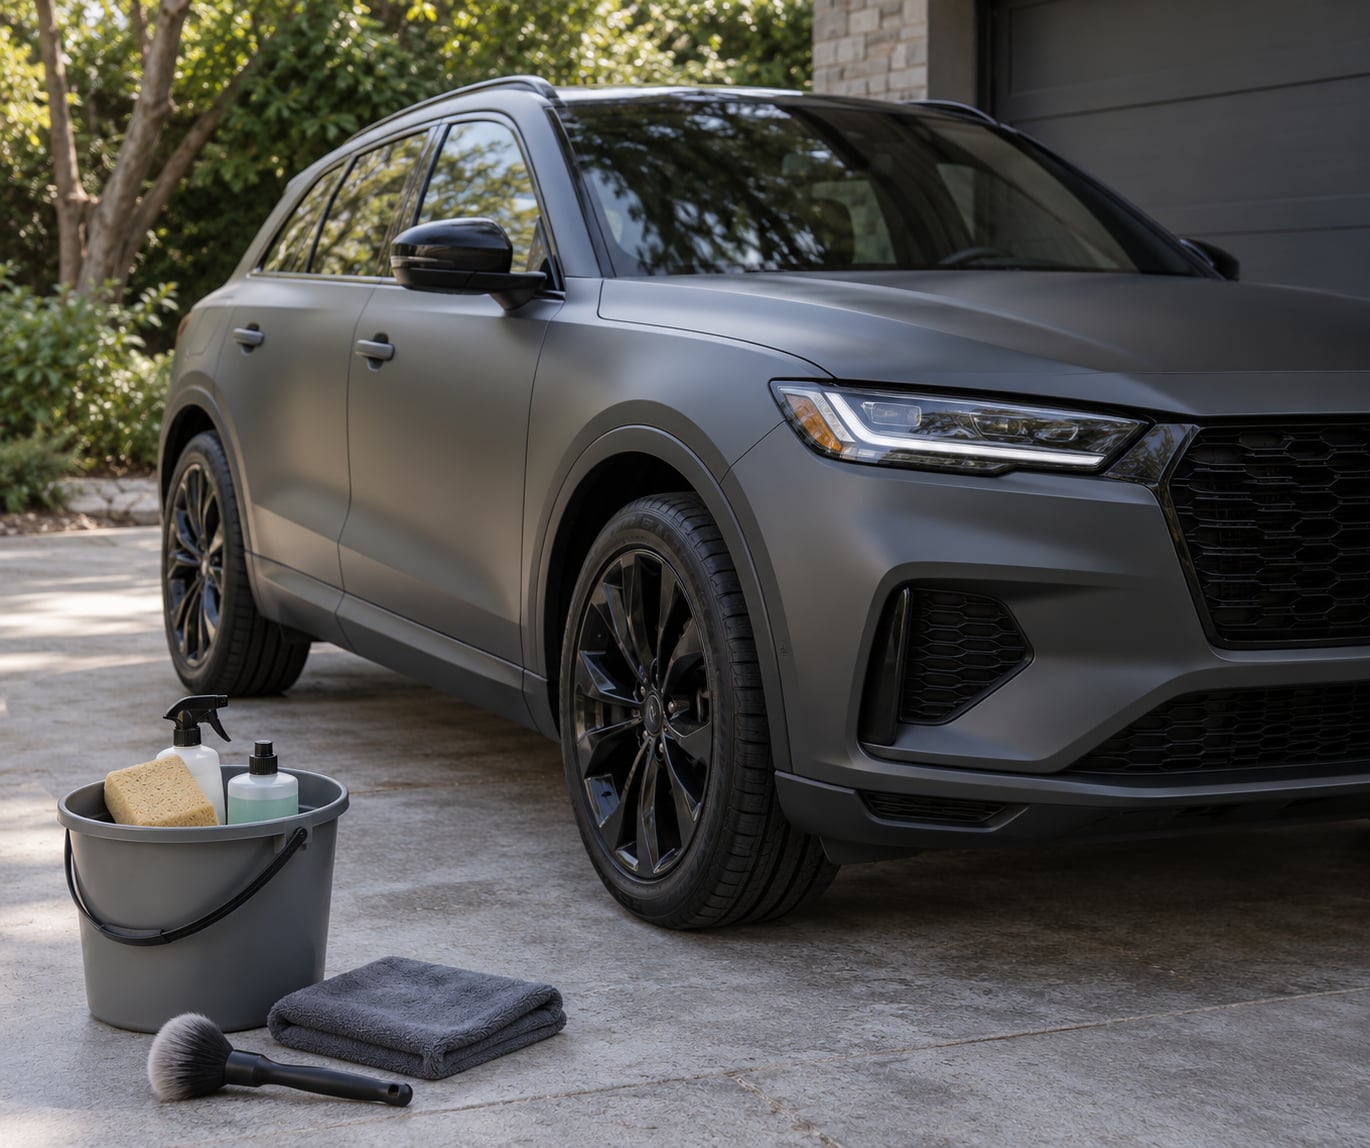
Learning how to maintain a vehicle wrap is mostly about restraint. Wash it by hand with a mild, pH-neutral automotive soap, dry it with clean microfiber, keep it out of brush car washes, and park it in the shade or under cover. That routine takes about twenty minutes a wash and, done consistently, keeps lettering bright and edges sealed for years.
It sounds simple because it is. The trouble starts when water sits on a hot panel, when a mitt drags grit across soft film, or when a lifted corner gets ignored for a month. Those three things are where wraps fade, peel and stain.
This guide covers the full routine for anyone running branded signage on a work van, a shop truck or a personal car: what supplies to keep on hand, the nine steps of a proper wash, and what to do when an edge lifts or a sap stain sets in.
Table of Contents
- What You Need
- How to Maintain a Vehicle Wrap Step by Step
- 1. Park the Vehicle in a Safe, Shaded Area
- 2. Check the Wrap for Damage Before Washing
- 3. Wash with a Wrap-Safe Product
- 4. Rinse Thoroughly and Dry Gently
- 5. How to Maintain a Vehicle Wrap Around Windows and Trim
- 6. Remove Bugs, Sap, and Road Grime Carefully
- 7. Use a Wrap-Safe Protection or Wax Product
- 8. Clean the Vehicle More Often When Needed
- 9. Have Lifting or Peeling Wraps Repaired Early
- Common Mistakes
- Frequently Asked Questions
- Conclusion
What You Need
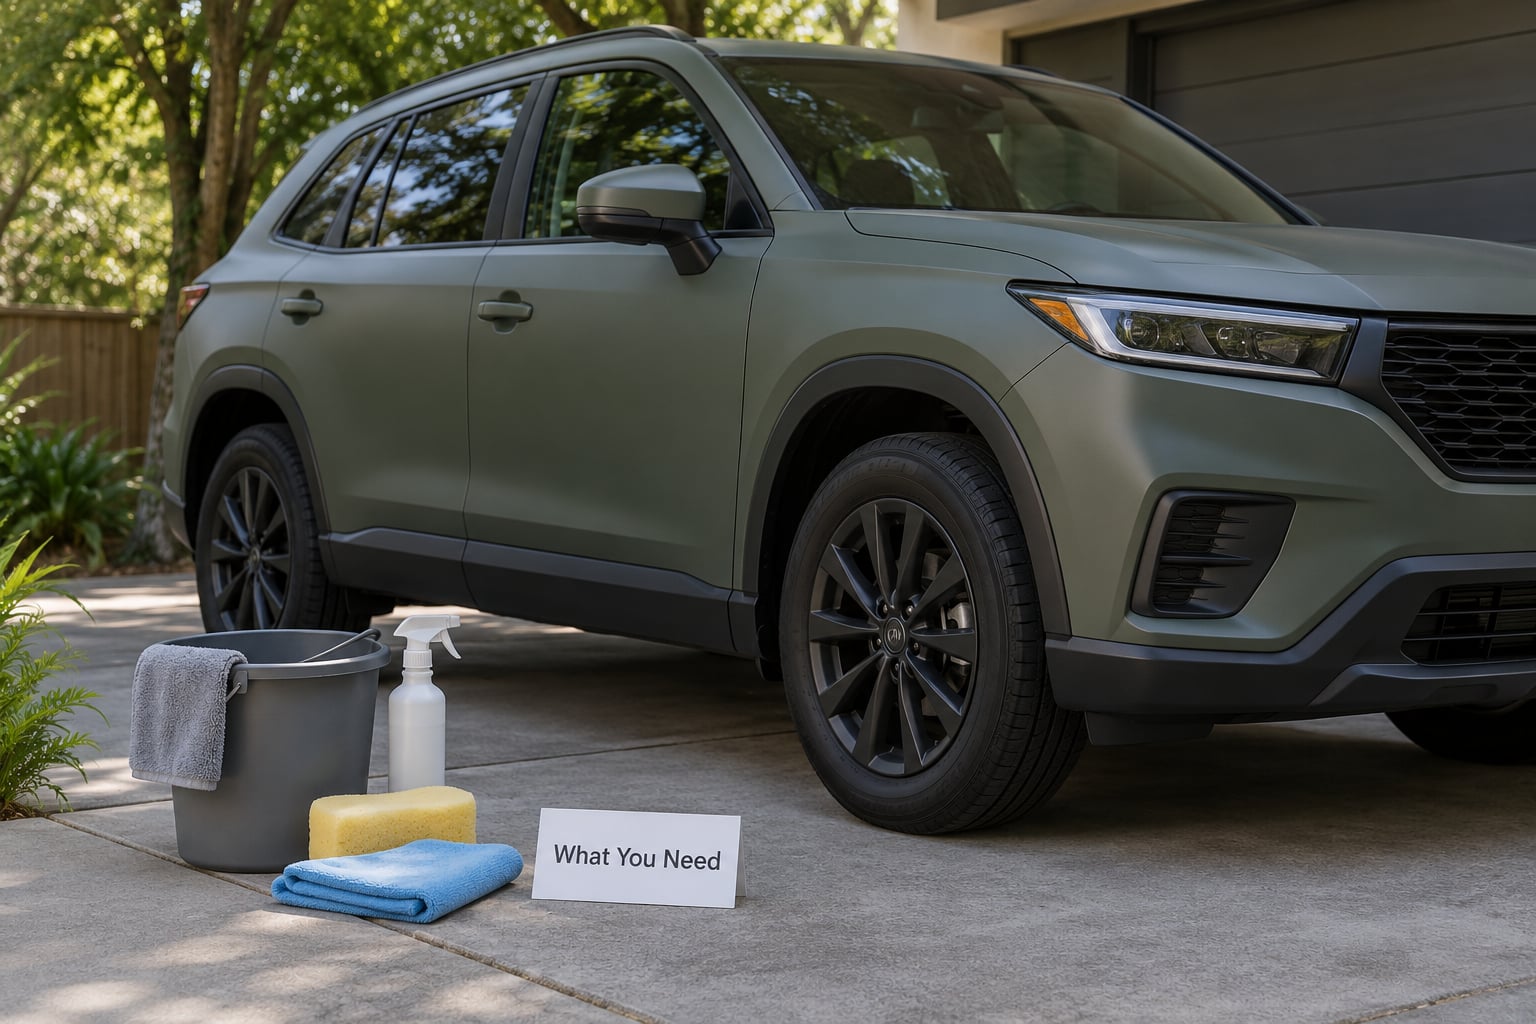
Gather these before you start. Most owners already own half of them.
- Wrap-safe wash soap. A pH-neutral automotive shampoo in the pH 3 to 11 range. Skip household dish soap, degreasers and anything citrus or vinegar-based.
- Dedicated wash mitts. One for the paint, one for the lower panels and wheels. Detailers on r/AutoDetailing stress that vinyl is soft and scratches fast, so keeping grit away from a single shared mitt matters.
- Two buckets and grit guards. The grit guard traps particles at the bottom of the bucket so they never return to the mitt. It is the cheapest upgrade in wrap care.
- Clean microfiber towels. Drying towels in the 1200 to 2000 GSM range soak up water without linting.
- Leaf blower or blower nozzle. Blow the water off before you towel it, so you are drying rather than rubbing.
- Wrap-safe protection. A spray sealant or matte-specific cleaner matched to your finish. Gloss, satin and matte films do not take the same products.
- Soft detailing brush or squeegee. For window edges and trim channels.
- A clean car cover if the vehicle sleeps outdoors.
- A folder of wrap records. Install date, installer contact, film brand and warranty paperwork. Business owners should also photograph the vehicle in good light for insurance and inspection files.
How to Maintain a Vehicle Wrap Step by Step
Consistent gentle care prevents five specific failures: lifting edges, sun fade, peeling seams, dirt ground into the topcoat, and frayed panel borders. Work through the nine steps below in order and the whole job takes half an hour.
1. Park the Vehicle in a Safe, Shaded Area
Start in the shade or in a garage, and never wash a hot panel. Water evaporates too fast on warm vinyl and leaves mineral spots, and warm film and adhesive are more likely to take on a stretch or a crease.
If the vehicle has been sitting in direct sun, let it cool for at least twenty minutes before you bring out the hose. Overcast days work well; bright, still mornings are the worst option.
2. Check the Wrap for Damage Before Washing
Walk the panels before you bring out the hose. Look at seams, corners, the bottom of doors and the front and rear bumpers, where wrap edges take the most abuse.
You are looking for a lifted corner, a bubble that has grown, a scratch through the film, or a section that feels loose when you press it gently with a thumb. Note the location so you can avoid directing water at it and check again after drying.
Never press on a bubble to pop it. That sends adhesive out from under the film and can leave a permanent crease.
3. Wash with a Wrap-Safe Product
Rinse the whole vehicle first with plain water to knock off grit, then mix your wrap-safe soap in a bucket according to the label.
- Rinse top to bottom, from the roofline down.
- Work the mitt in straight, overlapping strokes with light pressure. Circles grind dirt into the film.
- Keep the mitt in the grit-guarded soap bucket, and rinse it before each pass.
- Change buckets or refresh the grit guards when the water turns grey.
- Pay attention to edges, seams and trim gaps, but do not force the mitt into gaps.
Avoid pressure from garden hoses, stiff brushes, automatic car washes with spinning bristles, and any cleaner not rated for vinyl. Also skip wax options at the pay station, since many contain petroleum distillates.
4. Rinse Thoroughly and Dry Gently
Rinse from the top down again so dirty water runs over clean film rather than across it. Any grit left behind becomes a sanding compound the moment you rub it with a towel.
Blow off the water with a leaf blower on low, then pat the panels dry with a clean microfiber towel. Lay the towel against the panel instead of sliding it, and turn to a clean section for every panel. Water spots on matte film are far easier to prevent than to remove.
5. How to Maintain a Vehicle Wrap Around Windows and Trim
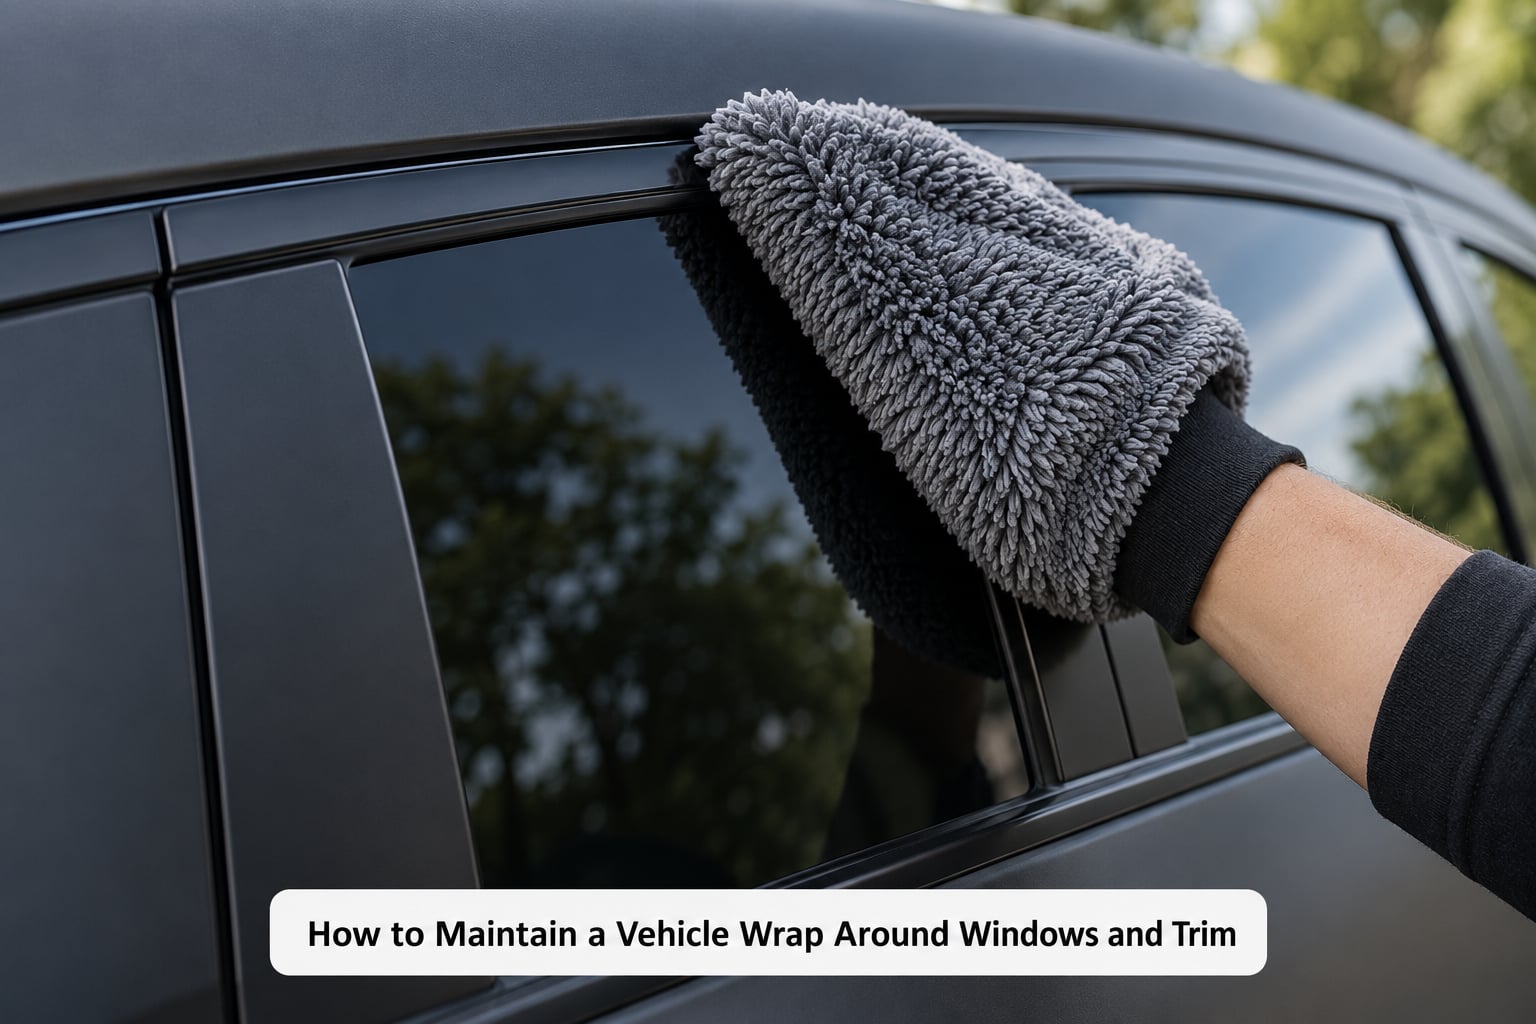
Windows, door handles and trim gaps are where wraps fail first. Adhesive gets tugged every time the door opens, and grit collects in the channel between the glass and the rubber seal.
Use a soft detailing mitt or a small squeegee there, and pull the door handle outward rather than straight up so it does not lever the vinyl. If the film is starting to lift at a window edge, stop pulling and let the installer re-tack it. Owners on r/CarWraps describe pushing a lifted edge back down with heat and thumb pressure, which works for a small lift, but not for a seam that has already peeled back.
Do not get aggressive with a sharp tool at trim edges. Trim clips and the paint beneath them do not forgive a slip.
6. Remove Bugs, Sap, and Road Grime Carefully
Bug splatter, bird droppings and tree sap etch into the topcoat within days, so treat them early rather than when the whole panel needs a wash.
- Wash and rinse the panel first so loose dirt is not dragged across the stain.
- Warm water and a drop of wrap-safe soap, then a microfiber towel, will lift most fresh bugs.
- For stubborn residue, use a product labelled for vinyl and follow its dwell time.
- Work from the outside of the stain inward with light pressure.
- Rinse and dry immediately, then check the area again after it fully dries.
Skip isopropyl alcohol, mineral spirits, Goof Off, scrapers and aggressive rubbing on the graphic surface. Solvents can haze print and swell the laminate, and scraping takes the topcoat with it.
7. Use a Wrap-Safe Protection or Wax Product
Protection is optional on a gloss wrap and closer to essential on a matte one. It buys you easier water shedding and a little extra resistance to grime.
Always patch test on a hidden panel, usually the inside of a door or under a bumper lip, and let it sit for a day. Apply on a cool, clean, dry panel and follow the instructions printed on the product rather than a generic rule of thumb.
Match the product to the finish:
- Gloss: a spray sealant or synthetic wax works. Avoid carnauba-heavy pastes, which haze the surface over time.
- Satin: use a satin-safe spray sealant. Gloss wax leaves shiny patches that do not blend in.
- Matte: use a matte-specific cleaner or waterless wash. Avoid any wax, sealant or gloss product, since it flattens the finish into a shine.
Matte owners often use a 50/50 mix of isopropyl alcohol and water to knock down fingerprints and smears. Keep it off edges and seams, and never use it on hot film.
8. Clean the Vehicle More Often When Needed
Set your schedule by exposure, not by habit. A two-bay-per-week wash suits a garage-kept daily driver in a mild climate. A vehicle parked outside in road salt, coastal air, desert sun or heavy pollen needs washing more often, because the contaminant is attacking the film the whole time it sits.
Extra washes are fine as long as each one uses clean water and a clean mitt. What damages film is repeated washing in the same dirty water, not the frequency itself.
Between full washes, a rinseless wash such as Turtle Wax Ice works well on a lightly dirty vehicle. Skip it when the car is genuinely grubby, because you will smear grit into the finish.
9. Have Lifting or Peeling Wraps Repaired Early
A small lift that gets fixed today is a five-minute re-tack. The same lift left for a season often takes a section of door with it.
Call the installer when a corner has lifted more than a few millimetres, when a bubble sits under a seam, when the film has creased or torn, or when the edge around a handle keeps re-lifting no matter how you press it. Most shops inspect edges and seams at least once a year for exactly this reason.
If you maintain a fleet, photograph the panels each quarter and log the wash schedule. Written records help when an insurer or inspector asks about the condition of the graphics.
Common Mistakes
Most wrap damage traces back to one of these habits. Each has a simple fix.
Automatic brush car washes. Spinning bristles catch edges and drag grit across soft film. Hand wash instead, or use a touchless wash as a compromise.
Dish soap and degreasers. Dawn and similar detergents are not pH-neutral and can dull the finish over time. Use automotive shampoo rated for vinyl instead.
Household cleaners on the paint side of the job. Vinegar and degreasers left over from paint detailing haze the film. Keep a separate set of products for wrapped panels.
High-pressure water at seams. Force under an edge is a leading cause of bubbling. If you use a pressure washer, stay under 1200 PSI, keep water under 180F (80C), hold the nozzle at least 12 inches away, use a 40-degree fan tip, and keep the spray perpendicular rather than angled at the panel.
Washing too soon after installation. Give the adhesive 3 to 5 days to cure before the first wash, and up to two weeks in cold weather. Warm weather speeds the cure; a rough wash during it can lift an edge before it has bonded.
Waiting on stains. Bird droppings and sap start etching the topcoat quickly. Rinse them off the same day if you can.
Ignoring a lift. A corner lifted in spring is a torn door by autumn. Re-tack early.
Two more habits worth building in: park under cover or in a garage whenever you can, and use a breathable car cover outdoors, since a non-breathable cover traps moisture against the film. At the pump, avoid filling a fuel nozzle over the edge of a door where the wrap stops, since diesel and petrol leave residue that takes effort to remove. And if the vehicle goes through an automatic wash at all, skip the wax option at the pay station.
Frequently Asked Questions
How soon can I wash my car after getting it wrapped?
Most installers ask you to wait 3 to 5 days before the first wash, and up to two weeks when the weather is cold, because the pressure-sensitive adhesive needs time to bond. Wash the vehicle at the shop if you need it clean sooner, then keep to the gentle routine. Rushing the cure window is the most common cause of an early lifted edge.
Can a wrapped car go through a car wash?
Hand washing is the safe answer. Automatic washes with spinning brushes catch seams and drag grit across soft film, which is why most owners on r/CarWraps avoid them entirely. Touchless washes use harsh detergents and strong jets rather than bristles, so they are better but not risk-free. If you use one, skip the pay-station wax, since petroleum distillates can haze the finish.
Can I use Dawn dish soap on vinyl wrap?
Skip it. Dawn and other household detergents are not pH-neutral, and the additives meant to cut grease also attack the vinyl topcoat and the adhesive underneath. Repeated use leaves matte films hazy and gloss films dull. Use an automotive shampoo rated for vinyl in the pH 3 to 11 range instead, which cleans road film just as well.
Can you use a pressure washer on a vinyl wrap?
Yes, with limits. Stay below 1200 PSI and 180F (80C), hold the nozzle at least 12 inches from the panel, use a 40-degree fan tip, and keep the spray perpendicular so it does not force under seams or edges. Never point the wand at a door gap, window seal or lifted corner. Most owners find a regular hose and a good mitt just as effective and far safer.
Why is my vinyl wrap lifting at the edges?
Common causes are washing during the cure window, grit working under an edge, water forced under a seam by pressure, and adhesive ageing under heat and UV. A tiny lift can often be pushed back down with gentle heat from a hair dryer and thumb pressure. If the edge keeps coming back, if a bubble sits under a seam, or if the film is creased or torn, have the installer re-tack it before the damage spreads.
Conclusion
Knowing how to maintain a vehicle wrap comes down to a few habits repeated on a schedule: inspect the edges, wash gently with a wrap-safe product, dry with microfiber, protect the finish appropriately, and wash more often when the environment is harsh.
Start this week with a walk-around. Check every seam, corner, door edge and bumper for a lift or a bubble, then do one gentle hand wash with a dedicated mitt and two grit-guarded buckets. When damage does show up, get an installer on the phone early, because a re-tack costs far less than a re-wrap.