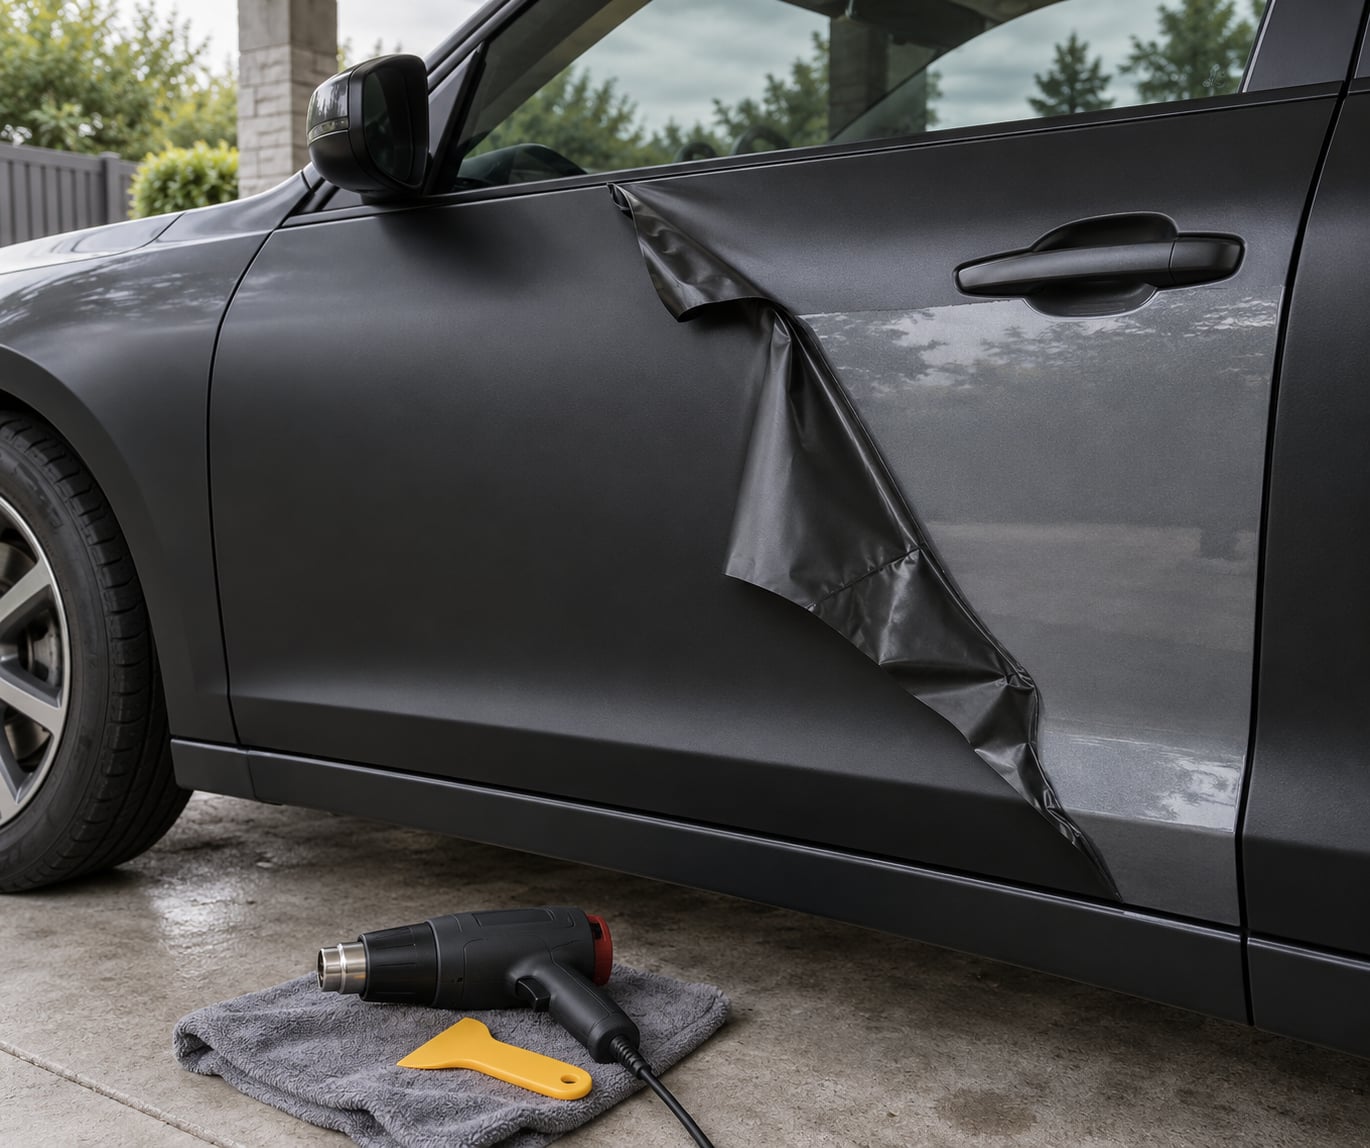
Yes, a vinyl car wrap comes off without damaging paint in most cases. The film releases cleanly when it is warm, pulled slowly at a shallow angle with steady tension, and worked with plastic tools only. The exceptions are wraps that are baked, cracked, or chalked, and paint that was already failing before the film went on.
That is the honest version of how to remove a vinyl car wrap without damaging paint, and technique matters more than any single tool. Nearly every ruined paint job I have heard about came from pulling too fast or holding a heat gun too close, not from a bad product.
A full-car wrap is a weekend job the first time, roughly 6 to 10 hours if you are not rushing it. A hood, roof, or set of doors takes an hour or two. Work in a garage or on an overcast day rather than in direct sun.
Before you pick up a tool, look at the film honestly. Condition of the wrap decides the method more than anything else you will do.
- Under a year, still pliable, edges curling on their own. This is the easy case. Low heat, a 15-20 degree peel angle, no solvent needed, no drama.
- One to three years in. Usually still clean. Start the edge with a plastic lifter and expect some adhesive residue to clean up afterward.
- Four years or more, edges shrinking, faint chalky film on the surface. Higher risk. Heat slowly, take sections no bigger than a hand, and stop the instant it tears instead of trying to save a piece.
- Cracked, brittle, or flaking off in pieces. Do not peel this yourself. The film will shred and take paint with it. A shop can usually tell you in minutes whether removal is even worth attempting.
If you bought a wrapped car and are pulling the film to see what is underneath, that is a legitimate reason to go slowly. The paint you uncover has not been seen by daylight in years, and mismatched oxidation is common rather than a sign of damage.
Table of Contents
- What You Need
- How to Remove Vinyl Wrap Step by Step
- Common Mistakes That Scratch or Damage Paint
- Frequently Asked Questions
- How long does it take to remove a vinyl car wrap?
- Can I use a heat gun to remove vinyl wrap without damaging paint?
- What should I do if the wrap is old, brittle, or stuck tightly?
- How do I remove adhesive residue without scratching the paint?
- Is it safe to remove a vinyl wrap myself?
- What if the wrap leaves marks or the paint looks damaged after removal?
- Conclusion
What You Need
Gather everything before you start. Halfway through a panel, hunting for a heat gun in the garage is how wraps end up tearing.
- A heat gun on low or medium, or a hair dryer as a backup. Airflow matters more than raw heat, and a hair dryer is slower but far harder to burn paint with.
- A plastic edge lifter, plastic scraper, or squeegee. Never metal. A plastic razor blade is acceptable for lifting an edge if you keep it flat and shallow.
- A paint-safe adhesive remover. A dedicated vinyl remover for stubborn residue; dilute isopropyl alcohol for light film.
- Several microfiber towels and a spray bottle. You will want a clean towel per section so you are not smearing residue back across the panel.
- Nitrile gloves and safety glasses. Warm solvents and flying flakes of baked vinyl are genuinely unpleasant in your eyes.
- Car shampoo, clean water, and two buckets if you have them. You are washing before and after.
- Optional: clay bar and a fine polish. Worth having if the wrap was on for years, because baked adhesive often leaves raised high spots that a clay bar flattens before you polish.
My rule for the workspace is simple: shade, no wind, no rain, and a way to let panels cool between sections. Hot paint plus cold air plus hurried hands is how clear coat gets marked.
How to Remove Vinyl Wrap Step by Step
Start on a hood or roof panel rather than a door. Flat panels give you a long, straight edge to pull against, and hoods are often the first thing an installer primes before laying film.
1. Inspect the Vehicle and Wrap
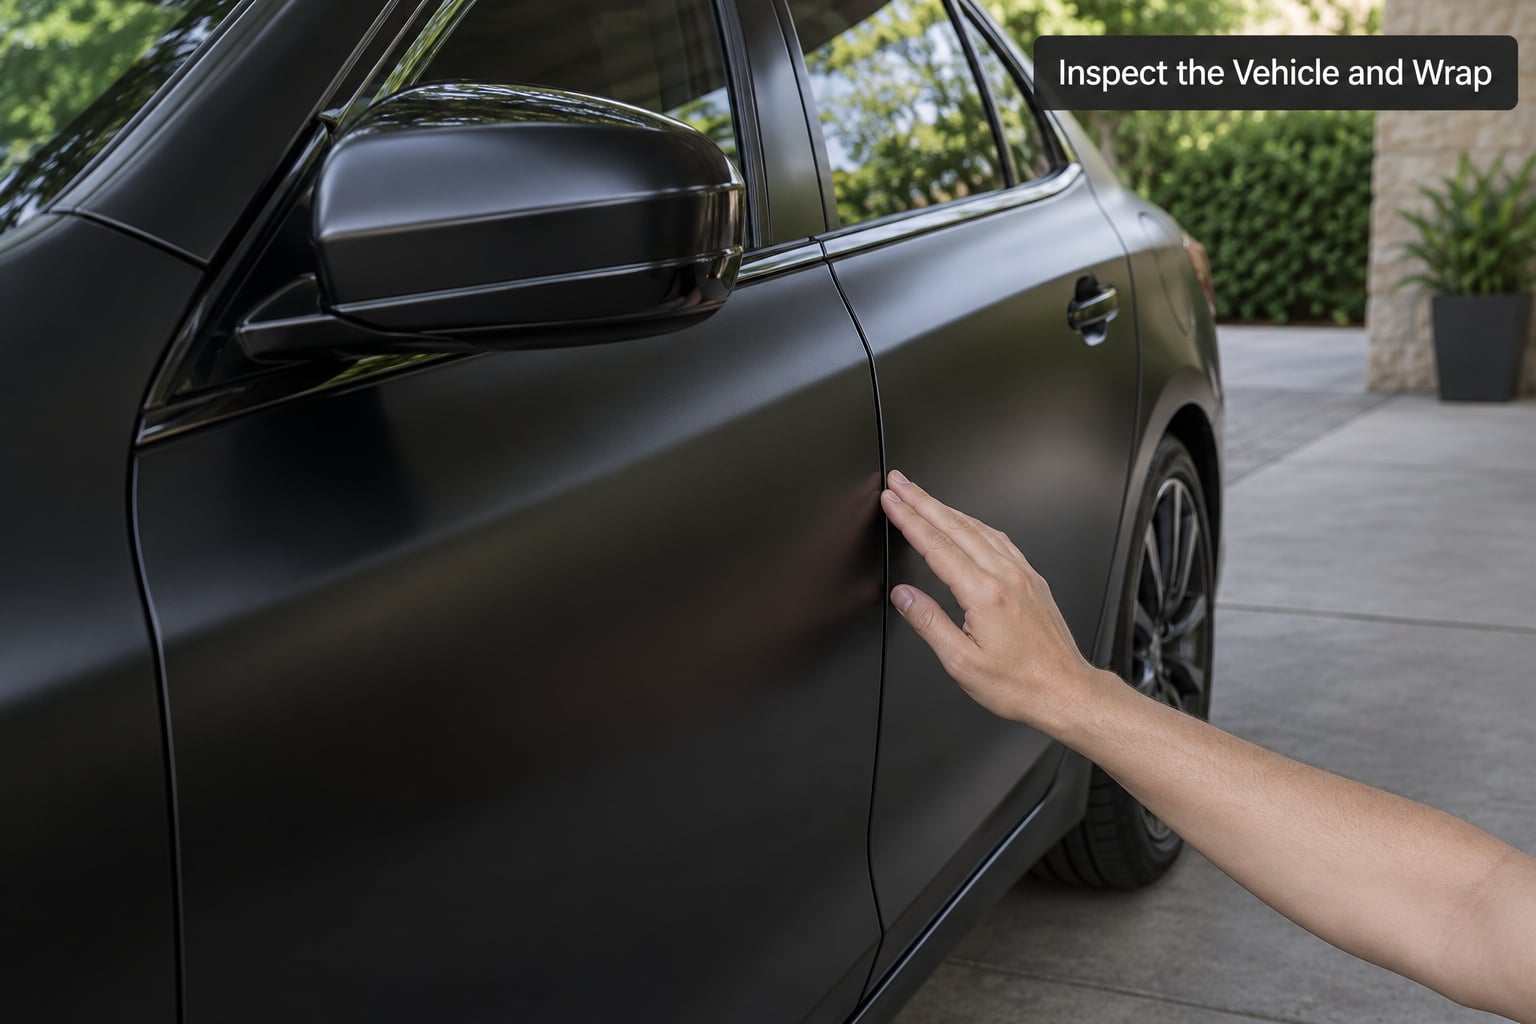
Look at the film before you touch it. Cast film is thin, pliable, and has a slightly matte or textured surface; calendared film is thicker, glossier, and stiffer, and it usually fights you more on the way off.
Run a fingernail along an edge in an inconspicuous spot, near the fuel door or under a mirror. If it lifts and stretches without cracking, the adhesive underneath is still alive. If it snaps or breaks, stop and read the condition list above again.
Note any paint damage that already exists: deep scratches, chips, rust bloom, flaking clear coat, or a spot that has been spot-blended. Photograph those areas before you start so nobody can blame your removal later. Wrapping over bad paint hides it, and pulling the wrap off exposes it.
Also check whether the wrap was painted, not just colored. Printed or hand-painted films sit on top of the base coat rather than replacing it, and those come off with more of the surface attached.
2. Wash and Dry the Wrapped Surface
Wash the panel with car shampoo and clean water before you heat anything. Dirt and road film act like sandpaper under a dragging film edge, and you want the surface slick and free of grit.
Dry it fully with a clean microfiber towel. Any moisture under the wrap turns into steam when you heat it, which lifts edges on its own and gives you an uneven starting line.
Skip the aggressive stuff. Heavy degreasers, abrasive polishes, and undiluted alcohol can haze the clear coat or leave an oily film that stops the adhesive releasing evenly. If the panel is filthy, wash it twice instead.
3. Warm the Wrap in Small Sections
Work in panels you can manage with two hands, roughly the size of a door skin. Heat one section while you peel the last one, so the work never stops.
Hold the heat gun 5 to 6 inches from the surface and keep it moving constantly. Parking the nozzle in one spot is the single fastest way to bake clear coat, and the damage shows up weeks later as a hazy patch.
Stay on low or medium. You are softening the acrylic adhesive, not melting the film. If the back of your hand cannot comfortably rest near the panel, it is too hot.
Without a heat gun, warm water works well on glass and trim, and a hair dryer works on paint at roughly half the speed. Pull the film when it feels pliable and slightly tacky rather than when it feels hot.
4. Peel the Vinyl Slowly Without Damaging Paint
Lift a corner with a plastic lifter, or a fingernail if the edge is already lifting. Slide the lifter under the film so it pushes the adhesive ahead of it rather than slicing through the clear coat.
Pull at 15 to 20 degrees from the surface. Shallow is the whole trick: a steep pull stretches the film until the laminate separates from the acrylic layer, and you get a thick rope of stretched vinyl instead of a clean sheet.
Keep constant, even tension and a constant speed. Rushing in the middle of a panel and then stopping is what causes tears, and a tear means a fresh edge to lift, which means more heat, which means more time on the paint.
Follow the heat. If the film starts to resist, stop peeling that section and warm the next few inches ahead of the peel line. The adhesive releases when the vinyl is warm, not when you pull harder.
If the wrap shreds, stop. Pick up the loose flakes carefully rather than scrubbing them, because the pieces that stay behind are adhesive problems you can solve with a remover, and the flake you scrape off in a hurry is a scratch.
5. Remove Remaining Adhesive
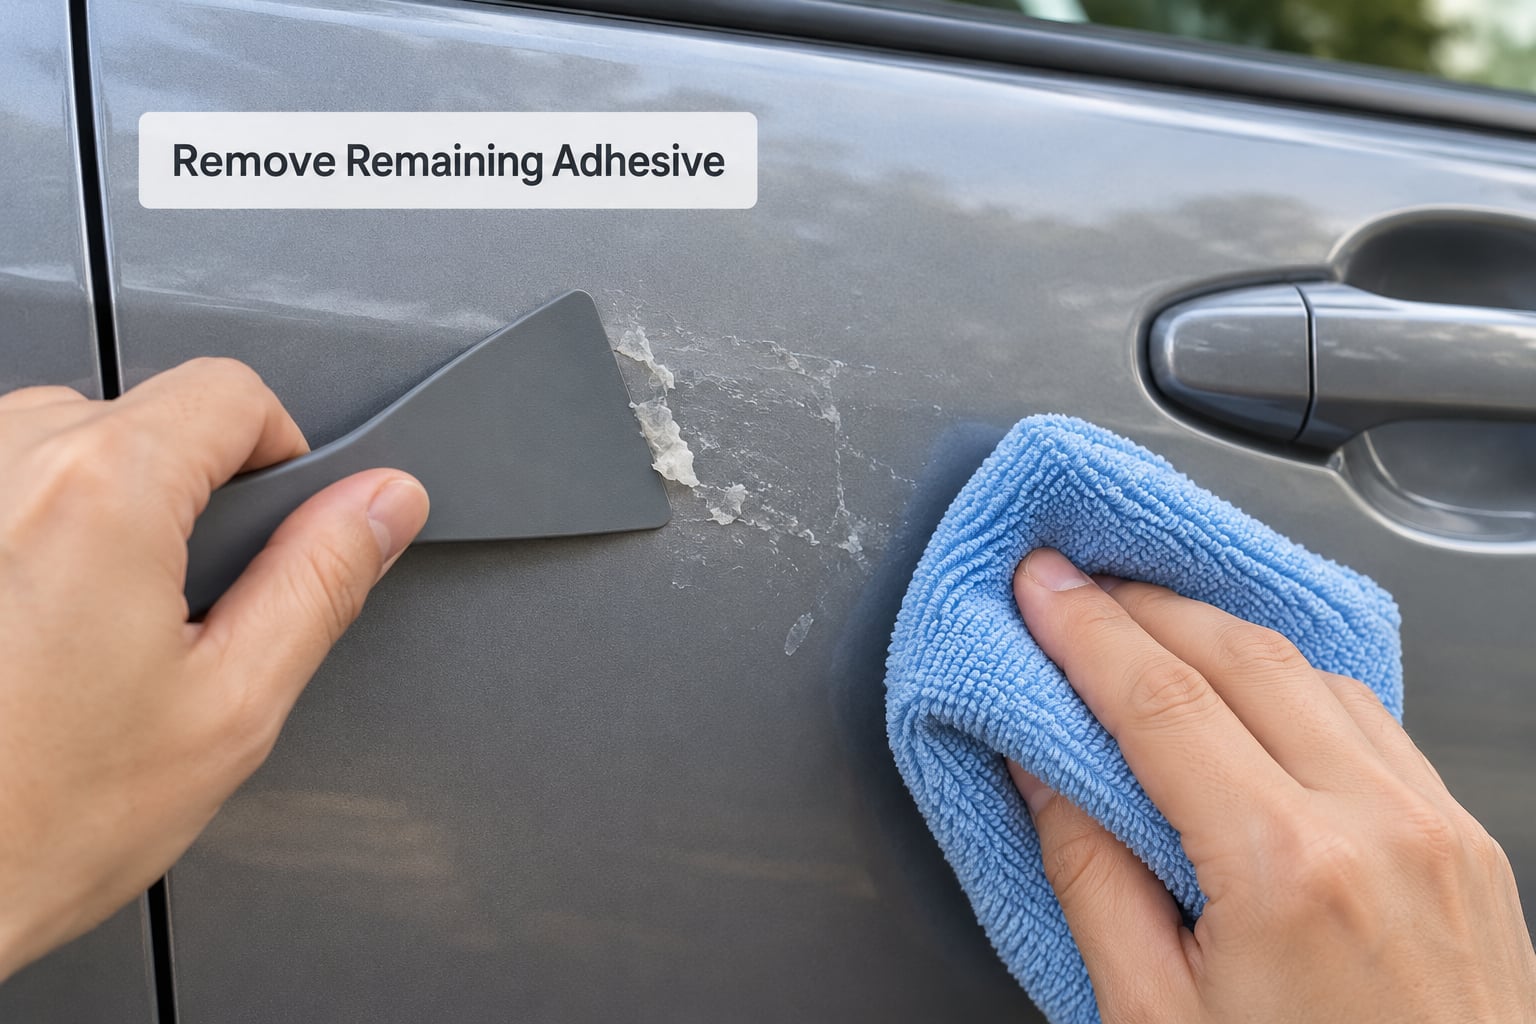
Most residue comes off with a paint-safe adhesive remover on a microfiber towel. Put the product on the towel, not on the car, and work one panel at a time so you are not letting a wet solvent sit on a large area while you work.
Dab and wipe, do not scrub. Let the remover dwell for the few seconds the label suggests, then wipe with the flat side of a clean towel. A little patience beats a lot of circular motion, which is what creates swirl marks.
For thick, stubborn spots, use a plastic scraper held at a low angle with light hand pressure. Follow the grain of the panel. Metal blades here are how people put a permanent scratch in a clear coat that was perfectly fine an hour earlier.
Dilute isopropyl alcohol is fine for a light haze of residue and for cleaning the top of the panel once the heavy stuff is gone. Skip it on matte finishes, on unpainted plastic trim, and on any interior surfaces.
6. Clean and Inspect the Original Paint
Wash the panel again to remove any remaining solvent film, then dry it with a clean microfiber towel. Solvent left to evaporate leaves a hazy ring that looks like damage and is not.
Check the paint in daylight, not under a garage light. Look for high spots where adhesive ghosted up into the clear coat, light scratches along the old peel line, staining where the wrap trapped water, and any lifting edges of clear coat.
A clay bar flattens adhesive high spots. A light polish with a fine compound takes out the fine scratching that a slow, careful peel can still leave. If the panel looks good, you are done.
Stop and take it to a body shop if you see lifting or flaking clear coat, bare metal, a deep scratch that has already torn through the base coat, or a panel where the paint feels soft under a fingernail. Those are refinishing problems, not cleaning problems, and more heat or more solvent will make them worse.
Common Mistakes That Scratch or Damage Paint
- Yanking when it stops moving. The film is stuck, not the paint. Put the heat back on the section ahead of the peel line and give it another few seconds.
- Overheating with a heat gun or reaching for a blowtorch. Modern clear coat is thin and heat-sensitive. A blowtorch near a painted panel is how people melt paint and set off paint-thinner fires. Use air, keep it moving, keep your hand in the loop.
- Pouring remover over a whole panel. Solvent soaking is unnecessary and slow. Work towel-to-towel on a section you can finish before it evaporates.
- Using a metal scraper or razor blade flat against the paint. A blade held nearly vertical under a lifted edge is tolerable. Held flat, it is a planing knife on your clear coat. Plastic first, always.
- Working in direct sun on a hot panel. Sun-baked panels lose heat control and the film softens unevenly. Overcast shade or a garage is slower and safer.
- Ignoring paint that was already bad. Wrap hides corrosion and failing clear coat. Find it first, document it, and set your expectation that this vehicle may be a repaint rather than a removal.
- Pulling against the panel edge. Edges, door shuts, and trim lines are where film grabs hardest. Start in the middle of a flat panel and work outward.
- Scrubbing dried adhesive flakes with a towel. Let them soften with remover first, or lift them by hand. Dry flakes abrade.
One more thing worth knowing: your wrap protected the paint underneath from UV and stone chipping while it was on. The color underneath may still look newer than the surrounding panels that were never covered, and that is normal rather than evidence of damage.
Frequently Asked Questions
How long does it take to remove a vinyl car wrap?
A full-car wrap takes a careful DIYer about 6 to 10 hours, most of it spent peeling in small sections rather than heating. Hoods, roof panels, and doors take an hour or two each. A shop with two techs usually finishes in three to five hours. Budget extra time for residue cleanup, which is the part people underestimate.
Can I use a heat gun to remove vinyl wrap without damaging paint?
Yes, if you keep it moving and stay 5 to 6 inches from the surface on low or medium. The goal is to soften the acrylic adhesive, not to melt the film, so use the back of your hand as a gauge and pull the vinyl while it feels pliable. Never rest the nozzle on a panel and never use a blowtorch near modern clear coat.
What should I do if the wrap is old, brittle, or stuck tightly?
Heat slowly, work in sections no larger than your hand, and keep pulling at a low angle with steady tension. If the film shreds or the laminate separates into a stretched rope, stop that panel and warm the next section longer. If the wrap is cracked and flaking, the film will take paint with it and this is a shop job, not a persistence test.
How do I remove adhesive residue without scratching the paint?
Put a paint-safe adhesive remover on a microfiber towel rather than on the car, let it dwell for a few seconds, then wipe with the flat of the towel instead of scrubbing in circles. For thick spots, use a plastic scraper at a low angle with light pressure. Dilute isopropyl alcohol handles light film, but skip it on matte paint and plastic trim.
Is it safe to remove a vinyl wrap myself?
It is safe when the film is pliable, the paint underneath is sound, and you work in the shade with plastic tools and controlled heat. It is not worth doing yourself if the wrap is baked and cracking, if clear coat is already lifting, or if the car has been repainted with a wrap-sized job in the past. A shop consultation is cheap compared with a respray.
What if the wrap leaves marks or the paint looks damaged after removal?
Most marks are residue, not damage. Wash the panel, then use a clay bar on raised adhesive high spots and a fine polish on light scratching, working in daylight. Real damage looks like flaking or lifting clear coat, bare metal, or a scratch through the base coat, and that needs a body shop. A color difference against an uncovered panel is oxidation and is normal.
Conclusion
The order that keeps paint intact is simple: judge the film first, work in the shade on clean dry panels, warm small sections with a heat gun held 5 to 6 inches away, and pull at 15 to 20 degrees with tension that never changes. Clean adhesive off a towel rather than off the car, then inspect in daylight.
If the wrap cracks as you pull it, or the clear coat is already lifting, stop. That is the point where professional removal and possibly a repaint are cheaper than another hour of heat and pressure.