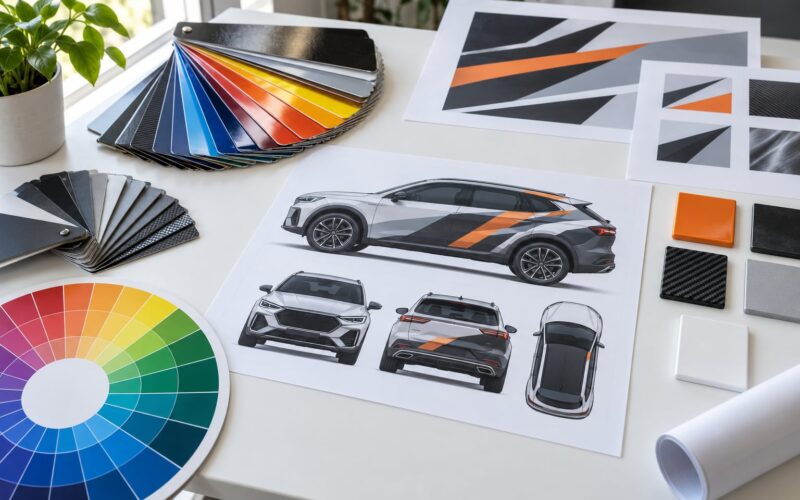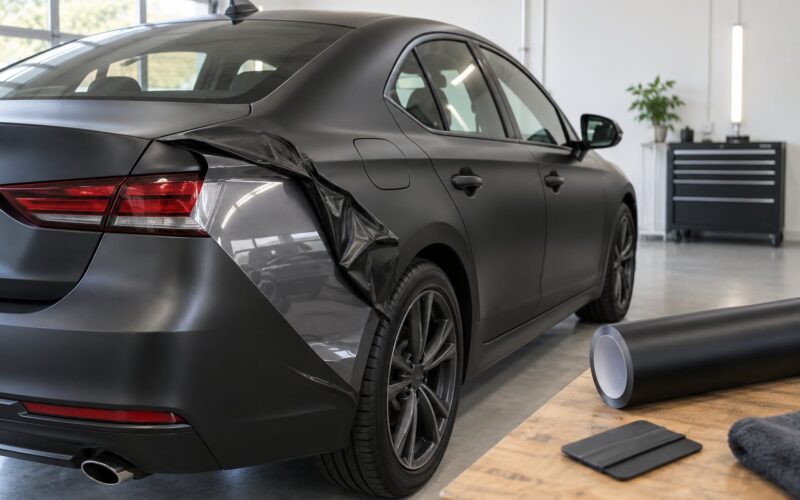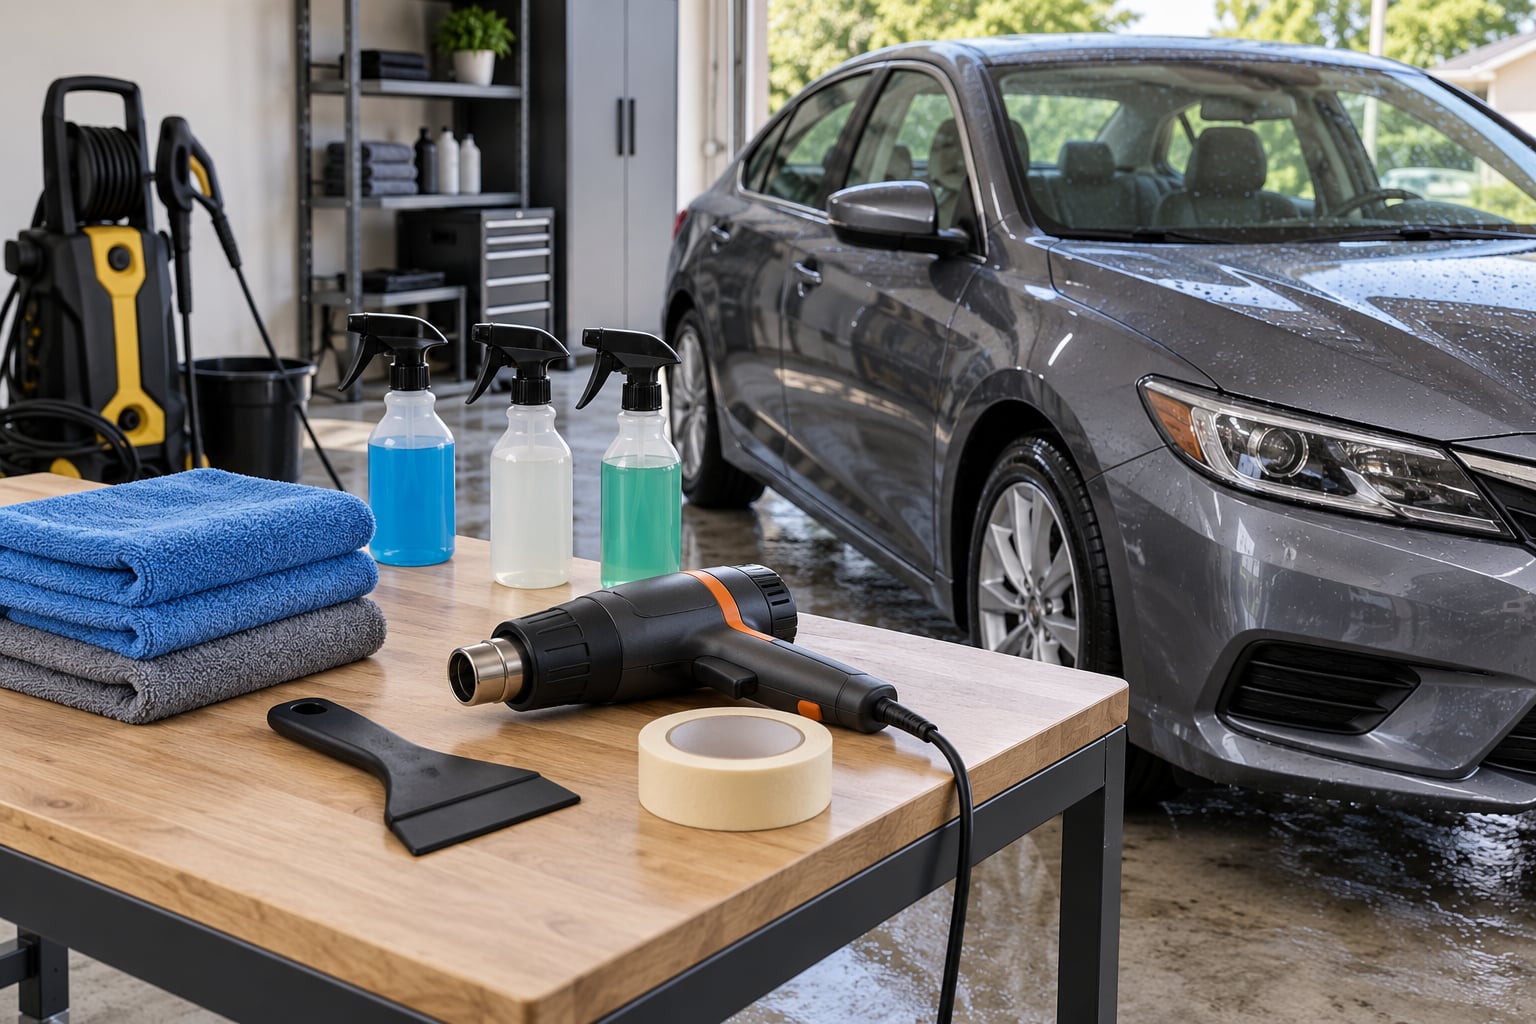
To prepare a car for wrapping you need a completely clean, bare, oil-free paint surface: wash the body with wax-free shampoo, decontaminate the paint with a clay bar and iron remover, repair any damage, strip old vinyl and badging, then finish with an isopropyl alcohol wipe-down before the film goes on. Get those steps right and the adhesive bonds for years. Skip them and the wrap bubbles, lifts at the edges and peels off within months.
Budget a full day for a sedan, or two if paint repair is involved. Most of that time is washing, claying and drying, not the repair work itself. In 2026, professional installers still treat preparation as the least glamorous and most important part of the job.
Table of Contents
- What You Need to Prepare a Car for Wrapping
- What to Use to Clean a Car Before Vinyl Wrapping
- Step-by-Step: How to Prepare a Car for Wrapping
- 1. Inspect the Vehicle and Choose the Wrapping Area
- 2. Wash and Decontaminate the Paint
- 3. Remove Existing Vinyl or Decals
- 4. Repair and Level the Surface
- 5. Mask or Remove Parts That Should Stay Unwrapped
- 6. Dry, Prime, and Perform the Final Check
- Common Mistakes That Ruin a Wrap
- Frequently Asked Questions
- How long does it take to prepare a car for wrapping?
- Can I put a vehicle wrap over old vinyl or decals?
- Do I need to remove rust or scratches before getting a wrap?
- Should the car be wrapped immediately after washing?
- Can I prepare a car for wrapping myself or use a professional?
- What should I do if the paint has wax, polish, or sealant on it?
- Conclusion
What You Need to Prepare a Car for Wrapping
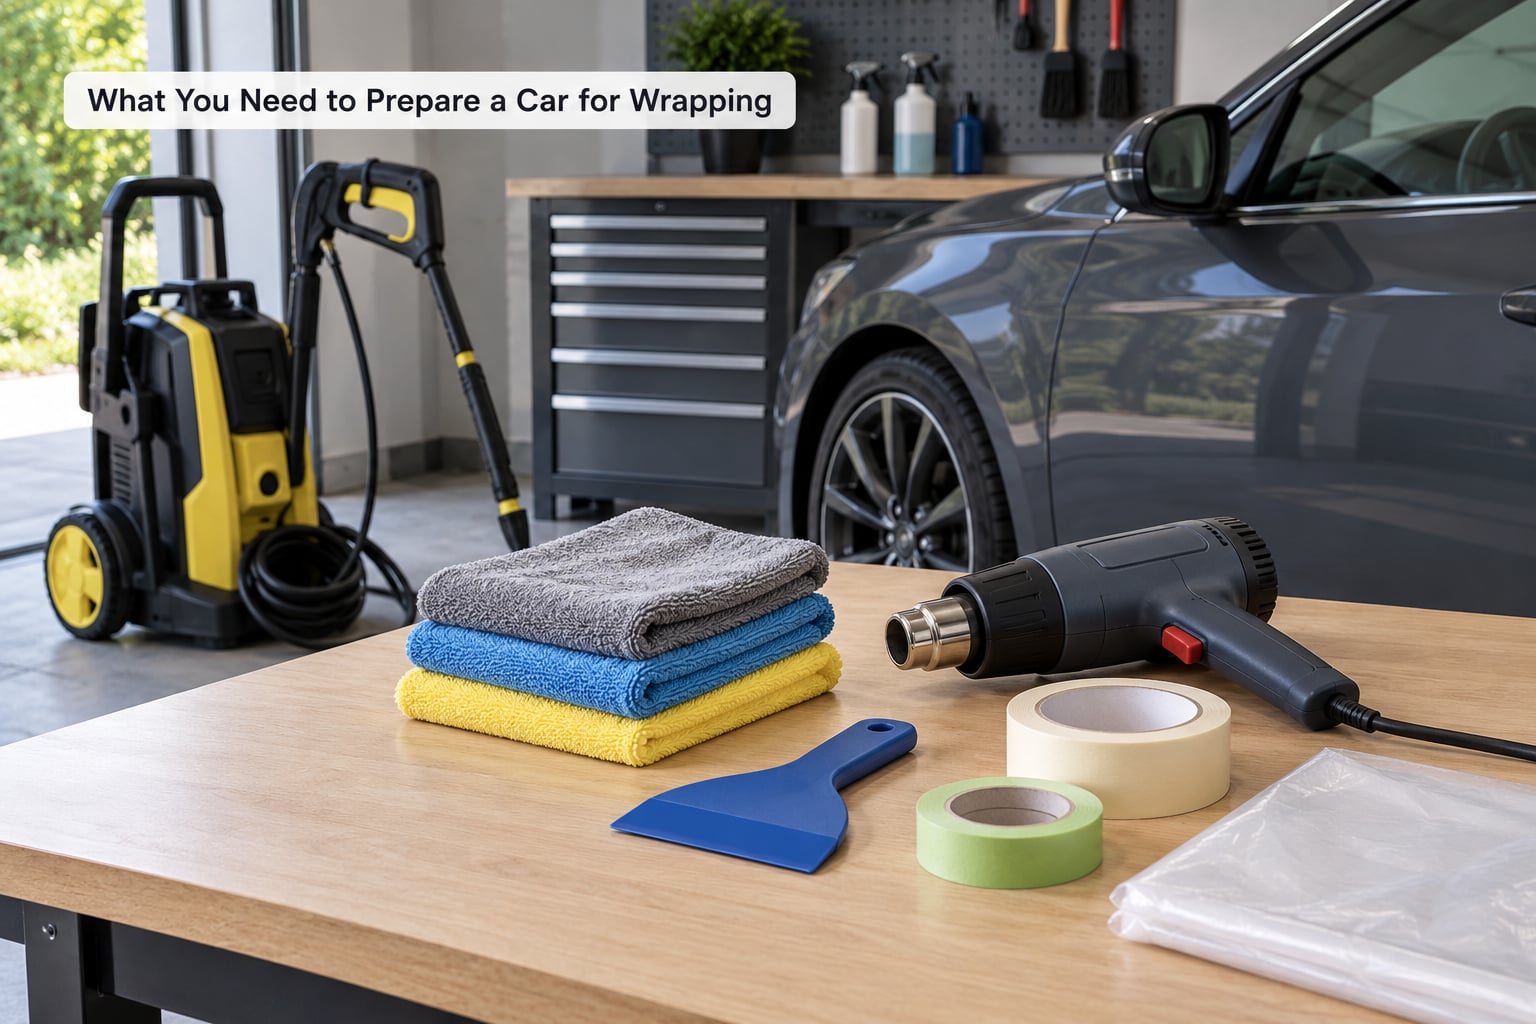
Gather everything before the car goes up on the lift. Scrambling for a heat gun halfway through a panel is how dust gets onto clean paint.
Cleaning supplies
- pH-neutral, wax-free car shampoo
- Dedicated wheel and tyre cleaner plus a separate bucket and brush
- Clay bar with enough quick-detailer lubricant to work it across a panel
- Iron fallout remover for the speckles that embed on cars that sit near roads or rail lines
- Tar and adhesive remover for the stuff that sticks to the lower bumper and behind the arches
- Microfiber towels, and more of them than you think you need
- Isopropyl alcohol at 70-90% strength mixed 50/50 with distilled water, in a spray bottle and a separate bucket for rinsing the rag
Removal and repair tools
- Plastic scraper or soft blade for lifting old vinyl without cutting paint
- Heat gun with a long cable, kept on the bodywork side so you can still reach the socket
- Fishing line or low-tack tape for badge removal
- Knifeless design tape and a retractable scalpel with fresh blades for cutting the new film
- Squeegee, hand gloves and a small magnet or two for holding panels and catching stray lift
- Masking tape and plastic sheeting for anything that must not be filmed
Inspection kit
- A bright LED inspection light to find chips and clear coat failure in shadowed creases
- Your phone, for photographing every defect before work starts
- 600-grit sandpaper, body filler and rust-inhibiting primer if you are repairing anything yourself
What to Use to Clean a Car Before Vinyl Wrapping
This is the question most searchers ask, so here is the short version. Wash with a pH-neutral shampoo that contains no wax or sealant, decontaminate with a clay bar lubricated by quick-detailer, strip bonded grime with an iron remover and a tar remover, then wipe every panel with a 50/50 mix of 70-90% isopropyl alcohol and distilled water. Nothing else goes on the paint. No wax, no polish, no sealant, no ceramic coating, no spray dressing.
Spray the alcohol onto the microfiber towel rather than onto the car. A puddle of solvent on a panel can soften fresh paint, run into door jambs and streak before you get to it.
Step-by-Step: How to Prepare a Car for Wrapping
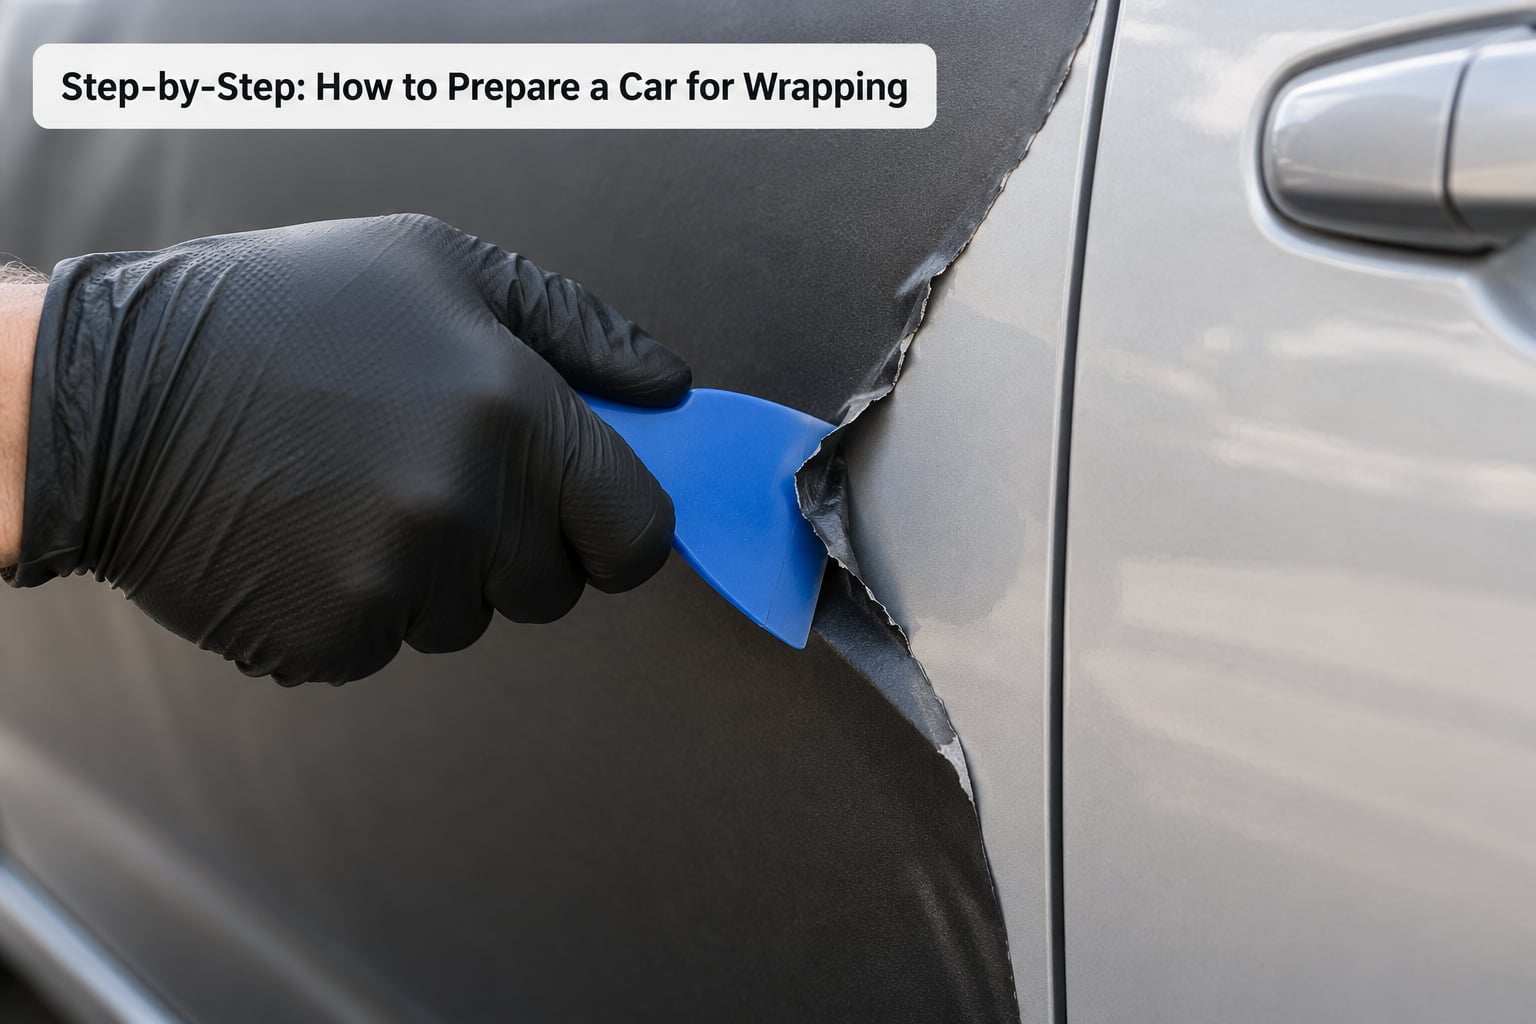
Work through these six stages in order. Each one assumes the previous stage is finished, because skipping ahead means you end up cleaning a surface you just contaminated.
1. Inspect the Vehicle and Choose the Wrapping Area
Before any water touches the body, walk around the car and photograph everything. Chips, scratches, dents, mismatched respray panels, a scuffed bumper underside, areas of failing clear coat. That photo set is what settles arguments later if anyone claims the wrap caused the damage.
Run your hand over each panel under good light. Vinyl is stiff and unforgiving, so every dent becomes a shadow and every scratch becomes a line that runs across the finish. A car that has never been resprayed is the easy case. A previously resprayed panel with a different shade, a thin spot of clear coat starting to lift, or bare metal showing through a rust bubble needs to be repaired or stripped first, not filmed over.
For the workspace, aim for a clean indoor bay at roughly 18-22°C. The temperature matters because adhesive stays stiff when the car is cold and gets slippery when the car is hot. You also need good overhead lighting, no drafts, and enough room to walk the full length of both sides of the vehicle. An open driveway in 2026 will fill your wrap with dust no amount of squeegeeing will fix.
2. Wash and Decontaminate the Paint
Pre-wash first with a plain rinse to knock off loose dirt, because dragging grit across the paint in a wash mitt is how you scratch a clean car. Clean wheels and tyres in a separate bucket with their own brush, since brake dust is one of the worst contaminants to get off a panel.
Hand wash with the wax-free shampoo from the bottom up, panel by panel, rinsing the mitt often. Door jambs, panel edges, the lip under the hood and behind the headlights get their own pass with a smaller brush. Those edges are where installers find the hidden dirt that shows through as bumps under the film.
Dry with clean microfiber towels, then treat the surface properly. Run a clay bar over every painted panel with lubrication, working in small sections so the clay stays wet and loose. Follow with an iron fallout remover if the paint is speckled with embedded metal. The clay bar tells you honestly how much bonded contamination a wash left behind, and a rough, gritty surface is your signal that it is not ready for film.
Rinse and dry again. That is your pass-or-fail check: drag a clean fingernail lightly across a wet panel and it should glide. If you can feel grit, decontaminate again.
3. Remove Existing Vinyl or Decals
You can wrap over old vinyl in a pinch, but the result is thick, lumpy and short-lived, so removal is the better path. Warm the panel with the heat gun on a low setting, then lift a corner with a plastic scraper held at a shallow angle. Peel slowly at roughly 30 degrees rather than pulling straight back, which tears the film and can take paint with it.
Work in sections and never rush a tight edge. Around handles, trim and the sharp curve above a wheel arch the film usually tucks underneath, so expect to use a plastic card to release it rather than force a blade in. The one place a sharp blade belongs is a blade drawn across the panel to cut the old film in sections, with a new blade every few passes so you do not drag nicks through the clear coat.
Badges and emblems come off with heat, then fishing line or low-tack tape pulled against the body with an even sawing motion. Once they are off, deal with the adhesive they leave behind using a tar and adhesive remover and plenty of microfiber, then re-clay the area. Skip the clay and the new film will lift off with the old adhesive.
Residue hiding inside door handles and around badge pockets is the most commonly missed spot of all. Push a folded microfiber towel into the pocket and work it with your fingers until the towel comes away clean.
4. Repair and Level the Surface
Vinyl highlights flaws, it does not hide them. Small chips and shallow scratches can often be left alone if you accept they will show through, but deep scratches, rust, dents on a panel you plan to wrap in a solid colour, and any spot where the clear coat is separating have to be dealt with first.
A shallow chip is sanded back with 600-grit paper, filled with body filler, shaped, primed and refinished. Rust gets treated at the source, not covered with filler, or it comes back under the wrap within a season. Bare metal needs rust-inhibiting primer before any film touches it, because moisture trapped under vinyl is exactly what you do not want against steel.
If a panel has been resprayed, look at it in daylight along the curve. A colour shift or a different texture means the wrap is doing more than colour work, and a paint correction or a full repaint of that panel is the better fix. Wrapping a car with minor scuffs, chips or a mismatched respray is common on older vehicles, and plenty of owners film it anyway, but they should know exactly what they are covering before the film goes down.
5. Mask or Remove Parts That Should Stay Unwrapped
Decide what comes off and what stays on with masking. Handles, wing mirror caps, spoiler, exhaust finishers, emblems, third brake light and any trim you are not filming can usually be removed with basic tools, though clips are brittle on older cars, so check the parts catalogue and keep every clip. Park sensors, radar modules, cameras and anything with a wiring loom should be masked in place unless you know exactly how to disconnect and reseat it.
For glass, most installers mask rather than remove. Windscreen, side glass and rear glass can be removed on many models, but factory adhesive and the risk of breaking a bonded sensor means masking with low-tack tape and a light hand is often the safer call for a first-timer.
Wrap handles and mirror caps separately and refit them once the body film has cured. It takes longer and gives far cleaner edges than trying to wrap around hardware in place. If you are going to leave wing mirrors unwrapped as a deliberate two-tone design choice, say so now rather than discovering it halfway through.
6. Dry, Prime, and Perform the Final Check
The last stage is what people rush, and it is the one that decides whether edges lift in month two. Park the car indoors overnight after the wash so panel temperatures settle and trapped water has time to flash off. Do not wrap a car the same hour you washed it.
Wipe every panel with the 50/50 isopropyl alcohol and distilled water mix, using a fresh section of a clean microfiber towel for each panel. The glass, jambs and edges get the same treatment. Work small sections so the solvent does not linger and haze the paint.
Then do the final readiness check panel by panel. Confirm nothing is wet, nothing is tacky to a clean finger, no chalky residue remains, no wax or sealant is visible as a rainbow bloom under angled light, and the room is holding a steady temperature with no dust in the air. Photograph the panels at that point too. Once the film is down, any lift or discoloration is far harder to argue about without a before shot.
If you are using printed graphics, those films can outgas for up to 72 hours, so order them well ahead of installation and store them flat. Applying them too early traps solvents against the adhesive and the edges shrink later.
Common Mistakes That Ruin a Wrap
1. Washing with a soap that contains wax. Many mainstream car shampoos leave a surfactant film that reads as shine and kills adhesion. Fix: use a pH-neutral, wax-free shampoo, and never apply a dressing or sealant after the wash.
2. Skipping decontamination. A washed car is still full of bonded fallout and tar. The film goes on, then those bumps show through as shadows weeks later. Fix: clay every panel and use an iron remover on speckled paint.
3. Wrapping over a ceramic coating. Ceramic is designed to repel exactly what adhesive needs to grab. Fix: have it stripped and buffed off before preparation, and allow the surface to settle afterwards.
4. Filming over peeling clear coat or active rust. The film follows the surface as it deteriorates and takes the failing clear with it. Fix: repair, prime bare metal properly, or strip the panel before wrapping.
5. Wrapping a wet or cold car. Trapped moisture shows as bubbles and peeling, and cold adhesive behaves like stiff plastic. Fix: dry fully, store the vehicle indoors overnight, and work at roughly 18-22°C.
6. Applying film in a dusty or open-air space. A light breeze in a driveway puts grit between the adhesive and the paint. Fix: work in a filtered indoor bay, and keep doors closed during application.
7. Pouring solvent straight onto the body. It can soften fresh clear, run into seams and streak before you catch it. Fix: spray the towel, never the panel.
8. Rushing the final wipe. The last wipe-down is what removes oils from your own hands and masking tape residue. Fix: use a fresh towel section per panel and do it slowly.
Two habits from experienced wrappers are worth adopting early. Practise on a hood, a door skin or a spare fender before you touch the whole car, and photograph the paint before and after so any dispute has evidence behind it. If you would rather not do the prep yourself, plenty of shops offer a prep-only service, which costs less than a full install and still cuts the install time and improves how long the film lasts.
Frequently Asked Questions
How long does it take to prepare a car for wrapping?
Plan on most of a day for a clean sedan. The wash takes one to two hours including the clay bar, disassembly of handles, mirrors and badges adds a few more, and the final alcohol wipe takes 30 to 60 minutes. Paint repair is the variable that can turn a day into two. If you hire a shop to do prep only, expect the work back within a day or two.
Can I put a vehicle wrap over old vinyl or decals?
You can, but the result is thicker, lumpier and far shorter-lived than film applied to bare paint. The old adhesive keeps lifting, seams become impossible to hide, and heat from the sun loosens both layers faster. Remove the old wrap properly, strip the residue with a tar and adhesive remover, then re-clay the panels before applying anything new.
Do I need to remove rust or scratches before getting a wrap?
Rust always. It keeps spreading under the film and the corrosion ruins the panel. Deep scratches, chips and dents should be repaired too, because vinyl is stiff and every flaw turns into a visible shadow under a solid colour. Cosmetic defects you are comfortable seeing can be covered, but photograph them before the job starts so nobody blames the wrap later.
Should the car be wrapped immediately after washing?
No. Give it at least overnight indoors so panel temperatures even out and trapped water can escape from seams and door jambs. Wrapping a cold, damp car is one of the most common causes of bubbles and early edge lift. Wash, decontaminate, dry, then store the vehicle in a clean enclosed space until installation day.
Can I prepare a car for wrapping myself or use a professional?
Prep is very doable at home. Washing, claying, removing old vinyl and the final wipe-down are learnable with a few hours and some care. Paint repair, panels with lifting clear coat, and anything with a ceramic coating are better left to a shop. Plenty of installers offer prep-only work, which is a sensible middle ground when you want the install done properly without the full labour cost.
What should I do if the paint has wax, polish, or sealant on it?
Strip it. A wax or sealant removes with a dedicated de-waxing product or a clay bar used with more lubrication than usual, followed by an alcohol wipe. Polish that has already oxidised may need machine polishing to level out. A ceramic coating cannot be wiped off, so it has to be stripped and buffed with a polishing compound and then left to settle before film goes down.
Conclusion
Start with the paint inspection and the thorough wash. Photograph every chip and scratch, run a fingernail across the wet panel to confirm it is genuinely clean, then book the clay bar, the repair work and the hardware removal around that. That sequence is how to prepare a car for wrapping properly, and it is the difference between a wrap that lasts years and one that peels off in a season.