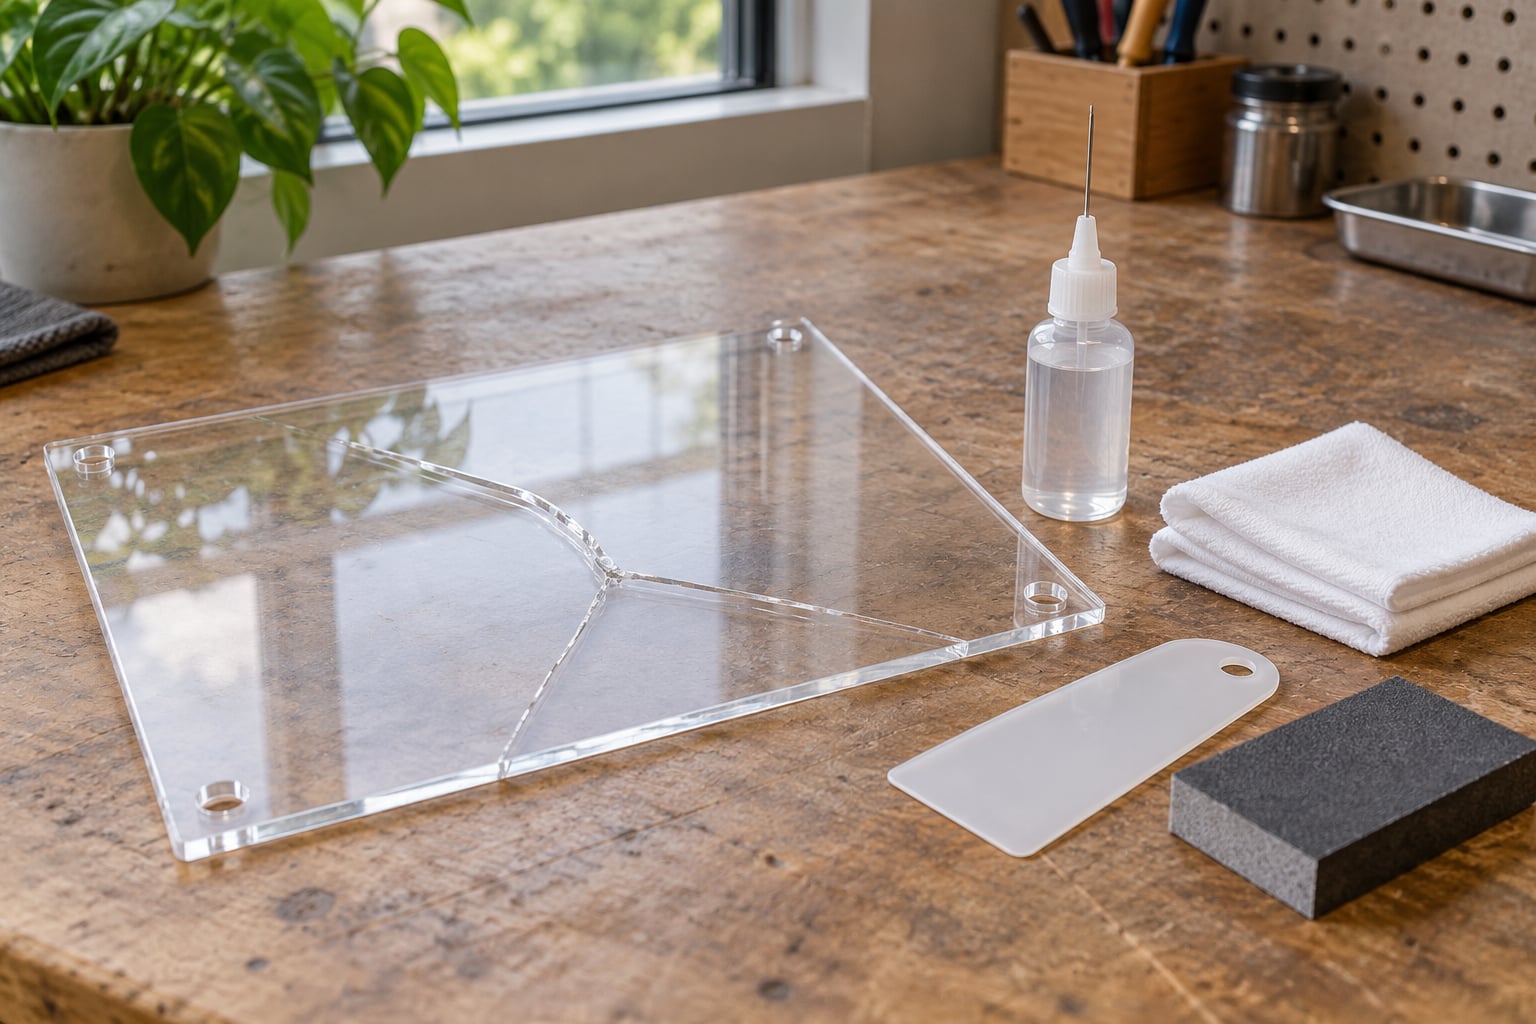
Learning how to repair a cracked acrylic sign face saves you from tearing down a sign that is otherwise perfectly sound. Most cracks in a PMMA sign face can be fixed in an afternoon with a needle-tip acrylic solvent cement, and the repair reads as a single piece of clear plastic once it is polished. The part that trips people up is the adhesive: acrylic does not take ordinary glue, it has to be solvent welded.
This guide is written for small business owners, sign installers and maintenance staff working on channel letter faces, light box diffusers and cabinet panels. If the crack is a clean split and the face is still flat, you can do this yourself with hand tools. If the panel is crazed all over, bowed, or cracked through a mounting hole, stop and read step one before you buy anything.
Table of Contents
- What You Need
- Step-by-Step: How to Repair a Cracked Acrylic Sign Face
- Step 1: Inspect the Crack and Decide Whether the Sign Is Repairable
- Step 2: Clean and Prepare the Damaged Area
- Step 3: Apply the Right Adhesive to the Crack
- Step 4: Hold, Cure, and Trim the Repair
- Step 5: Polish and Check the Finished Sign Face
- Common Mistakes When Repairing Acrylic Sign Faces
- Frequently Asked Questions
- What adhesive works best on a cracked acrylic sign face?
- How long does a repaired acrylic sign face take to cure?
- Will a repaired crack be waterproof and weather resistant?
- Should I sand the crack before applying the cement?
- When is a cracked acrylic sign face better replaced than repaired?
- Final Advice for a Durable Repair
What You Need
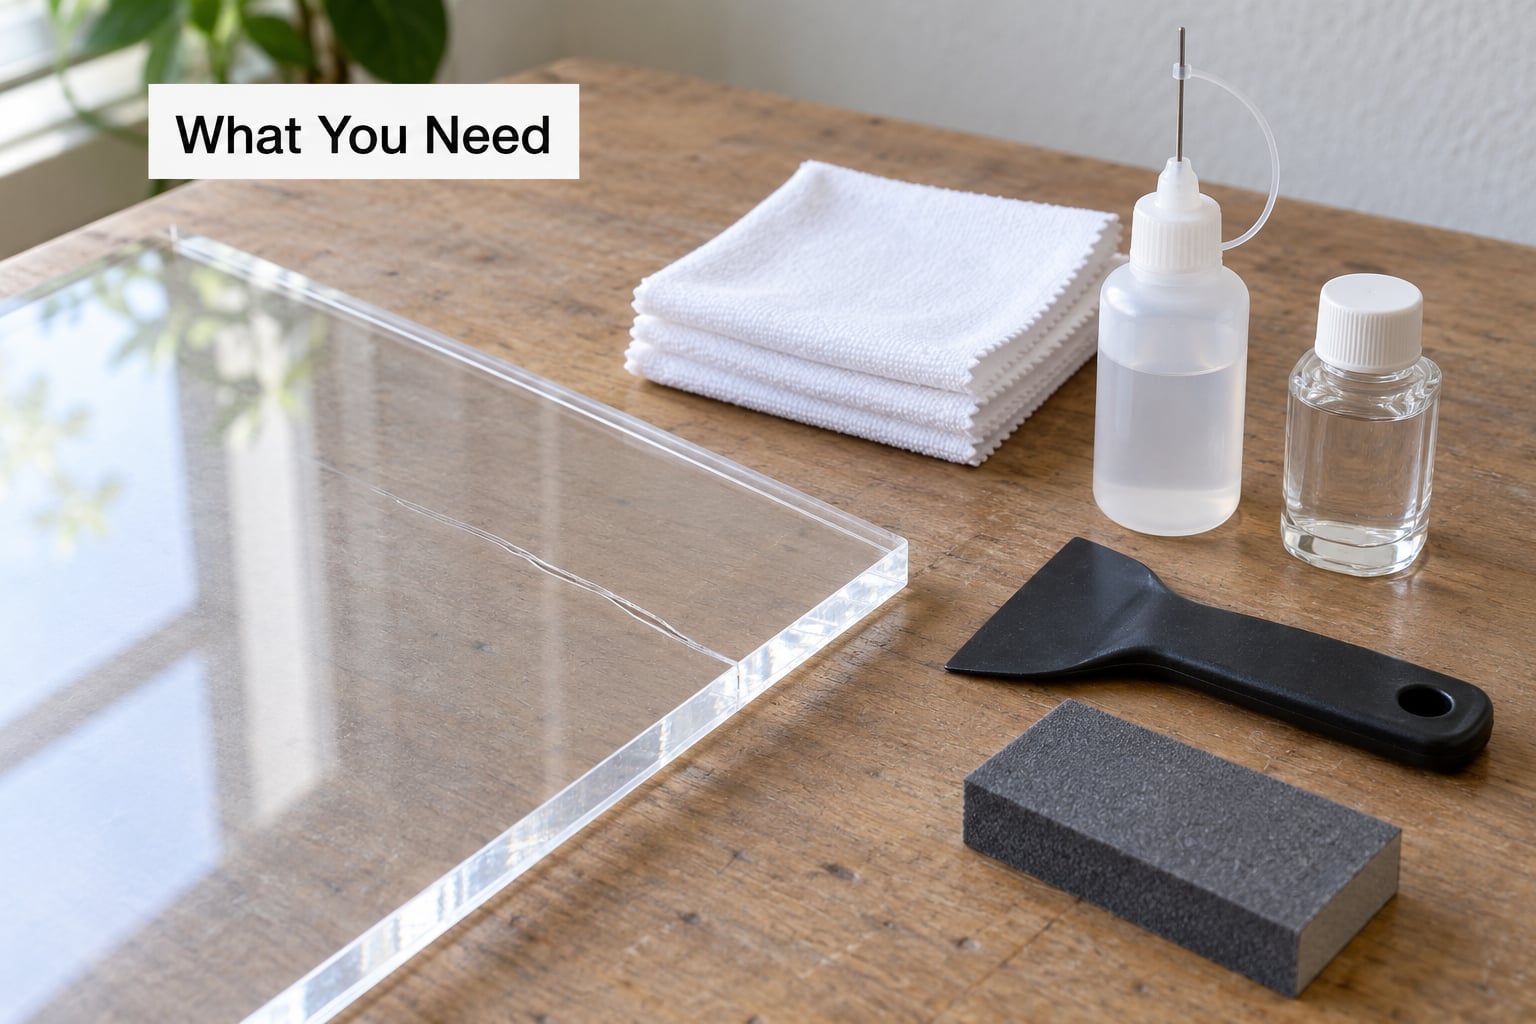
You need very little, and most of it is cheap. Gather everything before you start, because you cannot pause halfway through a cure to go shopping.
- Acrylic solvent cement in a needle-tip or needle-cap bottle. Model cement or its equivalents are the same chemistry in different viscosity. This is the one item that is not optional.
- Plastic scraper or card, and a set of flat-backed clamps or tape for holding a tight joint.
- Soft lint-free cloths, mild dish soap, and a bowl of clean water.
- Wet-dry sandpaper in 400, 800 and 1200 grit, plus a plastic-compatible polishing compound.
- Nitrile gloves and clear safety glasses. Solvent cement fumes are unpleasant and the needle tip needs steady hands.
- A small offcut of the same acrylic to test on. Colour and thickness vary between sheets, so always test the cement first.
Avoid isopropyl alcohol, denatured alcohol, acetone and ammonia window cleaners. Experienced fabricators report watching those solvents bring stress crazing into clear acrylic in real time. Warm water and a drop of soap is all you need to clean a face.
Step-by-Step: How to Repair a Cracked Acrylic Sign Face
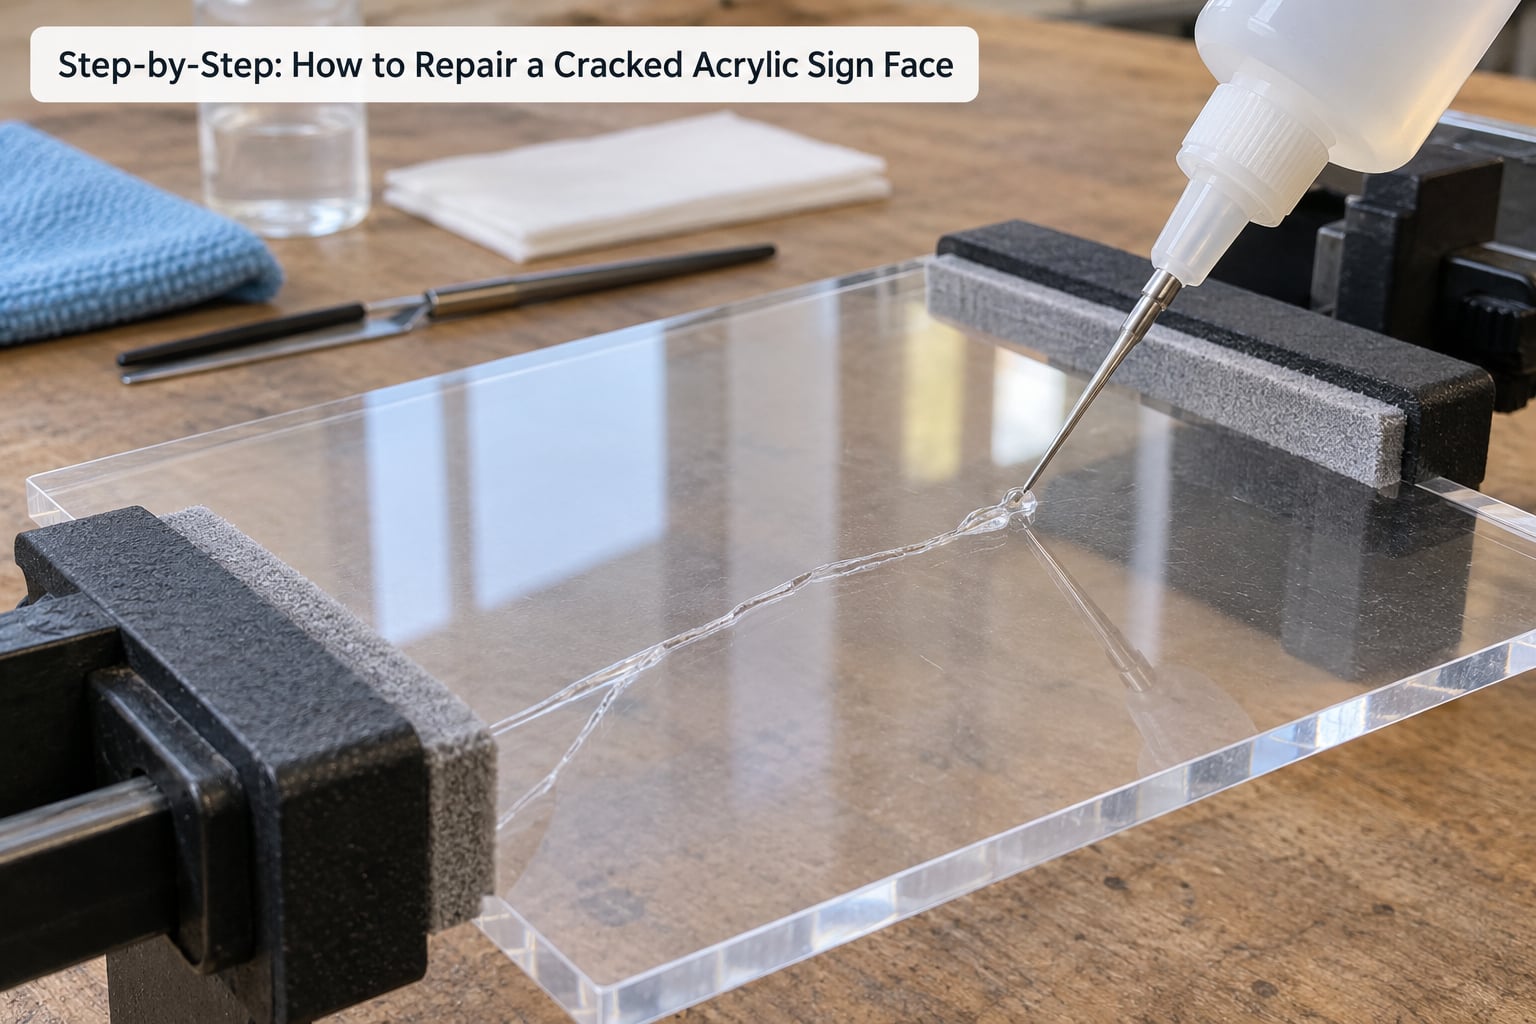
Step 1: Inspect the Crack and Decide Whether the Sign Is Repairable
Run a fingernail along the crack. If your nail catches in a single defined line, you have a split, and solvent cement will wick into it. If the surface feels like a network of tiny veins across a wide area, that is crazing, and it means the panel is under stress from cutting, bending or heat.
Crazing starts at edges and corners and usually spreads over months. It is a warning sign, not a crack, so filling it does not fix the underlying stress. Look at where the damage sits relative to the light source. A crack near an LED module or a neon transformer gets warm every day, which makes any repair harder to hold.
Replace the face rather than repair it when the crack runs through a mounting hole, when the panel has bowed, when a laminate layer has separated from the back, or when the crack covers more than a quarter of the face. Disconnect the power before you touch anything, including for inspection.
Result check: you should be able to trace one clean line with your finger and see daylight through it before you apply anything.
Step 2: Clean and Prepare the Damaged Area
Wash the face with warm water and a drop of dish soap, then dry with a lint-free cloth. Any oil or dust left in the crack stops the cement from wetting the acrylic, and the bond fails weeks later rather than immediately.
Very gently scuff the two faces of the crack with 400 grit so the cement has something to grip. Two light passes is enough. You are not trying to remove material, you are just knocking off the gloss.
Mask the surface around the crack with low tack tape if the crack sits next to graphics or paint. Wipe and dust the area once more before you go further.
Result check: the crack looks dull and slightly wider, with no soap film or loose grit around it.
Step 3: Apply the Right Adhesive to the Crack
Acrylic solvent cement works by partially dissolving the surface of the plastic and fusing the two edges back together. It is not a glue that sits on top. That is why the cement has to be thin and why the needle tip matters.
Test a drop on the offcut first, along an edge where it will not show. It should spread thin, wet the plastic and dry clear within a few minutes. If it beads up, sits on the surface or leaves a white haze, the wrong product is in the bottle.
Apply a thin bead along one side of the crack only, then bring the two edges together. Work from one end so you do not trap air. Capillary action pulls the cement along the full length of the split, which is far neater than trying to fill the line directly and it keeps the repair invisible. Let the assembly sit undisturbed for a few minutes so the cement can soak in, then add a second thin pass if any part of the crack still looks open.
Skip super glue, construction adhesive and general purpose epoxies. They bond to the surface rather than the plastic, they yellow, and the stress of the joint turns them brittle.
Result check: the crack line disappears into a clear, slightly glossy seam when viewed at an angle.
Step 4: Hold, Cure, and Trim the Repair
If the face is flat, tape across the joint with low tack tape and press the edges together by hand. If a piece is slightly sprung, use a clamp with a soft pad between the jaw and the acrylic. Tight clamping on panels of 3mm or thinner creates fresh cracks, so clamp only until the seam closes and no further.
Leave it alone for the full cure time listed on your cement, which is commonly several hours for a full set. Resisting the urge to test it early matters more than anything else in this step. Peel the tape off slowly at an angle once the cement has gone firm, and pull any squeeze-out while it is still soft with a plastic scraper held flat.
Result check: the seam feels hard to a fingernail and does not flex when you gently press either side.
Step 5: Polish and Check the Finished Sign Face
Work the seam with 800 grit, then 1200, wet at each stage so you do not generate heat on the face. Keep the sandpaper moving in one direction and stay inside the repaired area. Sanding hard across the joint thins it faster than the surrounding face and leaves a shallow trough that shows under a light box.
Finish with a plastic-safe polishing compound to bring the gloss back, then wipe with a damp cloth and dry with a clean one. Check the panel under the sign’s own illumination as well as in daylight, because a repair that reads clear in a bright room can show as a faint line when lit from behind.
If graphics were disturbed, reapply vinyl or paint only after the repair has cured for a full day, and stay well clear of the seam.
Result check: the repaired area looks and feels like one continuous panel of acrylic.
Common Mistakes When Repairing Acrylic Sign Faces
Using household glue. Super glue and construction adhesive do not fuse PMMA. They sit on the surface, yellow within months and fail when the panel flexes in wind or heat. Use a true acrylic solvent cement every time.
Cleaning with the wrong solvent. Isopropyl alcohol, denatured alcohol, acetone and ammonia window cleaners have all been reported to trigger crazing in clear acrylic. Soap and water is safer and works fine for prep.
Clamping too tightly. Thin panels of 3mm or less crack again under pressure. Clamp just enough to close the seam.
Pouring cement instead of wicking it. Flooding a crack leaves solvent trapped in the joint, which keeps the acrylic softened and weak. A thin bead from one end does a better job.
Sanding aggressively. Dropping straight to 1200 grit leaves a scratch that outshines any polished repair. Start at 400 and work up, wet.
Repairing a crazed or structural split. Filling crazing hides the symptom while the stress stays in the panel, and a crack through a mounting hole never regains its strength. Replace those faces.
Testing on the mounted sign. Always run a drop on an offcut first, keep the sign powered down, and work on a padded bench rather than a ladder.
Frequently Asked Questions
What adhesive works best on a cracked acrylic sign face?
A thin acrylic solvent cement sold in a needle-tip bottle is the right product, because it wicks into the crack by capillary action and fuses the acrylic back into one piece. Model cement and its equivalents are the same chemistry in different viscosities. Cyanoacrylate and general epoxy do not bond to acrylic and will yellow over time.
How long does a repaired acrylic sign face take to cure?
Most acrylic solvent cements need several hours to reach a firm set, and a full cure is usually reached overnight. Treat anything less than the time printed on your product as not finished. Avoid flexing or clamping the panel again during that window, because a bond that is disturbed while it is still soft will never fully harden.
Will a repaired crack be waterproof and weather resistant?
A properly solvent welded joint is as strong as the surrounding acrylic and handles rain, wind and UV exposure about as well, because the cement fuses into the sheet rather than coating it. The weak point is the surface finish, not the joint. Confirm full cure before remounting, and check the surrounding seals and edges while you are up there.
Should I sand the crack before applying the cement?
A light scuff with 400 grit on both faces of the crack helps the cement grip, and two gentle passes are plenty. The goal is to remove gloss, not material. Sanding after the repair, wet at 800 and 1200 grit, is what makes the finished seam disappear under the sign’s own light.
When is a cracked acrylic sign face better replaced than repaired?
Replace the face when the crack passes through a mounting hole, when the panel is bowed, when a laminate layer has separated from the back, or when the damage covers more than about a quarter of the face. Crazing that spreads across a wide area is also a replacement job, since the stress causing it remains in the panel.
Final Advice for a Durable Repair
Start by inspecting the crack with the power off. If it is one clean line, the panel is flat and the face is not crazed, clean the area with soap and water, scuff it lightly, and wick in a thin acrylic solvent cement with a needle-tip bottle. Hold the seam with just enough pressure to close it, let the adhesive cure fully, then sand and polish wet until the repair disappears under the sign’s own light.
Do not skip the test drop on an offcut, and do not reach for household glue when the cement is slow to grab. Those two habits account for most failed repairs.