Applying for a sign permit means submitting your sign drawings and site plan to your city or county, paying the review fee, and waiting for written approval before anyone installs anything. Most small business owners handle it in six steps: find the right office, confirm a permit is actually required, get written permission from the property owner, submit a measured packet, answer correction notices, then install and schedule the final inspection. It usually takes less time than people expect, but only if the application is complete on the first pass.
Rules, fees, and forms change from city to city and sometimes even between departments within one city, so treat anything you read online as a starting point and verify it locally. Permitting is the step most likely to delay a sign project, which is why sign shop owners and business owners alike plan the permit before the sign gets designed.
Table of Contents
- What You Need to Apply for a Sign Permit
- How to Apply for a Sign Permit, Step by Step
- Step 1: Confirm Which Permit Rules Apply
- Step 2: Gather the Sign and Property Details
- Step 3: Check the Proposed Sign Against Local Rules
- Step 4: Submit the Sign Permit Application to the Correct Office
- Step 5: Respond to Corrections or Revisions
- Step 6: Install the Sign and Schedule Inspections
- Common Mistakes That Stall an Application
- Frequently Asked Questions
- Do I need a permit for every type of sign?
- Can I apply for a sign permit online?
- How long does it take to get a sign permit?
- Can a sign company apply for the permit for me?
- What happens if I change the sign after it is approved?
- Conclusion
What You Need to Apply for a Sign Permit
The short answer: a complete set of measurements and a set of drawings. Every jurisdiction asks for some variation of the following, and the ones marked as required are the ones that most often send an application back.
- Property details — the full street address, parcel or account number, and the zoning district or sign district for the site.
- Sign dimensions — overall width, height, and depth of the cabinet, plus the sign face area.
- Location measurements — height of the top of the sign above finished grade, height above the sidewalk or roofline, and the setback from the property line, right-of-way, or nearest sign.
- Building frontage — the linear frontage of the facade the sign attaches to, since size caps are usually calculated per foot of frontage.
- Illustrated drawings — an elevation view of the proposed sign, a scaled facade drawing showing where it mounts, and a site plan showing the lot and setbacks.
- Attachment and structural details — how the sign is anchored or mounted. Freestanding monument and pylon signs often require sealed structural calculations from a licensed engineer.
- Electrical information — for any illuminated or internally lit sign, the power source, voltage, circuit, and the UL listing number of the sign components.
- Photographs — of the existing facade and the surrounding area, which reviewers use to judge visibility and context.
- Letter of authorization — a signed letter from the property owner letting you apply and install. If you lease the space, this is the document that stalls the project most.
- Payment — the plan review fee, plus the permit issuance fee once the application is approved.
Requirements vary by city, county, and sign type. A window graphic on a leased storefront may need nothing more than a quick form, while an illuminated blade sign over a public sidewalk can pull in zoning review, an electrical permit, and a right-of-way encroachment approval all at once.
How to Apply for a Sign Permit, Step by Step
Step 1: Confirm Which Permit Rules Apply
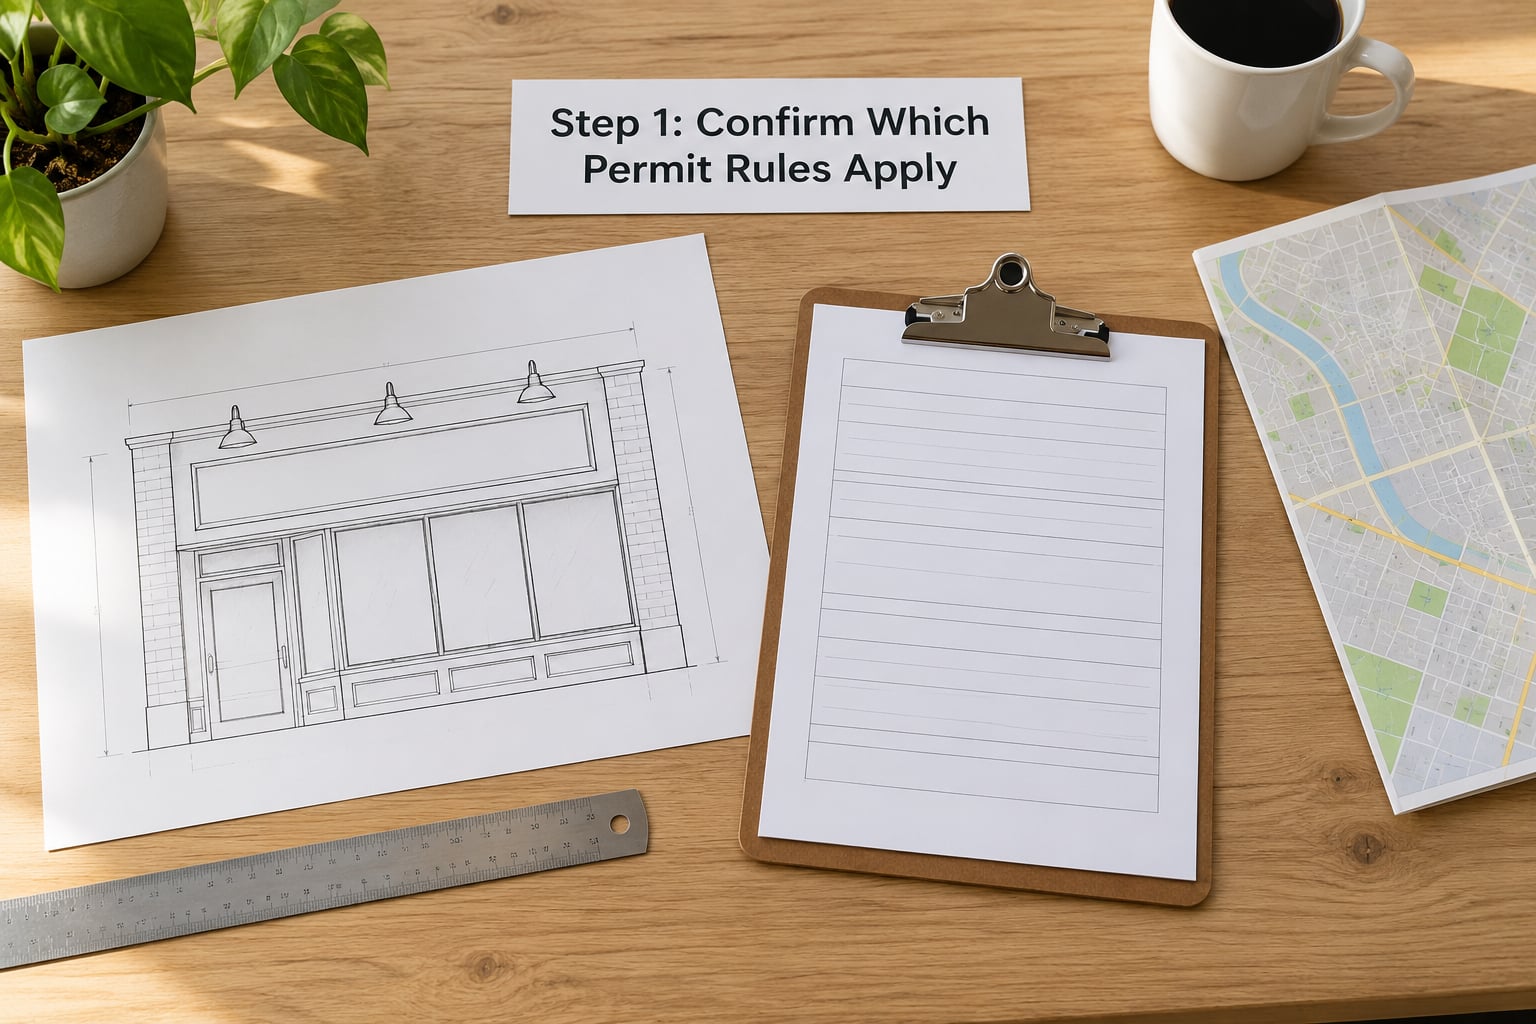
Start by finding out who actually issues sign permits where you are. In many cities it is the planning or zoning department, in others it is building or code enforcement, and in a handful it is public works because the sign projects over a public sidewalk. Search your city name plus “sign permit” and look for the department page, not a sign company’s page.
You also need to know which approvals are separate from the sign permit. A sign permit covers the sign itself. A zoning or special approval may cover whether the use and design are allowed, an electrical permit covers the wiring, and a business license covers the operation. Installing first and permitting later is how owners end up with three different violations on one storefront. Step one is done when you can name the department, the form, and the fee.
Step 2: Gather the Sign and Property Details
Measure the sign, not the wall it will hang on. You need the face dimensions, the cabinet depth, the height of the top of the sign above finished grade, and the distance from the sign to the nearest property line.
Then measure the site: the building frontage the sign fronts, the distance from the property line to the facade, and the height of the sign relative to the roofline. Build one packet containing the measurements, the drawings, the photos, the letter of authorization, and the fee. A single organized packet is what makes a fast review possible.
Step 3: Check the Proposed Sign Against Local Rules
Compare the sign against the ordinance before you spend anything on fabrication. Most sign codes cap total sign area per foot of frontage, set maximum height, limit how far a projecting sign can extend over a sidewalk, and restrict illumination, brightness, and animation.
Check for overlay rules too. Downtown districts, scenic corridors, historic districts, and airport approach zones add layers that are invisible until someone looks up the address. If your sign does not comply, you may need a variance, which is a separate application with its own hearing and its own timeline. This step is complete when you know the sign is allowed as drawn, or you know exactly what variance you need to request.
Step 4: Submit the Sign Permit Application to the Correct Office
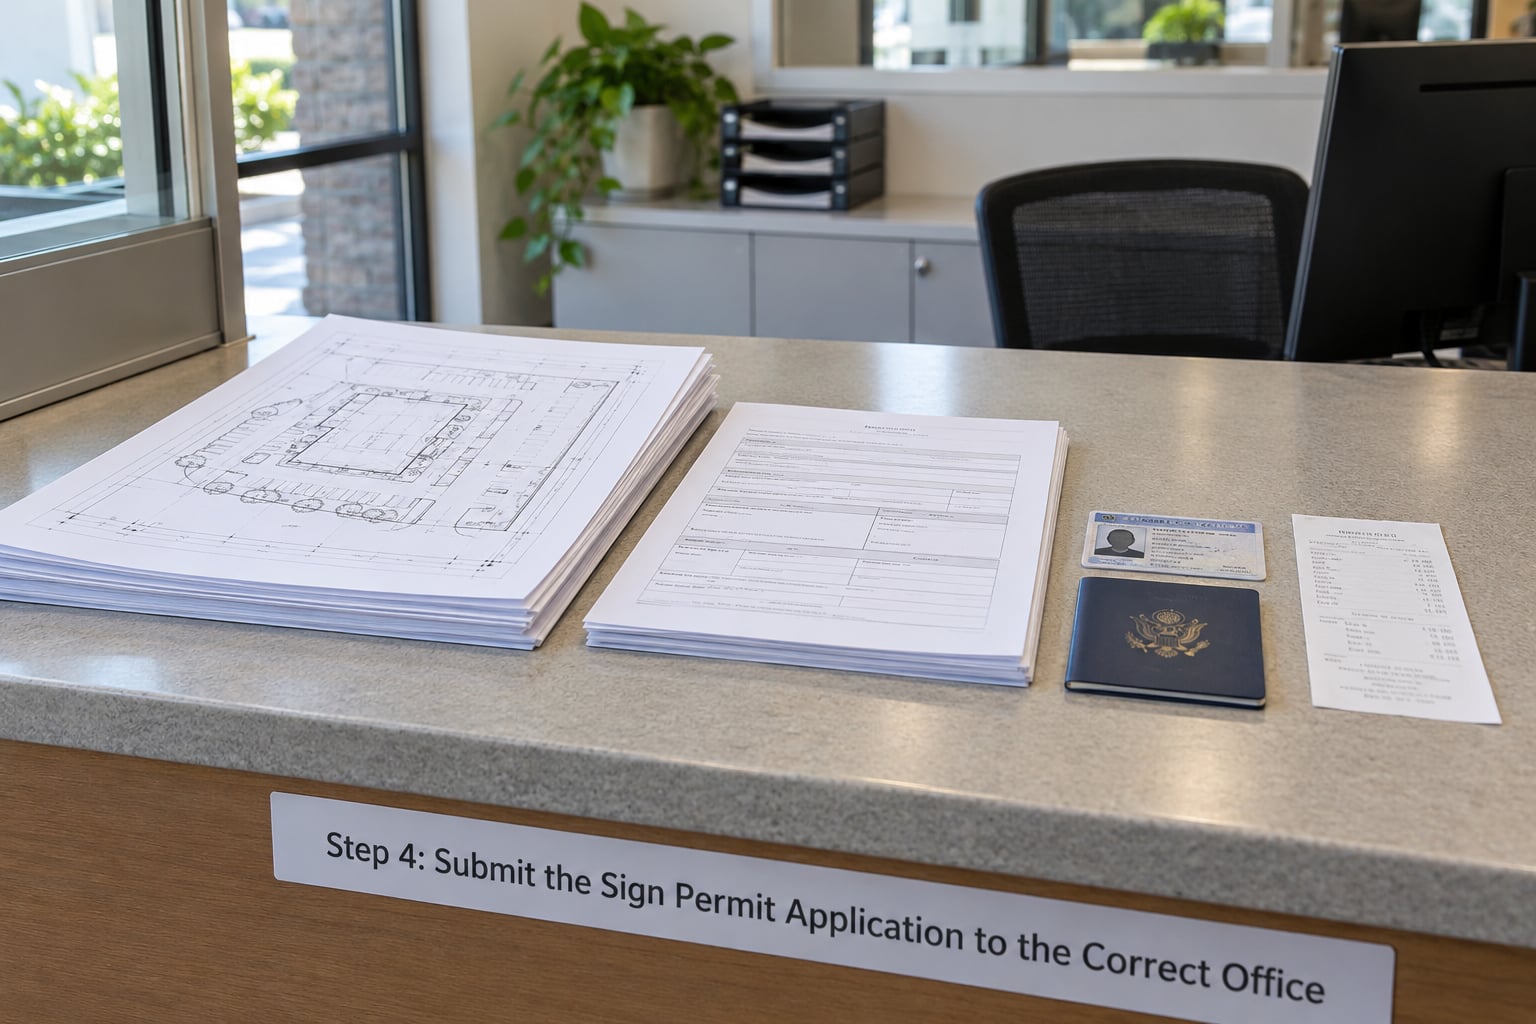
Most jurisdictions take applications in person at a counter, by mail, or through an online permit portal, and the same city often runs all three. In-person counters can mean a one to two hour wait and no phone option, so plan the trip. Online portals are usually faster but often upload documents one at a time and stall if a file is the wrong size or format.
Pay the review fee at submission, because most offices will not assign your application to a plan reviewer until payment clears. Then keep a complete submission record: the confirmation or receipt number, the date, a copy of everything you uploaded, and the name of the person who took it. Your step is done when you have a permit number and a status you can check, not just a stack of papers.
Step 5: Respond to Corrections or Revisions
Plan review rarely passes cleanly on the first pass. Reviewers issue correction notices for missing dimensions, unclear scale, absent seal or signature blocks, missing letter of authorization, and drawings that do not match the site plan. Each notice comes with a deadline, and missing it can close the application.
Revise what they asked for and nothing more, resubmit through the same portal or counter, and pay the resubmittal fee if your city charges one. When a rule is genuinely unclear, ask in writing instead of guessing, and keep the answer in your file. Most communities allow one or two correction cycles. The step is done when you have the issued permit in hand, in writing and stamped. Do not order the final sign before that happens, even if the shop is ready.
Step 6: Install the Sign and Schedule Inspections
Install exactly what was approved. Different face material, different height, or extra lighting is a change to the permit, and the inspector will see it from the street. The installer is usually responsible for calling the inspection, and in some cities only a licensed sign or electrical contractor may request one.
Illuminated signs need the electrical permit closed out before the final sign inspection, so coordinate both early. Have your permit number visible on site and take your own photos after installation, showing the sign from the street and the mounting detail. If the inspection fails, you will get a list of items to correct and a re-inspection window; fix only what is listed and resubmit. When it passes, the permit gets closed and any final documents are released for your records.
Common Mistakes That Stall an Application
- Measuring from the wrong reference point. Many height caps are measured to the top of the sign above finished grade, not above the roof. Fix: state the reference point on the elevation drawing so the reviewer is not guessing.
- Missing the letter of authorization. Tenants often discover at review that the property owner has to sign. Fix: request it early and keep a signed copy in every copy of the packet.
- Leaving out electrical information. An illuminated sign with no UL listing number or circuit details comes straight back. Fix: get those from your fabricator before submitting.
- Applying to the wrong jurisdiction. The city reviews city property, the county reviews unincorporated areas, and a site near a boundary can fall under either. Fix: verify the parcel on the county map before filing.
- Changing the approved design. Swapping a face or adding a gooseneck light after approval puts the sign out of compliance. Fix: submit a revision or a face change permit first.
- Installing before approval. Unpermitted signs can be cited and pulled months later, with no retroactive approval in most cities. Fix: wait for the issued permit, then order.
- Ignoring overlay rules. Historic, downtown, and scenic corridor rules add review layers and timelines. Fix: look up the address in the overlay map before designing.
A few habits shorten almost every review: ask the counter whether they review signs over the counter on the spot, since some jurisdictions do simple signs same day; submit one clean, complete packet rather than dribbling documents in; and describe the sign in plain words on the cover sheet so the reviewer does not have to interpret your drawings to learn what you are asking for. If a deadline is driving your project, say so in the cover letter and ask about expedited review, which some offices offer for a higher fee.
Frequently Asked Questions
Do I need a permit for every type of sign?
No. Most codes exempt small signs, changes to sign face without a change in size or lighting, and interior signs. Permits usually apply to new signs, face changes that alter size or illumination, monument and pylon signs, projecting blade signs, awning signage, window graphics above a threshold area, and temporary banners or A-frames in some cities. Exemptions are written into the local sign code, so check your city’s list rather than assuming.
Can I apply for a sign permit online?
In most large cities, yes. The city planning, building, or development services department runs an online permit portal that accepts sign applications, uploads drawings, takes payment, and shows your permit status and correction notices. Smaller cities and counties often rely on a counter or mailed form instead, and some use a third-party platform. If a portal search returns nothing for your city, call the department directly and ask which submission method they currently accept.
How long does it take to get a sign permit?
Plan on roughly one to three weeks for a straightforward wall or monument sign at a mid-size city, and longer for anything with zoning, historic, or variance review. Count from the date your application is accepted, not the date you submit it, since incomplete applications do not enter the queue. Add a week or more for each correction cycle, and remember that electrical sign permits often run on their own clock. Ask for the current turnaround at your counter when you file.
Can a sign company apply for the permit for me?
Usually yes, and for larger projects it is the sensible move. Most fabricators prepare shop drawings, elevation views, site plans, and structural details as part of their quote, then file the application and handle corrections. Some cities require the property owner or a licensed contractor of a specific class to pull the permit, so confirm that before you sign anything. Either way, you stay the applicant of record and you still need the issued permit before installation.
What happens if I change the sign after it is approved?
The installed sign no longer matches the approved permit, which most codes treat as an unpermitted sign. Face changes that alter size, illumination, or mounting require their own face change permit, and any other change usually needs a revision submitted to plan review. The practical risk is a citation, a removal order, and delays to your certificate of occupancy or opening date. Send the revised drawings to the department first, then let the fabricator build to the revised approval.
Conclusion
Start with your local building or zoning department, because that is where the sign code, the form, and the current fee list live. Confirm which rules apply to your address, check the proposed sign against size, height, illumination, and setback limits, then submit a complete, measured packet with the owner’s authorization attached. Wait for the issued permit in writing before the sign is fabricated or installed, and schedule the final inspection as soon as the sign is up. That sequence is the whole process, and it is far faster than fixing an unpermitted sign later.
Permitting rules and office procedures shift from year to year, so verify current details for your jurisdiction before you file. This guide was last reviewed in 2026, and the same six steps still apply.