Vinyl banners tear when the pull concentrates in one spot: two rigid ropes tugging at two grommets, a zip tie tightened until it bites through the hem, or a solid sheet catching wind like a sail with no ship. To hang a vinyl banner so it does not tear, spread the load across many hold points, attach it with elastic bungee cords instead of fixed rope, keep every edge reinforced, and give the wind a way through. Most installs take 20 minutes once you know which of those four things you skipped.
The good news is that every tear pattern I have seen comes down to tension, and tension is easy to control. You do not need specialty tools, a grommet machine, or a permanent mount. Most small businesses get a clean result with bungee cords, zip ties, and ten minutes of measuring.
Table of Contents
- What You Need
- Step-by-Step: How to Hang a Vinyl Banner Between Two Poles
- 1. Inspect the Banner and Plan the Attachment Points
- 2. Choose a Support That Spreads the Load
- 3. Protect the Vinyl Before Fastening It
- 4. Attach the Banner So It Does Not Tear: Evenly and Slightly Slack
- 5. Add Tension and Check for Wind or Edge Failure
- Common Mistakes That Tear Vinyl Banners
- Frequently Asked Questions
- Can vinyl banners be hung outdoors in wind?
- How do I hang a vinyl banner without grommets?
- Should I use zip ties to hang a vinyl banner?
- How do I keep a large vinyl banner from sagging?
- How do I remove a vinyl banner without tearing it?
- What is the best way to secure a banner to a wall?
- Conclusion
What You Need
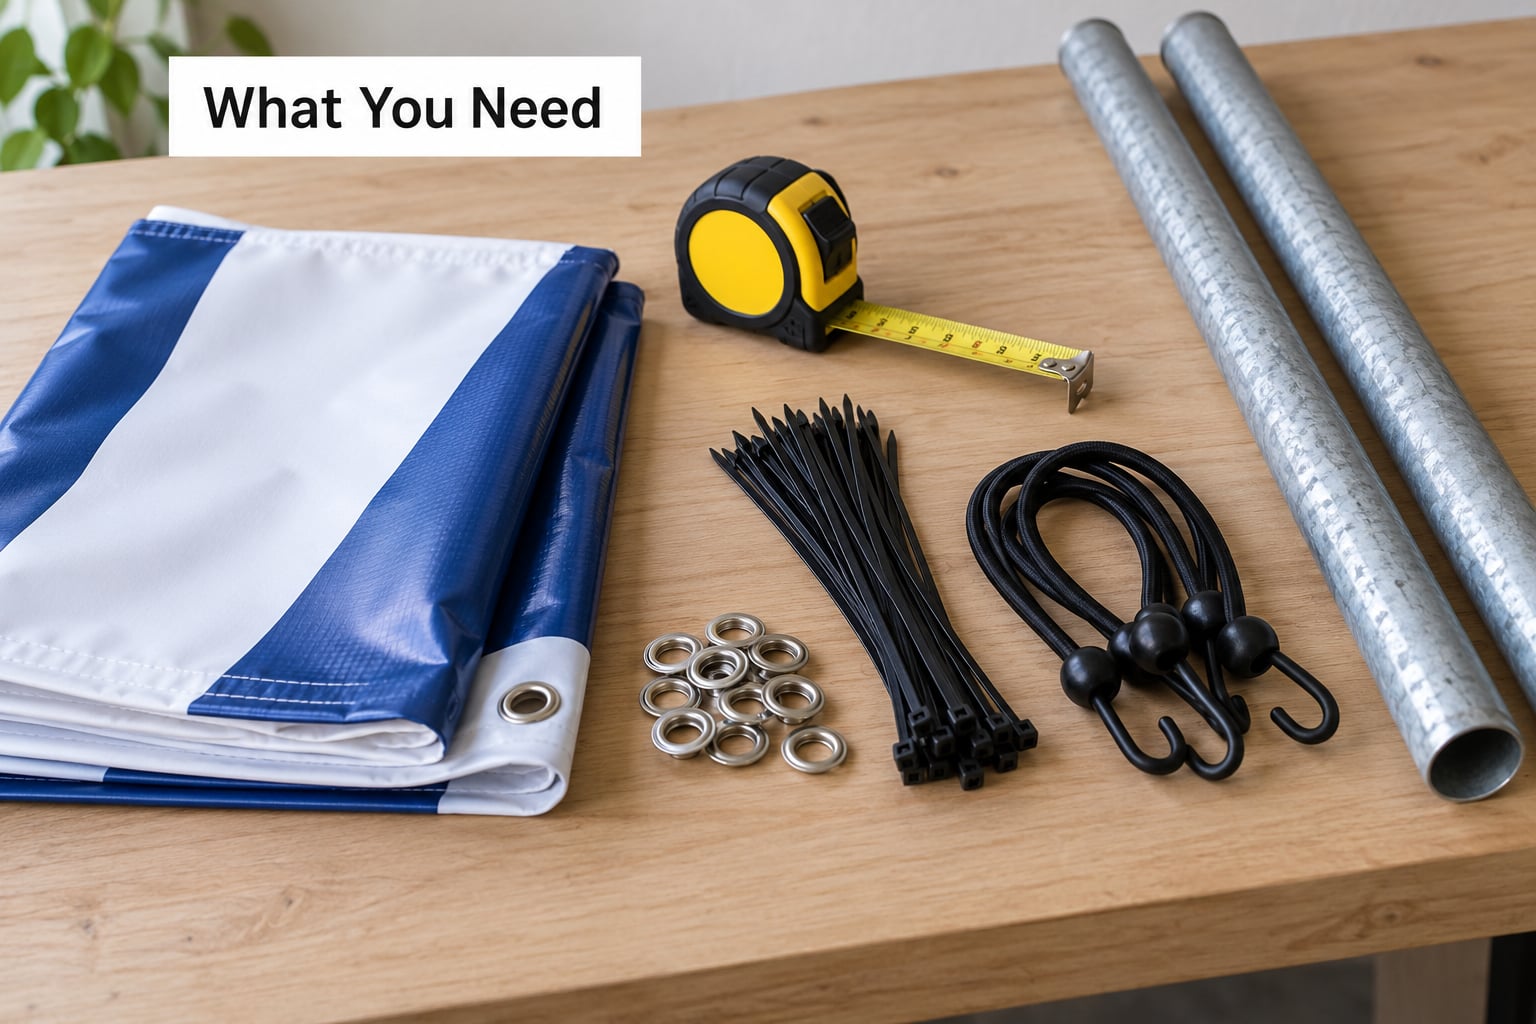
Gather the banner and its hardware before you climb anything. Half of a bad install happens because the only tie-down on site was a length of clothesline.
- The banner — with a reinforced hem if it was made for outdoor mounting. Note whether it has metal grommets, a pole pocket along the top, or nothing at all.
- Bungee cords — the main event. Elastic tie-downs absorb gusts instead of transferring them straight into a grommet. Get two to four, with ball ends or hooks.
- Zip ties — for chain link fence, canopy frames, and other surfaces where you want a hold you can cut off later.
- Rope or cord — only where tension does not change: a fixed frame, a ceiling, or a flagpole.
- Carabiners or spring clamps — for tent frames and any spot where you want to attach and release quickly.
- Measuring tape and a level — a banner hung an inch off-square reads as crooked from a block away.
- Edge clips, hook-and-loop, or magnetic mounts — for indoor use on smooth surfaces when the banner has no grommets.
- Scissors and hem tape — for adding wind slits and sealing a folded edge.
For surfaces you do not own, a rental, or a shared wall, add removable options only: suction cup hooks, magnetic mounts, or a weighted frame. Drilling into someone else’s brick is how a banner lesson turns into a deposit loss.
Here is the short version of which fastener belongs where, and what each one does to the vinyl.
| Surface | Best fastener | Tear risk to watch |
|---|---|---|
| Two poles or posts | Bungee cords through grommets | Corner stress if only the corner grommets are tied |
| Chain link fence | Wide zip ties through grommets | Zip ties tightened too far and chewing the hem |
| Wooden fence or railing | Rope or bungee around the rail and through grommets | Rail edges digging into the back of the vinyl |
| Building wall you own | Screw and washer into masonry or stud | Oversized holes letting the washer pull through |
| Canopy or pop-up tent | Zip ties plus spring clamps | Almost none, no wind load indoors |
| Ceiling or truss | Rope or chain on rated hooks | Over-tensioning upward, which stretches the whole face |
| Flagpole | Carabiners on a halyard, with a short top spreader | Flagpole halyard pinching the vinyl |
| Smooth metal surface | Magnetic mounts or edge clips | Edges peeling away from a magnet over time |
Step-by-Step: How to Hang a Vinyl Banner Between Two Poles
The pole-to-pole mount is the one everybody pictures and the one that tears most often, so it is worth walking through in detail. The same sequence adapts to fences and walls once the support is chosen.
1. Inspect the Banner and Plan the Attachment Points
Look along all four edges before anything else. You are checking for a doubled or welded hem, metal grommets spaced along the top and bottom, or a sewn pole pocket. If you find a raw cut edge with no hem, reinforce it first with hem tape folded over the edge and pressed down with a squeegee, because a raw edge tears under nothing.
Grommets should sit every 12 to 18 inches along the long edges, with one within a few inches of each corner. Corner grommets are where a two-point hang concentrates all the load, and closers to the corner give you extra hold points right where the pulling happens. No page in this space gives you that spacing standard plainly, and it is the single most useful number in this guide.
Measure your opening before you unroll anything. Add roughly 6 to 12 inches of extra width for slack and knot allowance, and note where the two posts sit relative to eye level. Hanging the banner about 5 to 6 feet off the ground puts the message where passing traffic actually reads it.
2. Choose a Support That Spreads the Load
The support decides how much load lands in any one place. A rigid frame, a wall-mounted bar, or two vertical poles carry tension along their whole length, so the banner pulls evenly across the top edge. A loose single-point clip does the opposite: it becomes a hinge, the banner swings from it, and the corner grommet does all the work.
For a wide banner, set your posts or anchors far enough apart that the top edge can be supported at multiple points rather than just the two ends. If you are between two poles, make sure both poles are solidly in the ground and plumb. A leaning pole turns a flat banner into a twisted one, and twist is what splits hems.
Work top edge first and bottom edge last. Securing in that order keeps the banner square and stops the twisting that pulls a corner out of shape.
3. Protect the Vinyl Before Fastening It
Everything touching the vinyl should be smooth, round, and wide enough to spread the pinch. Skip anything with a sharp edge that could sit behind the banner. A galvanized pipe, a fence rail corner, or a bracket bolt head can all slice the back of the sheet without you ever seeing it, because the damage happens face-in.
Pad contact points with a short length of rubber tubing split lengthwise, or with a folded scrap of the same vinyl. Wrap the pipe ends where the banner crosses them. On fences, run a protective sleeve along any rail the vinyl rests against.
When you use zip ties, leave the head turned away from the banner face so nobody catches it, and leave a fingertip of slack rather than cinching down. A zip tie is a fastener, not a tensioning device; it holds position, it should not be doing the pulling.
4. Attach the Banner So It Does Not Tear: Evenly and Slightly Slack
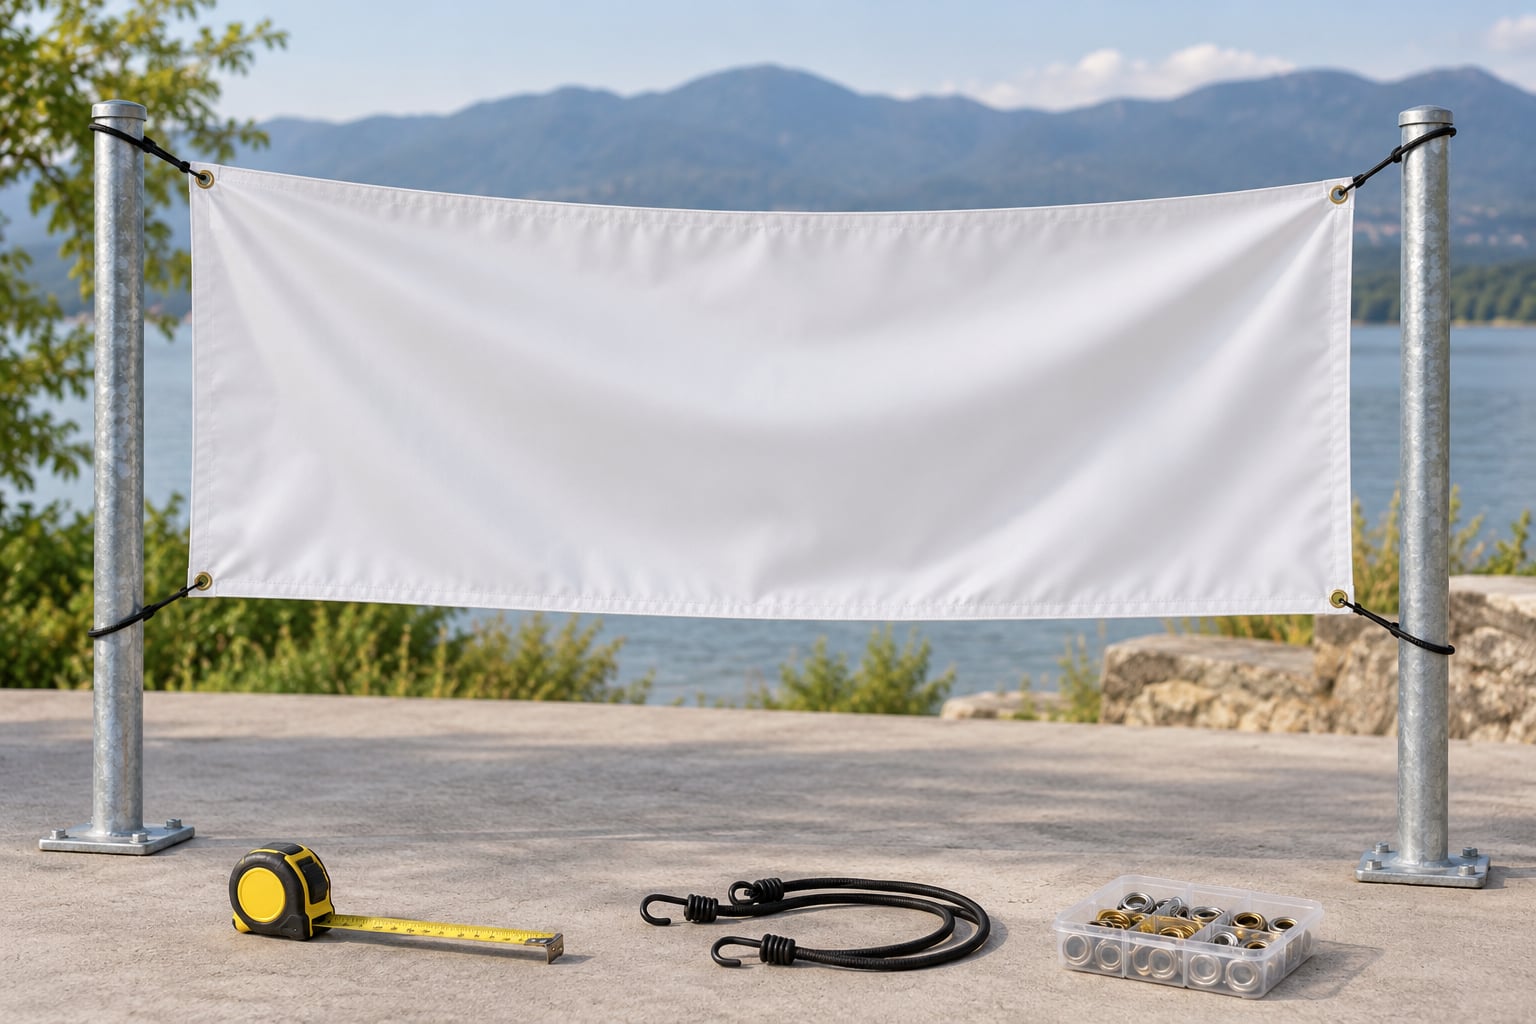
Run each bungee cord through a grommet, around the pole, and back through the next grommet along the top edge. Repeat at the bottom. That pattern gives you several hold points across each edge instead of two, and the elasticity absorbs gusts rather than translating them into grommet stress.
Attach everything loosely first, work across the banner, then tighten in small increments. The face should lie flat with a little movement, not drum-tight. Over-tightening stretches the vinyl substrate, distorts the print, and concentrates load at the corners, which is the fastest route to a split seam.
Angle the two bottom corners down about 15 degrees rather than pulling them straight out level with the top. That downward angle lets air escape from under the banner instead of ballooning behind it. For a rope-only mount, the shoestring tie works the same way: lace the rope back and forth through alternating grommets so the pull runs along the hem instead of through one ring.
5. Add Tension and Check for Wind or Edge Failure
Once the banner is up, give it a hard tug from the center of each edge and watch how it responds. A good install returns to flat with no creases, no bowing, and no scraping. If a corner lifts and flaps every time wind passes, that corner needs another hold point closer to it.
For any outdoor solid vinyl banner, cut wind slits. Make semicircular cuts 2 to 3 inches wide in the face of the banner, spaced 12 to 18 inches apart, with the flat side of the arc facing down so rain runs out. Air passes through, pressure drops, and the sheet stops behaving like a sail. This is the single most effective DIY tear-prevention move and most guides bury it in a care page.
Material choice matters as much as the cuts. Mesh vinyl lets air pass through the whole surface and is the better pick for street poles, fences, and anything above a second story. Solid 13oz vinyl is tougher and prints better for close-range indoor or storefront work, but it needs wind management.
Finally, know when to take it down. A gust front, a storm forecast, or a banner that starts snapping in the wind all mean it is time to remove it. A saved banner is cheaper than a replaced one.
Common Mistakes That Tear Vinyl Banners
Using rigid rope between two poles. Rope holds its length, so every bit of wind load travels to the grommets attached to it. Bungee cords stretch and give. This single swap fixes most corner tears.
Cinching zip ties until they bite. The teeth dig into the hem and the stress concentrates in a tiny circle. Tighten until secure, then stop.
Hanging from only the corner grommets. Two points on a large banner mean the entire weight of the sheet pulls through two holes. Use the grommets along the edges.
Over-tensioning one side. A banner pulled square on one end and tight on the other twists, and twisted vinyl splits along the hem. Tighten both sides in the same small increments.
Drilling through the banner face. Mount to a frame or a bar, then tie the banner to it. Never put a screw through the printable face.
Leaving a solid sheet in the wind with no relief. Without slits or mesh, the banner fills, and a filled banner pulls on its hold points until something gives.
Sharp hardware behind the vinyl. Brackets, bolt heads, and pipe ends cut from the back where you cannot see the damage.
Folding the banner when you take it down. Folds delaminate printed graphics and leave a crease that will never hang flat again. Roll it print side out and store it in a tube.
Removing it by pulling one corner. Support the weight as you unclip, and unclip from the bottom up. Letting a full-size banner drop onto its own edge will tear the hem or the grommets.
A couple of safety notes worth a sentence. Two people make any install above head height much safer, and one of them should stay at the base of the ladder. If the mount is street-facing, check local sign ordinances and get landlord approval before the first hole goes in.
If a banner is already torn, clean and dry the area, cut a patch slightly larger than the damage from the same vinyl, back it with hem tape on both sides, and press it flat with a squeegee. A tear at a grommet is usually fixed the same way, or by setting a new grommet through doubled material beside the old hole rather than in it.
Frequently Asked Questions
Can vinyl banners be hung outdoors in wind?
Yes, with the right material and wind relief. Mesh vinyl is the safest outdoor choice because air passes through the whole face. Solid vinyl needs wind slits cut into it, 2 to 3 inches wide and 12 to 18 inches apart, and should come down ahead of a storm. No banner is storm-proof.
How do I hang a vinyl banner without grommets?
Use the surface rather than the banner. A pole pocket slides straight onto a pole with no point load at all. For walls, edge clips, hook-and-loop, or magnetic mounts grip the border and leave the face untouched. Double-sided banner tape works well for lightweight indoor or short-term party use.
Should I use zip ties to hang a vinyl banner?
Yes, on chain link fence, canopy frames, and metal railings. Thread them through the grommets, leave a fingertip of slack, and turn the head away from the printable face. Zip ties are a holding fastener, not a tensioning device. Over-tightened ties dig their teeth into the hem and are a common tear source.
How do I keep a large vinyl banner from sagging?
Spread the load instead of pulling harder. Tie bungee cords through several grommets along the top edge rather than only the corners, fit grommets every 12 to 18 inches if yours are sparser, and keep the bottom corners angled about 15 degrees down so air escapes. A taut banner with an unsupported middle will always dip in the center.
How do I remove a vinyl banner without tearing it?
Support the weight with one hand as you unclip, and work from the bottom edge upward so the sheet never drops onto its own corner. Cut zip ties rather than yanking them. Roll the banner print side out instead of folding it, and never drag it across a rough surface while it is still half attached.
What is the best way to secure a banner to a wall?
Mount a bar or cleat to the wall first, then tie the banner to that with bungee cords so nothing pierces the printable face. Use masonry screws or screws into studs with washers sized larger than the grommet opening. If you rent the wall, skip drilling and use hook-and-loop, edge clips, or a weighted frame.
Conclusion
Four things decide whether a vinyl banner survives the season, and none of them are expensive. Check how it will be attached: reinforced hem, grommets every 12 to 18 inches, and a hold point near each corner. Spread the load across a solid support instead of two corner points. Protect the vinyl from anything sharp sitting behind it. Then tension it evenly with elastic bungee cords and leave it slightly slack rather than pulled drum-tight. Add wind slits or choose mesh for outdoor mounts, and take it down before the weather turns. That is how to hang a vinyl banner so it does not tear, and it holds up to reuse next season.