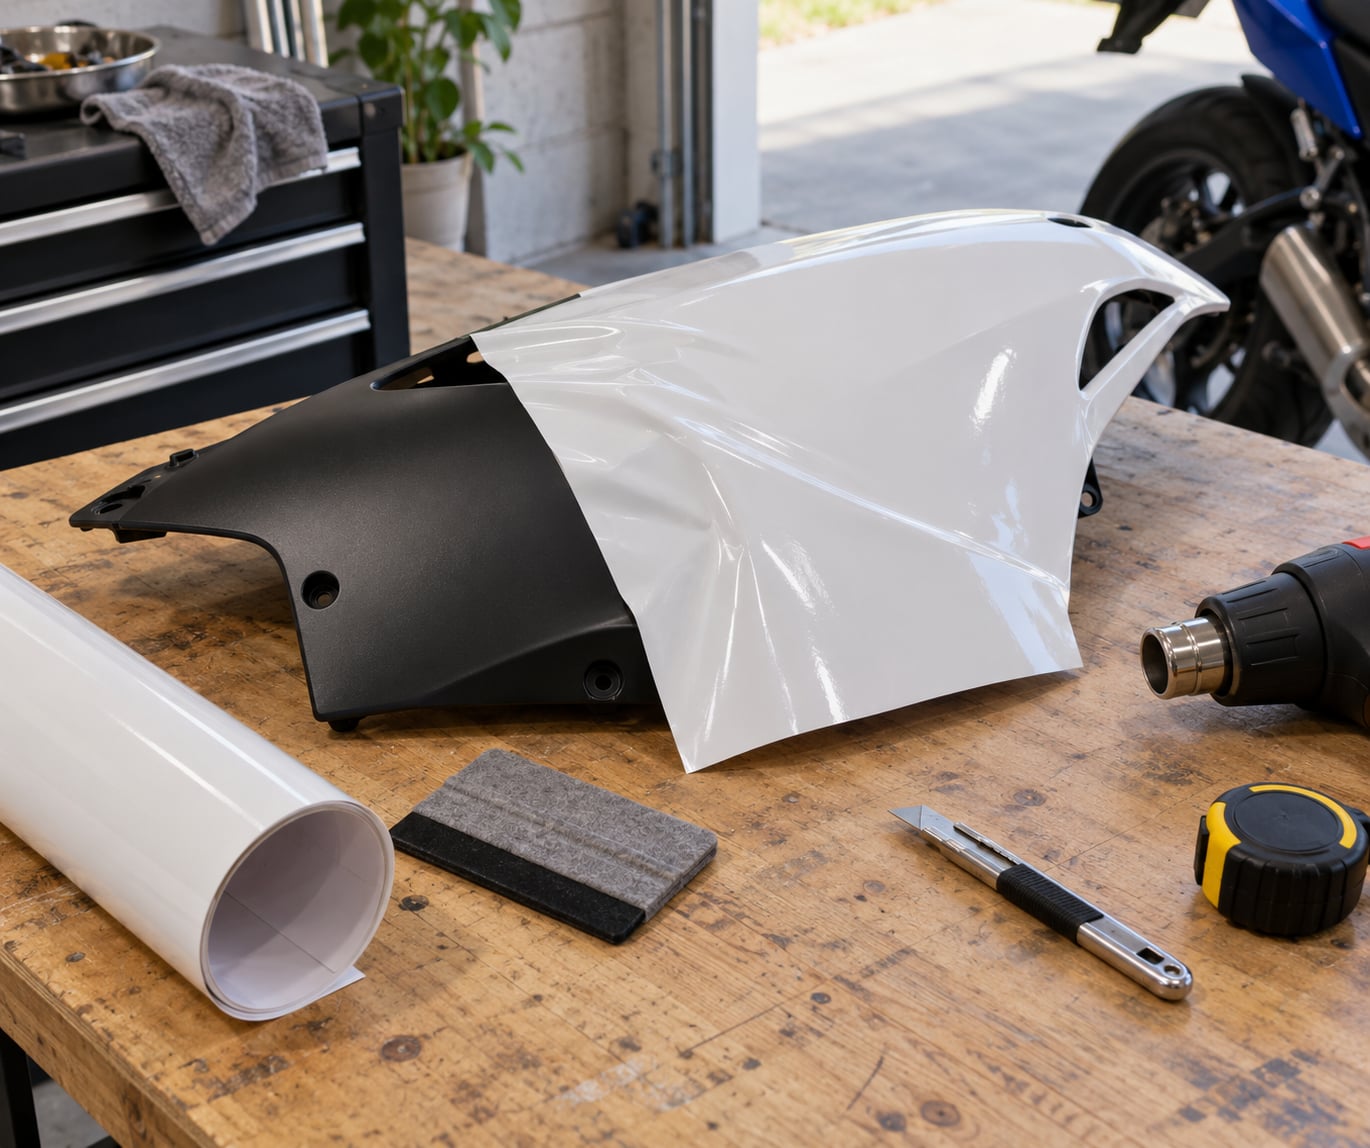
Wrapping a motorcycle fairing means putting a self-adhesive cast vinyl film over clean, undamaged plastic to change its colour or finish, and peeling it off again later without touching the paint underneath. The whole job is four moves repeated: clean the panel with isopropyl alcohol, anchor the film, work it outward from the centre with a felt squeegee, then trim and heat-seal the edges. A first-timer should budget a full weekend for both sides plus the front cowl. I have watched a lot of riders learn this the hard way, and nearly every bad result traced back to rushing one of those four moves.
This guide is the version I give friends: how to wrap a motorcycle fairing step by step, with the awkward parts explained rather than glossed over. Updated for 2026, and written for a garage with a table, not a professional booth.
Table of Contents
- What You Need
- How to Wrap a Motorcycle Fairing
- Prepare the Fairing and Workspace
- Measure and Cut the Vinyl
- Apply the First Section
- Smooth the Curves and Contours
- Trim Seams and Edges
- Finish and Inspect the Wrap
- Reassemble the Motorcycle
- Common Mistakes
- Frequently Asked Questions
- Can I wrap a motorcycle fairing without removing it from the motorcycle?
- What type of vinyl is best for a motorcycle fairing?
- How long does it take to wrap a motorcycle fairing?
- How do I remove small bubbles or wrinkles from vinyl?
- How long should I wait before washing or riding the motorcycle after wrapping?
- Can I wrap a fairing that has scratches or damaged plastic?
What You Need
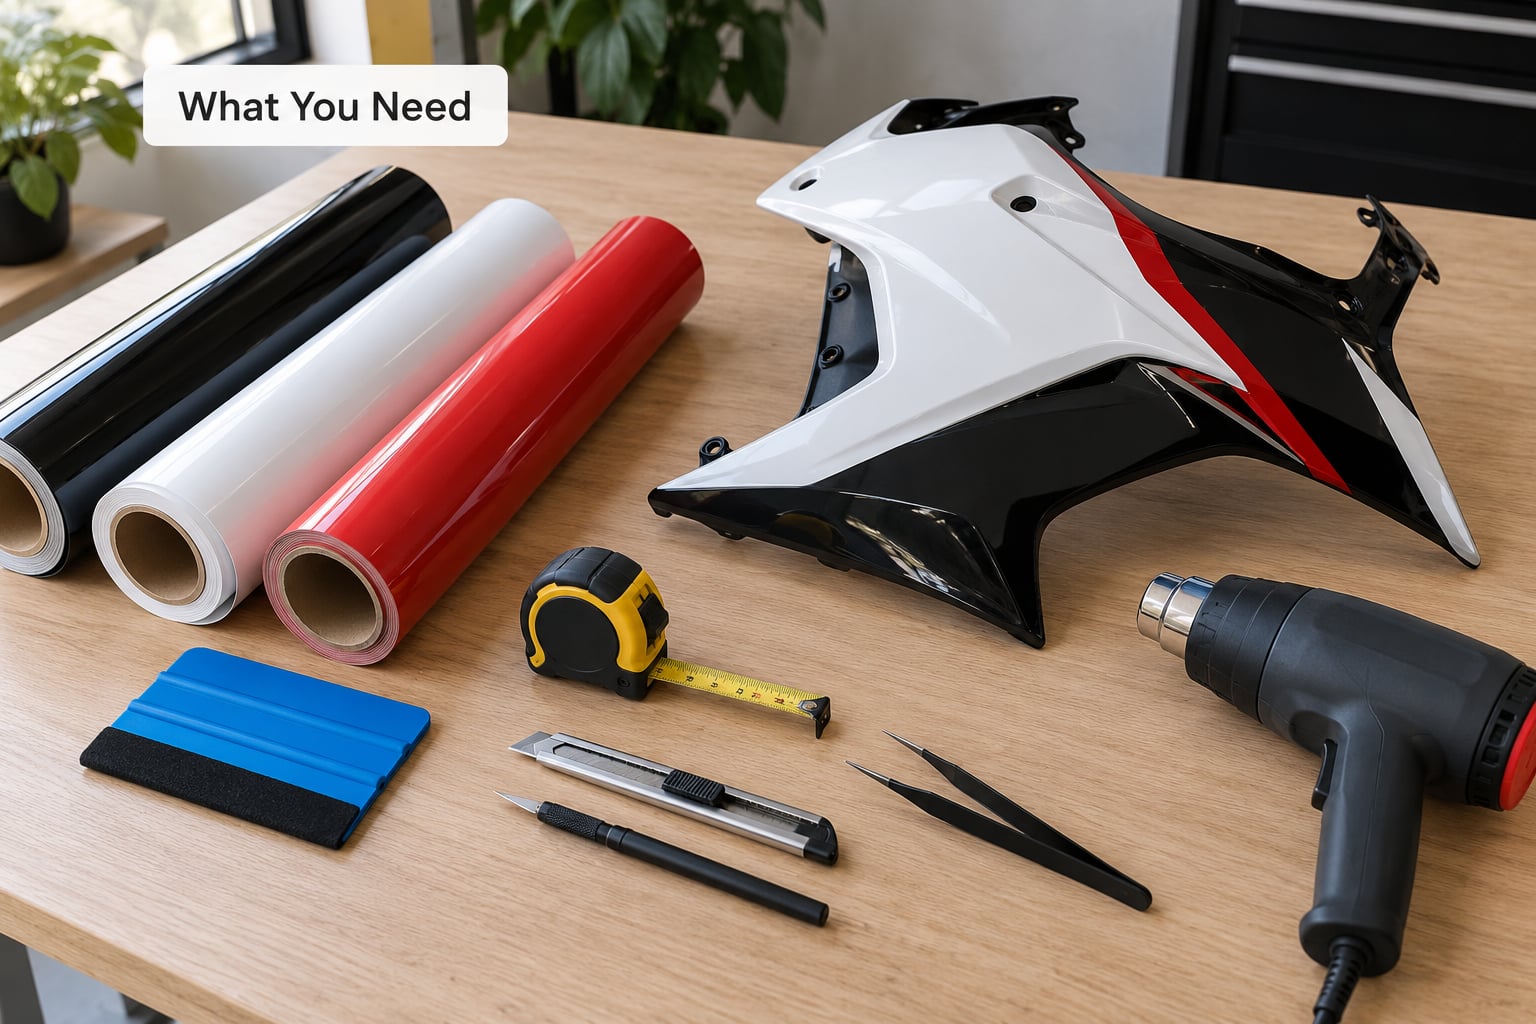
Gather everything before the panel comes off. Once you are mid-application, hunting for a squeegee means peeling back film you already laid down, and that is how creases happen.
- Cast vinyl film in a 60 inch wide roll. Cast film such as 3M 2080 or 1080 series, Avery Dennison SW900 or ORACAL 970RA conforms to curves that calendered film will crack on. Budget roughly 6 to 10 square feet for a pair of side fairings, plus 3 square feet for the front cowl and nose.
- Felt-edge squeegee or applicator puck. The soft felt edge pushes air out without scratching gloss film. A hard plastic squeegee is fine for matte finishes only.
- Heat gun or a hair dryer on high. Warmth relaxes the film so it stretches around curves and shrinks back into a recess. Keep it moving.
- 70% or higher isopropyl alcohol and lint-free cloths, plus a clean microfibre towel. Never apply film over wax, silicone or road film.
- Precision craft blade and spare blades. Change the blade the moment it drags. A dull blade is how people nick the plastic.
- Knifeless tape for creasing a tight radius around a headlight aperture or a vent edge, where a blade would be working close to the plastic.
- Masking tape for marking a centre line and a seam line before you cut anything.
- Digital thermometer, to keep the workspace between 18 and 24 C (65 and 75 F). Cold film fights you.
Add a small infrared thermometer if you plan to heat-seal edges later, and put a dust sheet over anything nearby that sheds fibres. Grit trapped under adhesive is permanent until you peel the panel back.
How to Wrap a Motorcycle Fairing
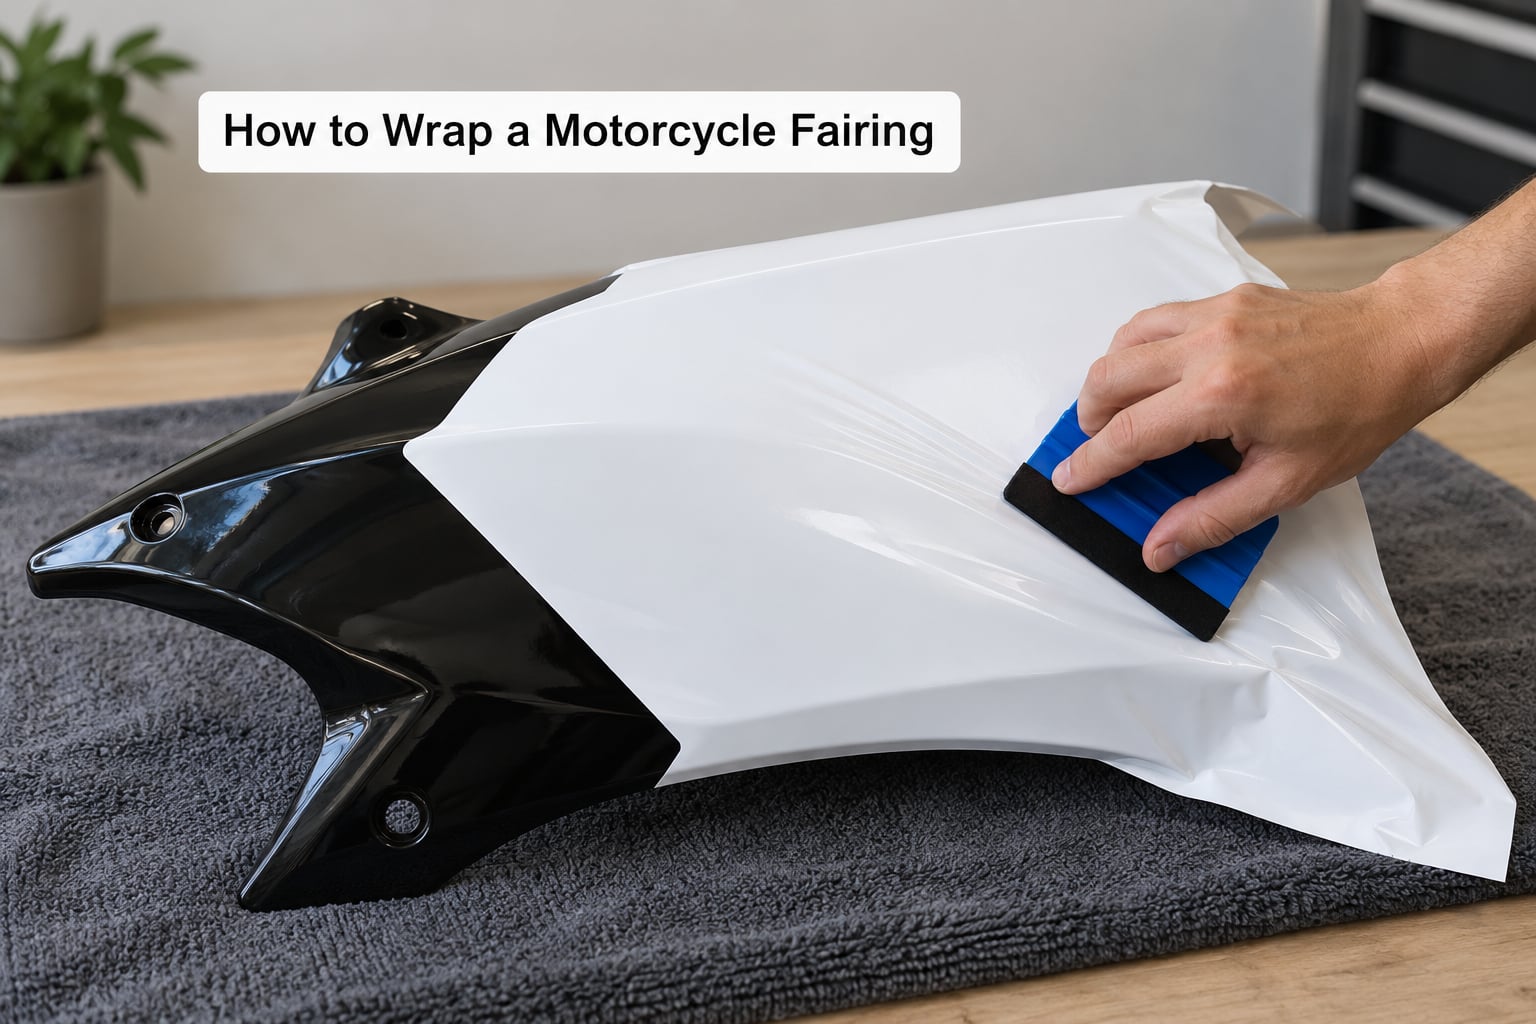
The order below is deliberate. Prep first, cut second, anchor third, because film laid onto a dirty or cold panel will not lift cleanly no matter how carefully you squeegee it.
Prepare the Fairing and Workspace
Pop the pop-off pins and T-clips, unplug the indicator and brake light connectors, and take the mirrors off their stalks. Photograph the hardware layout before anything comes apart, because the connectors are keyed one way and your hands will not remember that at midnight.
Wash the panel with hot soapy water and dry it fully, then wipe it with 70% isopropyl alcohol and let it flash off for two or three minutes. Run a finger across the plastic. If you can feel a film of grease, clean it again; adhesive grabs that residue and you will lift the panel skin later.
Now look at the panel under a bright light. Vinyl is optically clear, so every dent, crack and sanded patch shows through it forever. Fill and sand anything rough, or replace a badly damaged panel rather than wrapping over it.
Work in a garage or spare room between 18 and 24 C with minimal airflow and no dust. Set the panel on a covered table you can walk around, and prop it so it does not rock when you press on it.
Measure and Cut the Vinyl
Measure the panel at its widest point and add 25 to 50 mm of allowance all the way round. That margin is your stretch reserve and your edge wrap. Cut the piece with a blade on a flat board, keeping the adhesive face from touching anything, and lay the piece on the panel face down so you can confirm the alignment before peeling the backing.
Mark your centre line on the panel in tape. That line is where the film anchors, and working outward from it keeps the tension even.
Apply the First Section
Peel back a few centimetres of backing at the centre line, lay the film down, and squeegee that small patch firmly so it cannot creep. Then peel backing slowly and a little at a time, working outward toward one edge.
Two methods work. The hinge method anchors the centre line and folds each half down in turn, which keeps a mirror-straight reference. The centre-out method pushes air from the middle toward the outside, which is better on curved panels. On a fairing I start at the centre and take the flatter lower section first, because it sets the baseline the rest of the film lines up against.
Smooth the Curves and Contours
Hold the squeegee at about 30 degrees and pull it side to side in overlapping strokes, always outward from your anchor point. Vertical strokes fight you on compound curves; work around the direction the panel curves instead.
Stretch only enough to reach, and no more than about 40 percent before the colour distorts. Over-stretched film has no memory left to spring back, so it lifts at the edges later. Where a tight radius resists, warm the film with the heat gun and give it a few seconds rather than pulling harder.
Louvers and vents are where most first attempts fail. Run the film past the opening, cut the slot out with a fresh blade held square to the louver, then tuck the film into the edge with a fingernail or the felt edge, working one corner at a time. Wrapping a vent edge takes longer than the flat panel next to it.
Trim Seams and Edges
Before you cut, decide where the seam goes and put it somewhere low-visibility: down a shadow line beside the tank, under the nose, or along the lower edge where the panel tucks behind the bellypan. A centre line on the side of a fairing is the first thing anyone sees.
Trim the seam with a single confident pull rather than a sawing motion. For a tight turn, lay knifeless tape into the crease with your thumb, then cut along it, which gives a clean fold without putting a blade near the plastic. Leave small reliefs where the panel flexes with the suspension, or the film will tear at the cut line.
Finish and Inspect the Wrap
Run the heat gun over the whole panel in slow passes, moving constantly, until the film settles into the recesses and turns slightly more matte as it cools. If you have an infrared thermometer, 80 to 90 C at the surface is enough to reset the film and force out trapped air. More heat than that risks lifting pigment on metallic colours.
Inspect under raking light, looking for lifted corners, edges and tiny bubbles. Pin-prick the stubborn ones with a blade, press a warm cloth over the spot, and the air usually goes. Give the panel 24 to 48 hours off the bike before you do anything else to it.
Reassemble the Motorcycle
Reinstall the brackets, fasteners, lights and trim in the reverse order you photographed them. Work each fastener home by hand first so nothing threads cross, then check that no film is pinched under a clip or trapped against a rubber that has to seal. Roll the bars left and right and flex the suspension; if the film pulls anywhere, release it before the adhesive sets hard.
Common Mistakes
Almost every ruined wrap I have seen came from one of these, and all of them are fixable in advance.
- Wrapping over dust, wax or silicone. The film bonds to whatever it finds first. Clean twice with alcohol and use the finger test.
- Skipping the test fit. Lay the cut piece on the panel face down before you peel anything. Two minutes here saves a discarded panel.
- Over-stretching. Past about 40 percent the colour goes milky and the film never shrinks back. Warm it and ease off instead.
- Too much heat. A heat gun held close or parked on one spot blisters matte film and distorts metallic. Keep it moving, a hand width away.
- Cutting without an allowance. Leave 25 to 50 mm past the edge so you can wrap the lip under and trim flush from behind.
- Rushing seams and corners. Creases come from squeegeeing a shape you have not relaxed. Snip a tiny relief with a blade at the corner and it flattens.
- Wrapping in the cold. Below about 10 C the adhesive goes stiff and the film cracks on curves. Wait for a warm day.
- Bolting up before the adhesive sets. Give it a couple of days on the bench, then reassemble carefully.
Frequently Asked Questions
Can I wrap a motorcycle fairing without removing it from the motorcycle?
Technically yes, but I would not. With the panel mounted you are working around mirrors, bolts and the tank, and any ripple becomes a permanent shadow line because you cannot get a hand or a squeegee behind it. Removal on most sportbikes takes 20 to 40 minutes with basic tools. The exceptions are small fenders and bolt-on side covers that come away in a few minutes anyway.
What type of vinyl is best for a motorcycle fairing?
Cast film, not calendered. Cast vinyl such as 3M 2080 or 1080 series, Avery Dennison SW900 or ORACAL 970RA stays pliable across compound curves and heat-stretches without lifting its pigment, while calendered film tends to crease and crack around a headlight aperture. Its pressure-activated adhesive also means you can reposition a lifted section for a day or two.
How long does it take to wrap a motorcycle fairing?
Plan two to three hours per side fairing if it is your first attempt and the plastic is in good shape, plus another hour for the nose and cowl. Prep and cleaning add an hour each because they are the steps people rush. A full set of side panels, cowl and tail is a comfortable weekend job, and a second bike goes noticeably faster.
How do I remove small bubbles or wrinkles from vinyl?
For a bubble, pin it with a sharp blade at one end, press a warm cloth over it and burnish towards the puncture with the felt edge. Tiny bubbles often shrink on their own over a few days because the adhesive is air-permeable. A crease needs the film lifted back, warmed, re-stretched and re-laid, so treat it while the adhesive is still soft rather than later.
How long should I wait before washing or riding the motorcycle after wrapping?
Leave the bike parked for 48 to 72 hours so the adhesive can set before you expose it to water or wind at speed. After that, hand washing with a mild shampoo is safe, and pressure washing should be kept away from seams and edges and never within about 30 cm of the panel. Avoid solvent cleaners and never wax over the film.
Can I wrap a fairing that has scratches or damaged plastic?
Yes if the damage is superficial, but fix anything rough first. Vinyl is optically clear, so dents, cracks and sanded filler show straight through it and catch every reflection. Fill and sand the repair, or fit a clean panel from a donor bike and wrap that. Wrapping over existing gel coat or a previous wrap works, but stacked adhesive is harder to remove cleanly later.
Start with the easiest, flattest panel on the bike and leave the front cowl for last. Get the film on clean, warm plastic, anchor the centre line and push the air outward with a felt squeegee, and the rest is repetition. Take your time with the seams, let it cure for a couple of days, and you will have learned how to wrap a motorcycle fairing well enough to do a tank next.