To clean vinyl graphics on a work van, wash by hand with a pH-neutral, wrap-safe car soap and soft microfiber cloths, then dry with a silicone squeegee and a clean towel. Skip automatic brush car washes, skip harsh chemicals, and keep a pressure washer at least 18 inches away from every graphic. The whole van takes 30 to 45 minutes once you know the sequence.
Here is the short version. It is the same order every time:
- Work in the shade on a cool surface.
- Rinse loose dirt off with low-pressure water.
- Wash with a neutral soap and a soft wet brush or mitt.
- Rinse again before the soap can dry on the film.
- Dry with a squeegee, then a microfiber towel.
- Check edges and seams for lifting while the panel is still wet.
A work van is a harder case than a show car. It sits in construction dust, road salt, exhaust film and job-site mud, and it gets washed every week whether anyone wants to or not. The graphic is also a sales tool sitting in front of customers, so a lifted corner does double damage: it looks tired, and it lets water sit against paint.
Most graphics that peel did not fail because of bad soap. They failed because someone scrubbed grit, hit an edge with a pressure washer, or left a contaminant sitting for a week. The routine below is built to avoid all three.
Table of Contents
- What You Need
- How to Clean Vinyl Graphics on a Work Van Step by Step
- 1. Identify the Graphic and Test a Hidden Area
- 2. Remove Loose Dirt and Bugs Before Washing
- 3. Mix a Mild Cleaning Solution
- 4. Wash the Graphics Gently
- 5. Rinse Away Soap and Check the Edges
- How to Clean Vinyl Graphics on a Work Van Without Water Spots
- Common Mistakes
- Frequently Asked Questions
- Can I use a pressure washer to clean vinyl graphics on a work van?
- Is Dawn dish soap safe for cleaning vehicle vinyl graphics?
- Can I take a vinyl-wrapped work van through a car wash?
- What should I use to remove bird droppings, bugs, or road tar from vinyl graphics?
- How often should vinyl graphics on work vans be cleaned?
- What should I do if an edge or letter starts lifting while cleaning?
- Conclusion
What You Need
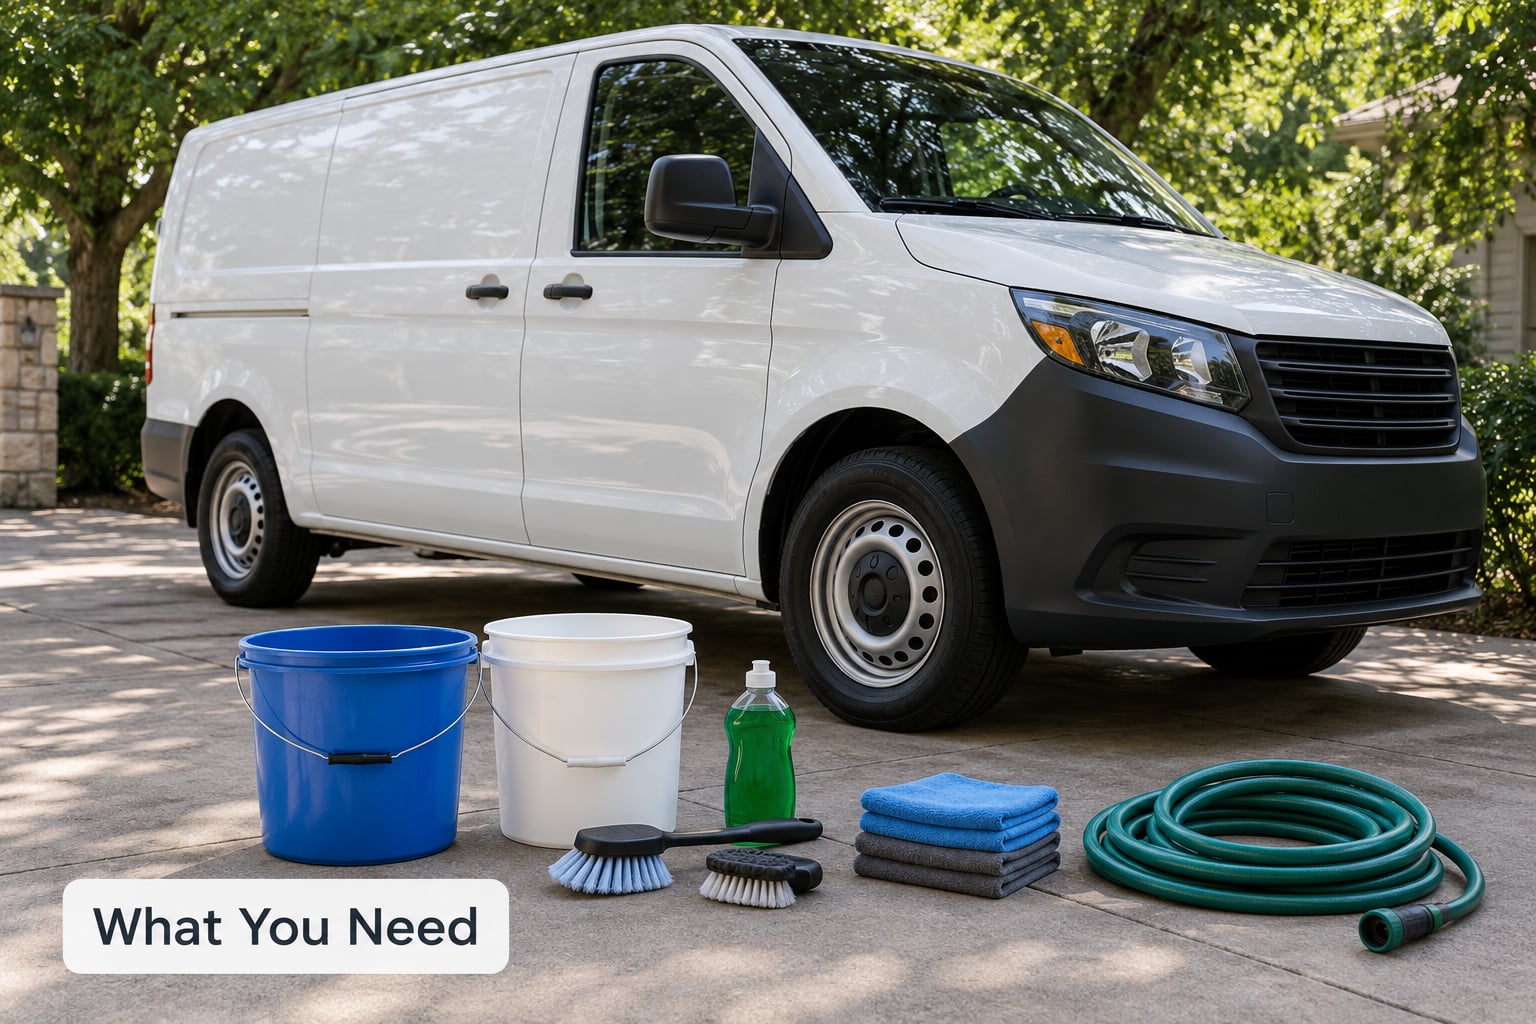
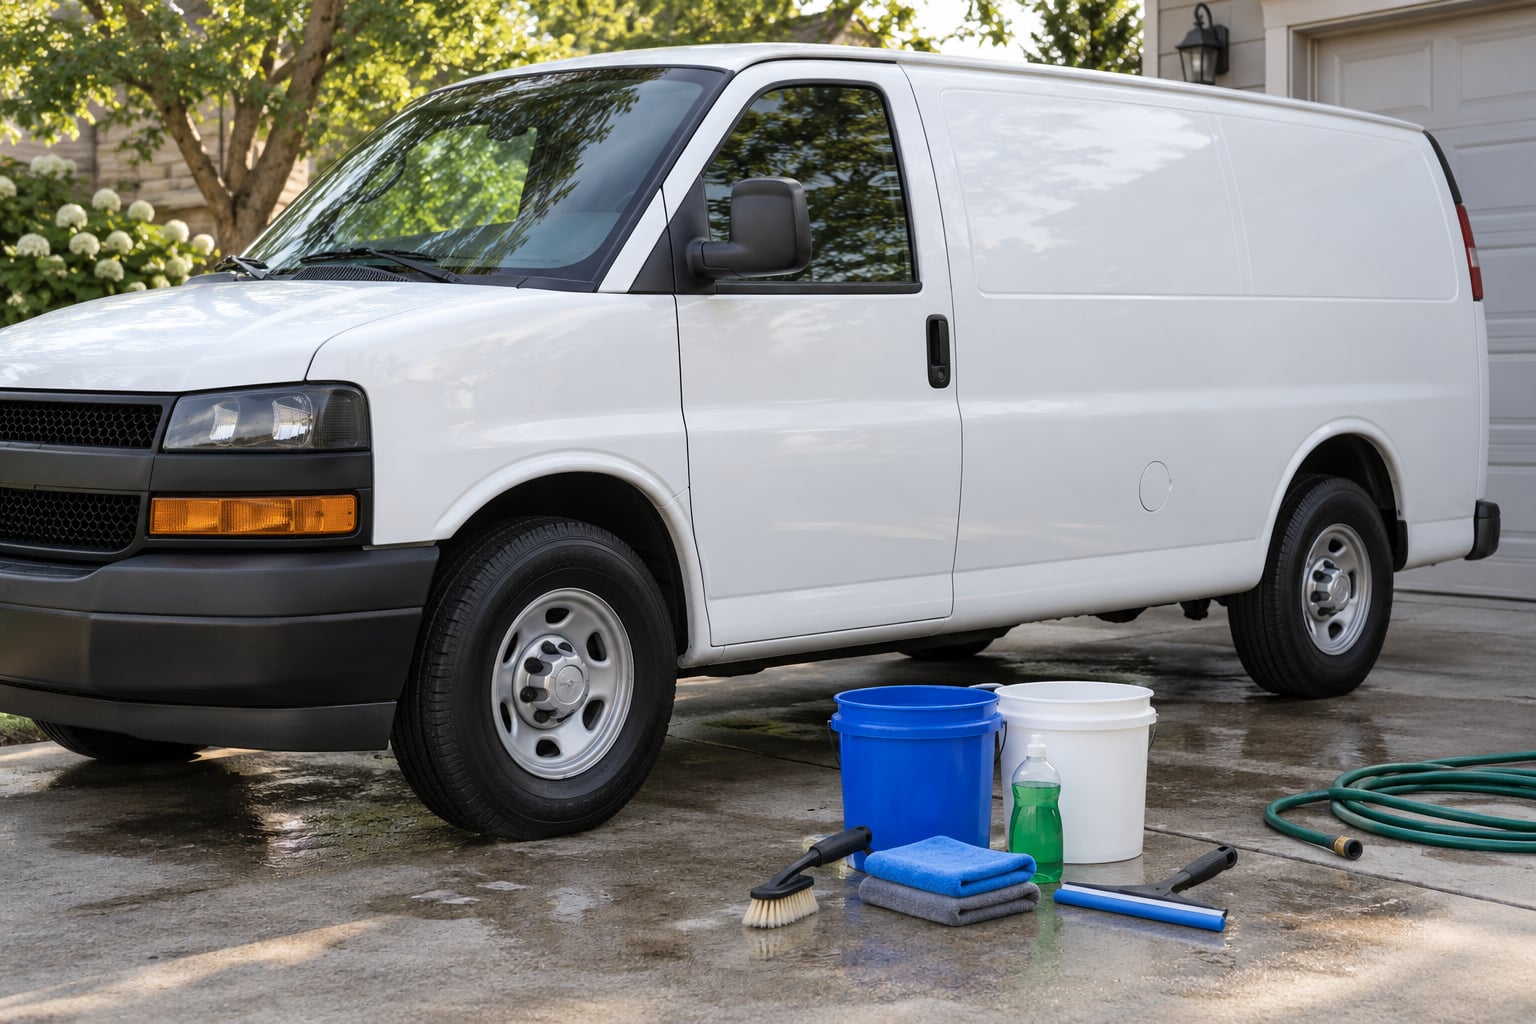
You need five things, and every one of them is cheap. Two buckets so you keep clean soapy water separate from your rinse water. A soft nylon detailing brush or wash mitt with plenty of nap. A stack of clean microfiber cloths, because one cloth is for soap and one is for drying. A silicone squeegee. And a mild dish soap, or a soap labelled wrap-safe or pH-neutral.
The dish soap point deserves a caveat. Ordinary dish detergent is mildly alkaline, and most graphics are cast vinyl held down by a pressure-sensitive adhesive. A weak dilution will clean a lightly dirty panel and a strong one can soften the adhesive enough that edges start to lift after a few washes. Most people using it undiluted are using roughly a quarter of what they need.
Check whether the film maker or the shop that installed your graphics has published care instructions. Printed graphics often come with a warranty card, and a clear laminate changes what you can use, because solvents that are safe on bare printed film can haze a laminate. If the installer supplied a sheet, follow it over anything here.
Skip the automatic car wash entirely if it uses rotating brushes. A wrap has seams and cut edges, and a brush works its way into exactly those places. A touchless wash is a lesser risk, but the strong alkaline chemistry used in those bays is still not something you want on printed film week after week, so treat it as a last resort for a filthy van.
How to Clean Vinyl Graphics on a Work Van Step by Step
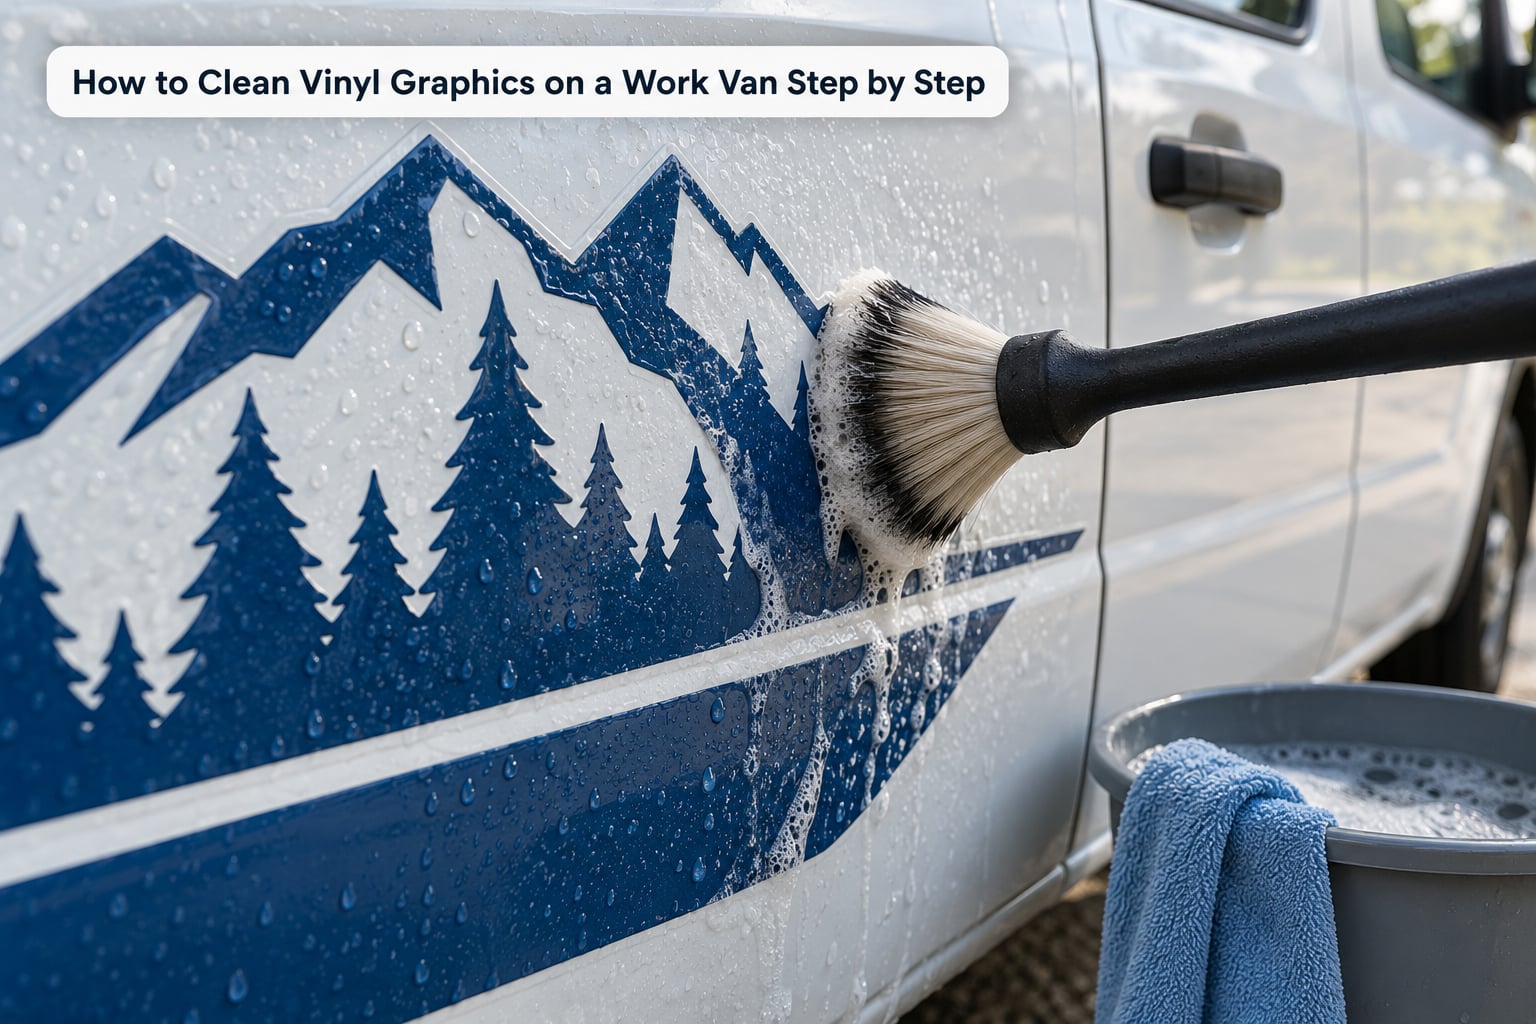
Work in one direction and one sequence from start to finish. The success check after each stage tells you whether the next one is safe to begin.
1. Identify the Graphic and Test a Hidden Area
You need to know whether you are looking at printed film, cut vinyl lettering, reflective sheeting, or a laminate over any of those. Feel the edges with a clean fingertip: printed graphics are smooth and flat, cut lettering has a slightly thicker edge you can feel, and reflective sheeting has a faint texture. Check whether old graphics are stacked underneath, and whether any edge already curls or moves when you press it lightly.
Then test. Put your cleaning solution on a spot nobody sees, usually inside a door jamb or under the rear bumper lip, and leave it for 10 to 15 minutes. Wipe and look. If the surface hazes, feels slippery, or loses a letter, stop and find out what the film is before you touch the rest of the van. Success check: the treated spot looks exactly like the untouched vinyl next to it.
2. Remove Loose Dirt and Bugs Before Washing
Dirt that sits on the surface is the whole reason soap and a sponge scratch a graphic. Get it off before it gets a chance to become part of the wash. Start at the roof and work down, using a low-pressure rinse to move dust and grit toward the ground.
For bug splatter, soak the area with plain warm water for a few minutes, then let a gentle stream of water do most of the work. If a bug will not budge, work at it with a soft microfiber cloth and a little of your soapy mix. Never pick at a bug with a fingernail, a scraper or a plastic card while it is dry, because the tool drags the graphic edge up with it. Success check: your fingertip runs over the surface and finds no loose grit.
3. Mix a Mild Cleaning Solution
Fill one bucket with lukewarm water and add about one teaspoon of mild dish soap per gallon, or whatever ratio your wrap-safe soap lists on the label. That gives you a weak, low-foam solution that lifts road film without touching the adhesive. Stir it until the surface stops foaming heavily.
What to avoid is simple. Skip abrasive powders and anything with grit in it. Skip acidic cleaners, degreasers, household glass cleaners, oven cleaners, and any solvent-based product. Skip degreasers even though they seem sensible on a work van, since the surfactant that cuts grease also strips plasticizer from the film over time, which is what makes graphics go chalky and pale.
For a spot rather than a whole panel, isopropyl alcohol diluted roughly 2 parts alcohol to 1 part water works well on bug residue and light road tar. Use it sparingly, never on matte or carbon fiber finishes, and keep it off large areas. Success check: the water is lightly soapy, not slick and not frothy.
4. Wash the Graphics Gently
Work in sections you can comfortably reach, maybe a door at a time. Dip the mitt or brush into the soapy water, and make overlapping strokes that follow the length of the panel. Keep the film wet the whole time you are working on it, since a wet surface lets grit float away instead of dragging across it.
Use light pressure. A soft brush on a wet panel does the work, and squeezing harder only adds friction. Around raised lettering and along seams, angle the brush to follow the edge rather than pushing across it. Rinse your mitt or brush every few passes, and dump that water rather than returning it to the bucket.
Success check: as the panel comes out of the wash, the graphic looks evenly clean, and when you run a dry clean finger lightly over the lettering, nothing catches. If your finger picks up grit, you are rinsing too rarely.
5. Rinse Away Soap and Check the Edges
Rinse with clean, low-pressure water while the soap is still on the film. Soap that dries leaves a film that reads as hazing later, and it holds water against the vinyl. A hose at normal pressure is plenty, and for a very dirty van a self-serve bay is fine as long as you hold the wand 18 to 24 inches away, keep the nozzle square to the panel, and stay under 2000 psi with water under 80 degrees Celsius.
That 18-inch figure is the practical one. Manufacturer guidance and wrap shop guidance both vary, sitting between about 12 inches and 20 inches, and the reason to take the wider number is that a work van carries more grit than a private car. Hold the nozzle at a 90-degree angle so the water does not get driven under an edge.
While the panel is wet, run a clean fingertip along every letter edge, around the handles, and along the bottom of the doors. Success check: no white film, no bubbling, and no edge you can catch a fingernail under.
How to Clean Vinyl Graphics on a Work Van Without Water Spots
Water spots come from droplets drying in hard water or in direct sun, so you control them by controlling how fast the panel dries. Start at the top and work down. Squeegee the flat panels first, pushing water toward the edges, then use a clean microfiber towel on the curves, the handles and around the lettering.
The two-cloth method matters more than it sounds. Use one towel to lift the bulk of the water, then a second dry towel to catch what the first one pushed around. Never wipe a wet graphic with a dry cloth and no product, because that is buffing grit into the finish, and it is the single most common cause of the fine swirl marks that show up on gloss film in direct sun.
Do not wash a van that has been sitting in the sun. Let it cool first, and never wash in freezing temperatures, when soapy water freezes on the panel. In winter, rinse more thoroughly and dry inside a heated garage if you have one.
Stop and contact the installer when an edge is already curling, when you see a bubble under the film, or when a letter is starting to peel away from the panel. A graphic that is being held down by nothing but old adhesive is not a cleaning problem, and pulling at it will take paint with it. Success check: the panel is dry to the touch and there are no droplet outlines left in the finish.
Common Mistakes
Running the van through a brush car wash. Rotating brushes and hanging strips of cloth work into seams, handles and letter edges, and the pull is what lifts them. The fix is a hand wash every time, and a touchless bay only when the van is genuinely too dirty to wait.
Using dish soap straight from the bottle. It works, and it works too well. Undiluted detergent over months is a slow adhesive problem that shows up as a lifted corner a year later. Dilute it to about one teaspoon per gallon.
Cleaning a dry graphic with a dry cloth. Any grit on the surface gets ground in as you wipe, and gloss film shows it as haze under a parking-lot light. Rinse first, keep it wet, and only dry it after the final rinse.
Standing too close with a pressure washer. Water driven under an edge gets between the adhesive and the paint, and then the edge never sits flat again. Stay 18 to 24 inches out, keep the nozzle square to the panel, and stay under 2000 psi.
Scraping or picking at bugs, sap and tar while dry. The contaminant comes off and a piece of the graphic edge goes with it. Soak first, then use heat from warm water and a soft cloth. The residue beats the damage here every time.
Polishing or waxing over graphics. A wax or sealant is fine in thin coats on gloss film if you want extra gloss retention, but it is wrong on matte and satin. Those finishes are matte because of their surface texture, and a wax fills the texture, leaving shiny patches that never come out. On carbon fiber and brushed metal finishes, use a plastic restorer made for them instead.
Washing in direct sun. Heat drives the water out of the soap too fast, so the film dries with a residue baked onto it. Wash in the shade or late in the day.
Washing a hot van. A panel that has been sitting in the sun is hot enough that soap flashes off and can discolor printed graphics. Let it cool, then wash.
Frequently Asked Questions
Can I use a pressure washer to clean vinyl graphics on a work van?
Yes, within limits. Stay under 2000 psi and keep water under 80 degrees Celsius, use a 40-degree wide-angle nozzle, hold it 18 to 24 inches from the panel, and keep the spray perpendicular rather than angled into edges. Rinse the whole van first so grit is not driven across the film, and never point the wand at a seam or letter edge.
Is Dawn dish soap safe for cleaning vehicle vinyl graphics?
Dawn works in a light dilution, roughly one teaspoon per gallon of water, but never straight from the bottle. It is alkaline, and repeated heavy use softens the vinyl adhesive enough to lift edges. Many wrap owners avoid it entirely and use a soap labelled wrap-safe or pH-neutral instead, which is the safer long-term choice for a van washed every week.
Can I take a vinyl-wrapped work van through a car wash?
Avoid any car wash with rotating brushes or hanging strips, because those catch seams, handles and cut letter edges and pull at them. A touchless bay is less risky, but the strong alkaline chemistry still isn’t ideal for printed film over time. For a van that carries a brand, hand washing on a regular schedule protects the graphics better than a quick drive-through.
What should I use to remove bird droppings, bugs, or road tar from vinyl graphics?
Remove bird droppings as soon as you see them, since they can etch gloss film within hours. Soak the spot with warm water, let it sit, then lift it with a soft microfiber cloth and mild soapy water. For bug splatter and light tar, isopropyl alcohol diluted about 2 parts alcohol to 1 part water works well on gloss film, used sparingly. Never scrape dry residue.
How often should vinyl graphics on work vans be cleaned?
Weekly is the right rhythm for most fleets, and every two weeks is the floor for a van parked outdoors. Pay attention to the seasons instead of the calendar: rinse road salt thoroughly as soon as temperatures allow in spring, wash more often through summer dust and bug season, and de-salt the underbody and lower panels promptly through winter. Clean more often around a logo-heavy door area.
What should I do if an edge or letter starts lifting while cleaning?
Stop working on that panel immediately. Don’t press the edge back down, don’t pick at it, and don’t pull the corner over to check the adhesive. Photograph it, finish the rest of the van gently, and contact the shop that installed the graphics. Edge lift usually means the adhesive underneath is degraded or water got behind it, and only a re-application fixes that properly.
Conclusion
Start by testing your cleaner on a hidden panel and letting it sit for 15 minutes. After that, the whole routine is a rinse, a light wash with neutral soap and a soft brush, a second rinse, a squeegee and a clean towel, in that order, in the shade, on a cool surface.
Do it weekly, watch the edges and seams while the panel is still wet, and skip waxes on matte film. A work van graphic that stays flat and clean is the cheapest advertising you will ever run.