To wrap a trailer for advertising, you print or buy cast vinyl graphic film, clean and degrease every aluminum or steel panel, then apply the film one panel at a time using soapy water as a slip solution, squeegeeing from the center outward and heat-forming it into seams, steps, and corners before trimming the edges.
Budget a full weekend for a small utility trailer and expect the first hour to be mostly measuring and cleaning. The actual laying of film goes quickly once you have decided where the message goes. A trailer is one of the most valuable advertising surfaces a small business can own, because it is already being driven, parked at job sites, and seen from both directions on the road.
The difference between a wrap that looks professional and one that looks like a mistake is almost never the artwork. It is surface prep, panel alignment, and what you do at the rivets. Get those three right and the rest is technique.
Table of Contents
- What You Need
- How to Wrap a Trailer for Advertising: Step-by-Step
- Measure the Trailer and Plan the Layout
- Create a High-Contrast Advertising Design
- Clean and Prepare the Trailer Surface
- Apply the Main Vinyl Panels
- Wrap Corners, Seams, and Smaller Details
- Finish and Inspect the Wrap
- Common Mistakes
- Common Mistakes and How to Fix Them
- Frequently Asked Questions
- Do you remove the rivets or screws before wrapping a trailer?
- How much vinyl do I need to wrap a trailer?
- Should I use soapy water to apply vinyl wrap?
- What is the hardest part of wrapping a trailer?
- How do you wash a trailer wrap, and how long does it last?
- Should a trailer wrap cover reflectors, lights, and the license plate?
- Conclusion
What You Need
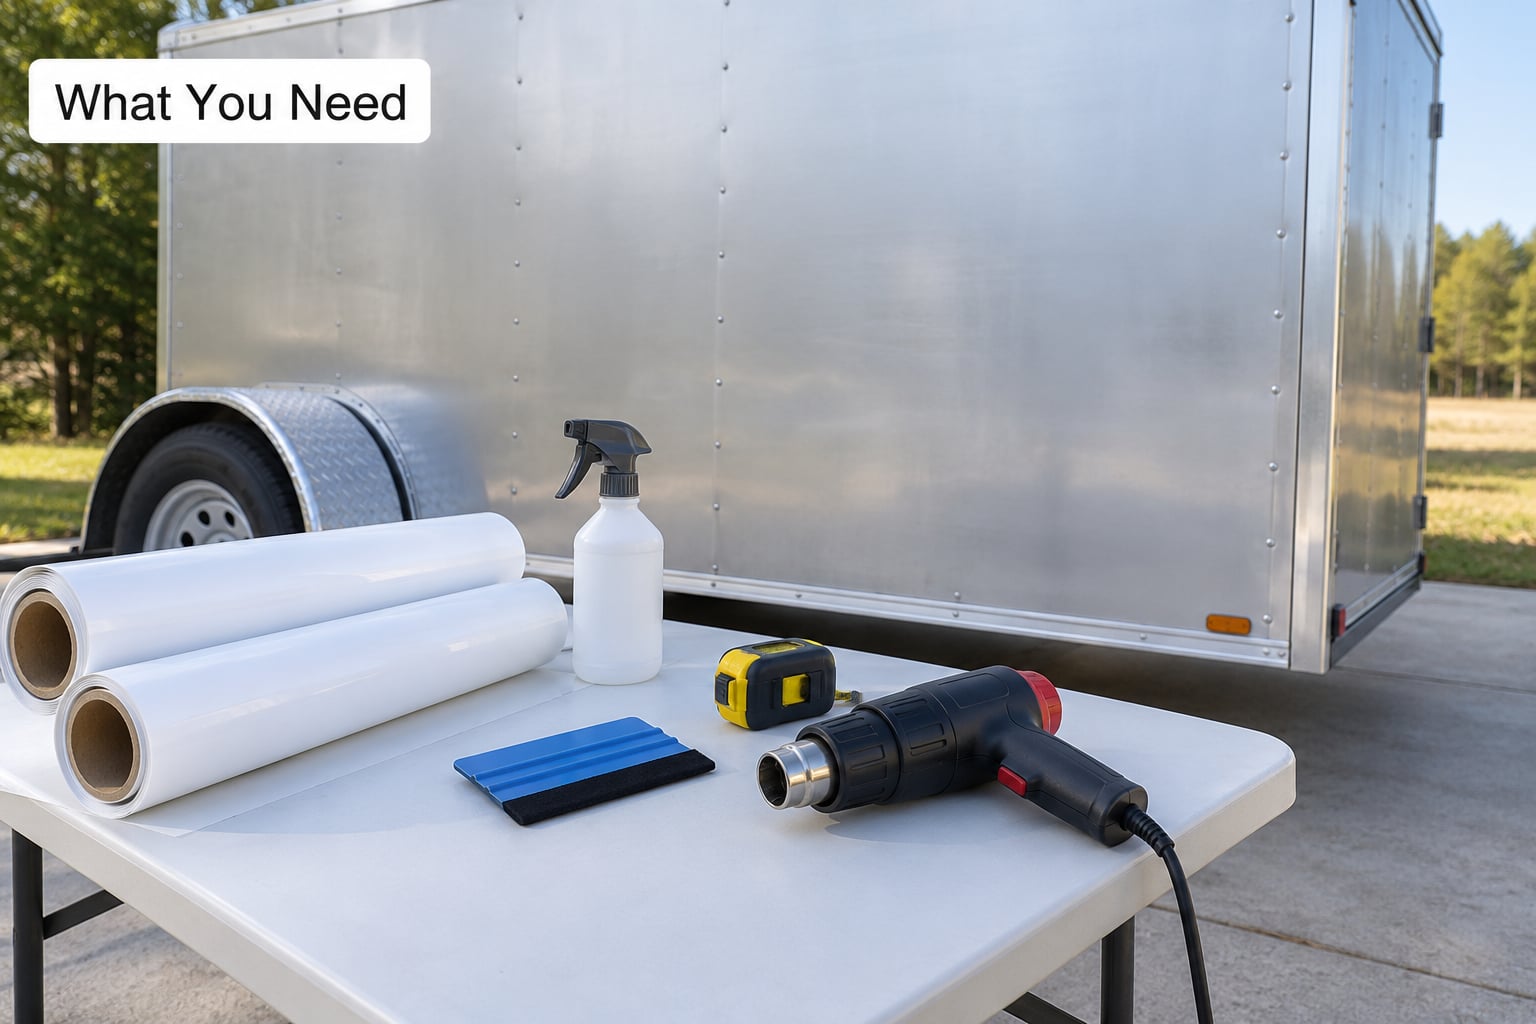
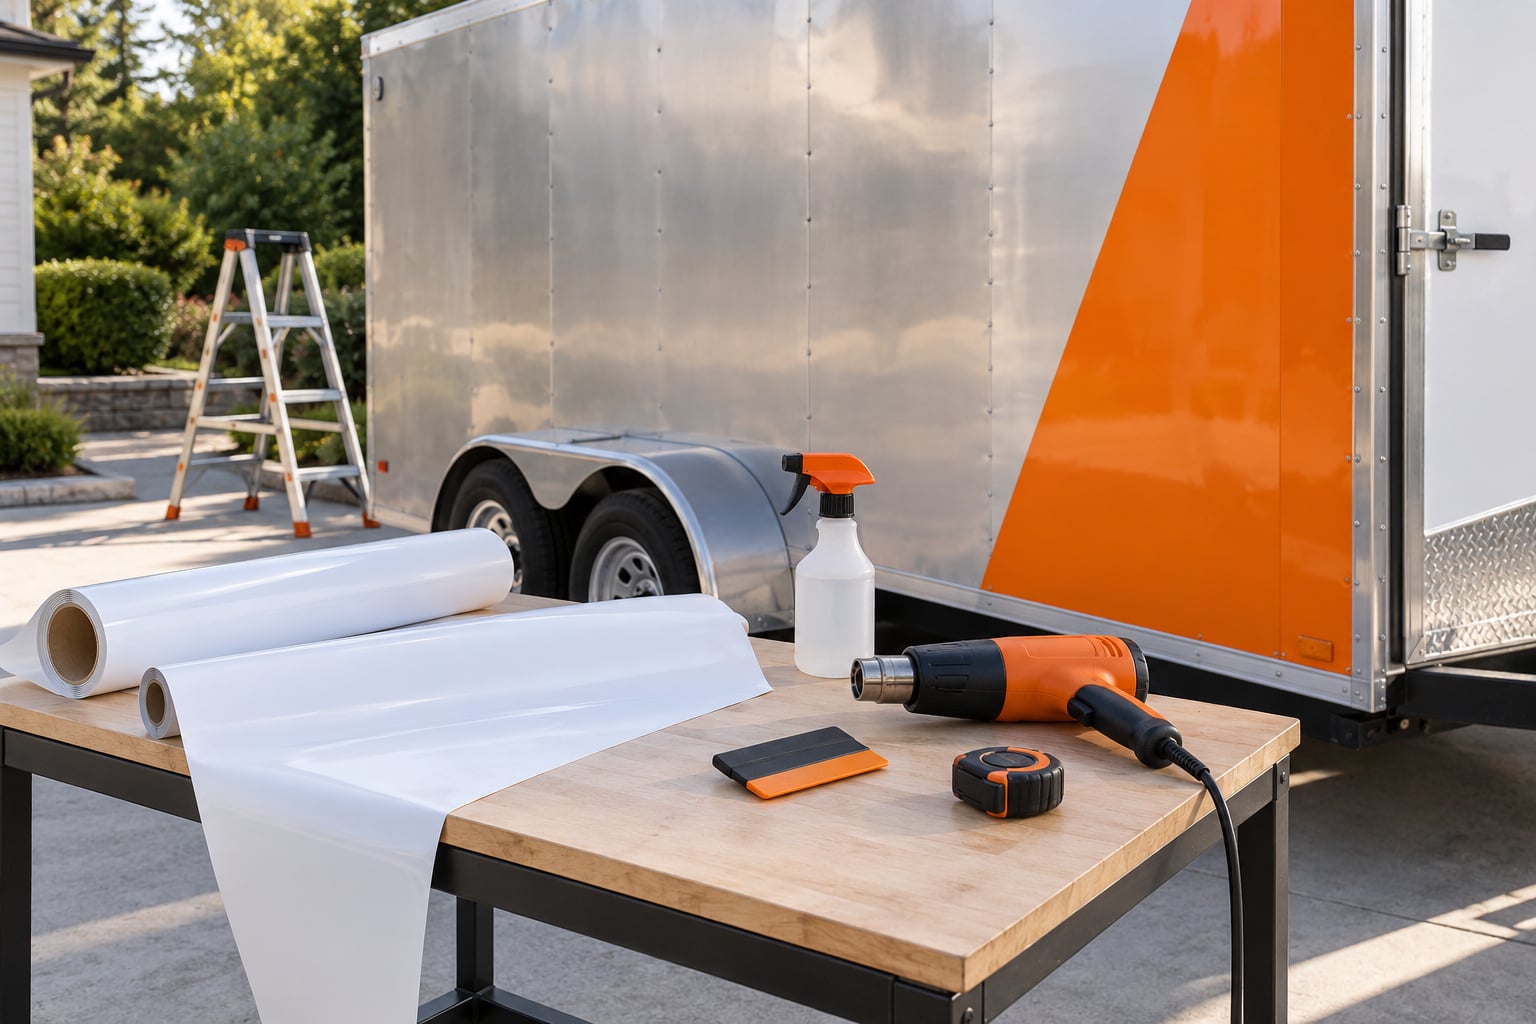
A trailer wrap needs three groups of things: film, application tools, and safety gear. Buy the film before the tools, because the film dictates the panel sizes and everything else follows from that.
- Cast vinyl film, 60 inches wide. 3M 2080 at 3.5 mil, Avery SW900, or Oracal 970RA are the three names you will see most. Cast film stretches to conform around rivets and steps; cheaper calendered film shrinks and lifts at the edges, which is exactly where a trailer is hardest.
- Enough footage for every panel plus 10 to 15 percent waste. You will lose material to mistakes, and you cannot patch a seam on a printed graphic and expect it to disappear.
- Overlaminate, if the design is printed. A laminate sits on top of the printed layer and protects it from UV, road grime, and the brush of a hedge. Skipping it is the fastest way to have a faded wrap in three years.
- Application tape, also called mask, to hold a section of film while you position it.
- Slip solution: a few drops of mild dish soap in a bucket of clean water, mixed in a second bucket so you never contaminate the soap supply.
- Isopropyl alcohol and a lint-free cloth for degreasing, plus a separate can of the same for final wipe-down.
- Squeegee, heat gun, and a good blade. A polypropylene squeegee, a heat gun with adjustable airflow, and snap-off cutter blades you change often. A dull blade is what causes torn edges and lifted liner.
- Tack adhesive, such as 3M 77, for edges and rivet heads that refuse to stay down.
- Chalk or tape, a tape measure, and a phone camera. You will photograph every panel before you cover it.
- Safety gear: a step ladder, gloves, eye protection, and shade or a canopy. A respirator if you will be heat-forming all afternoon in an enclosed space.
How to Wrap a Trailer for Advertising: Step-by-Step
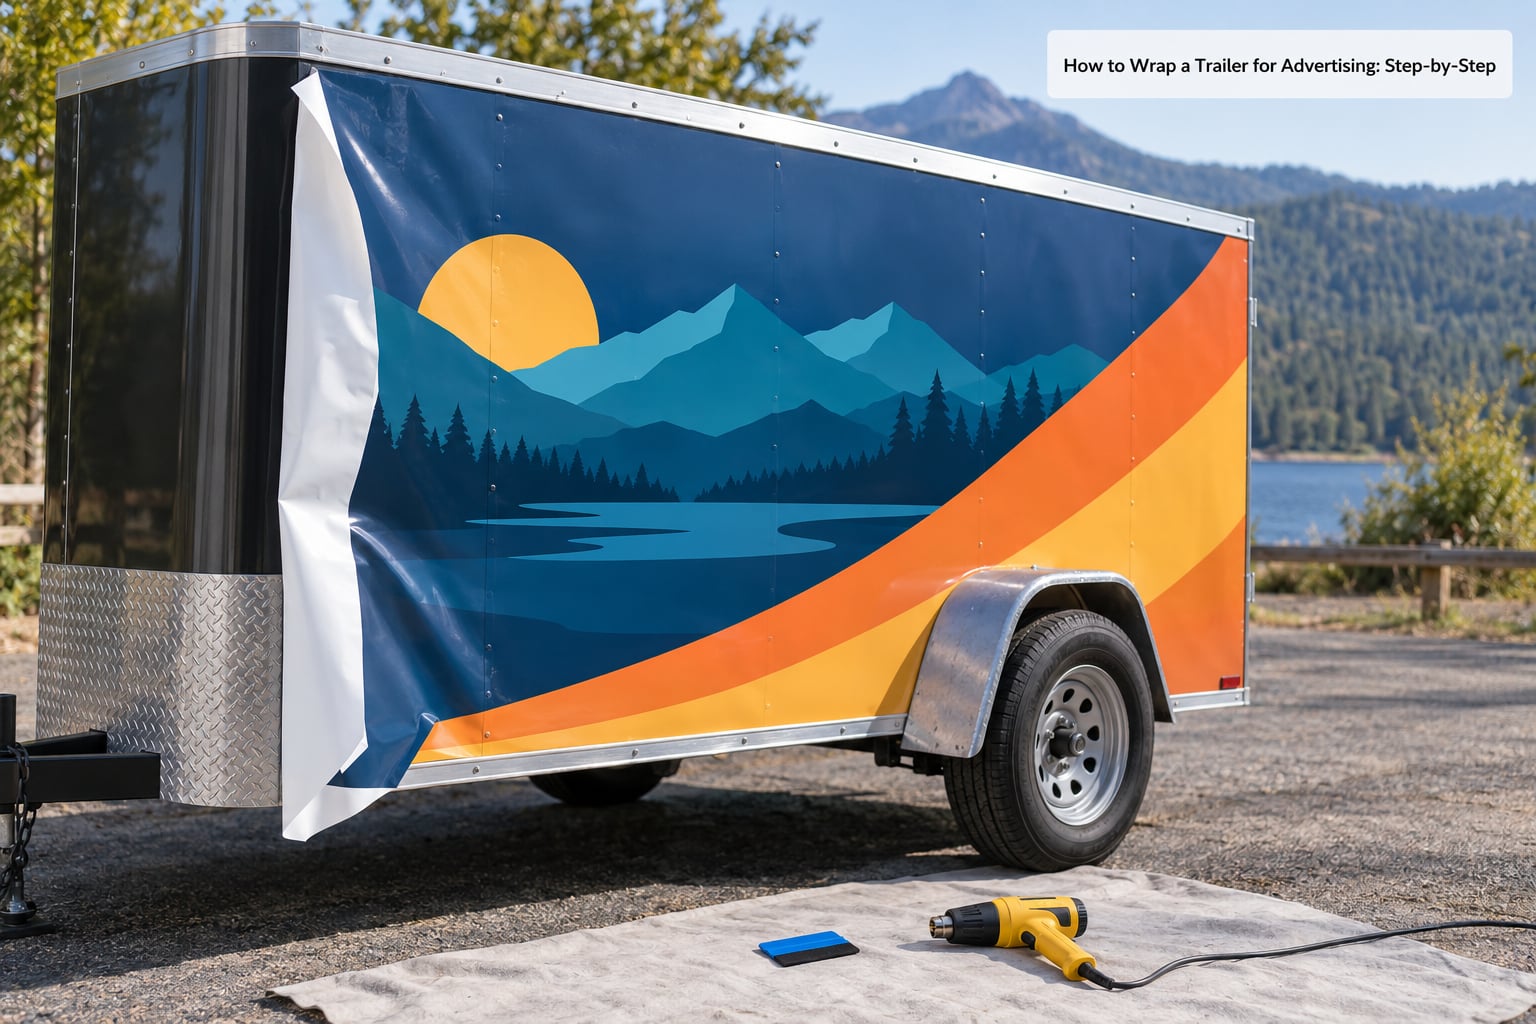
Work top-down and back-to-front, and finish with the doors. The side panels are the easiest part of the job, and they are where most of the advertising value sits, so build confidence there before you touch the ramp door or the roof.
Measure the Trailer and Plan the Layout
Measure every panel separately and photograph it from straight on, then mark up the photos. Doors, wheel wells, vents, lights, the license plate, the kingpin, and every rail become obstacles that the design has to respect rather than cover.
Record the height of the side wall and the length of the flat run between the front bulkhead and the rear frame. A 60-inch-wide roll covers roughly five feet of height, which usually means one seamless run down a standard side wall with the excess trimmed off.
Decide where the main message goes before you print anything. The largest uninterrupted panel on the driver side is the natural home for your name and offer. Put the phone number or website on a different panel, lower and nearer the rear, where it reads when the trailer is parked and you are talking to a customer.
Leave at least three inches of clear material around lights, reflectors, vents, and the license plate. If your design cannot clear those obstacles without shrinking to nothing, the panel is the wrong panel for the text.
Create a High-Contrast Advertising Design
A wrapped trailer is read at highway speed in about six seconds, so the design has to land in one glance. Business name, one offer, one way to contact you. Everything else is decoration the driver never parses.
Keep the lettering large. On a seven-foot side wall, main name letters at 12 to 18 inches tall are readable from across a parking lot; small text that looks perfectly fine on your laptop is invisible from a pickup bed two lanes away.
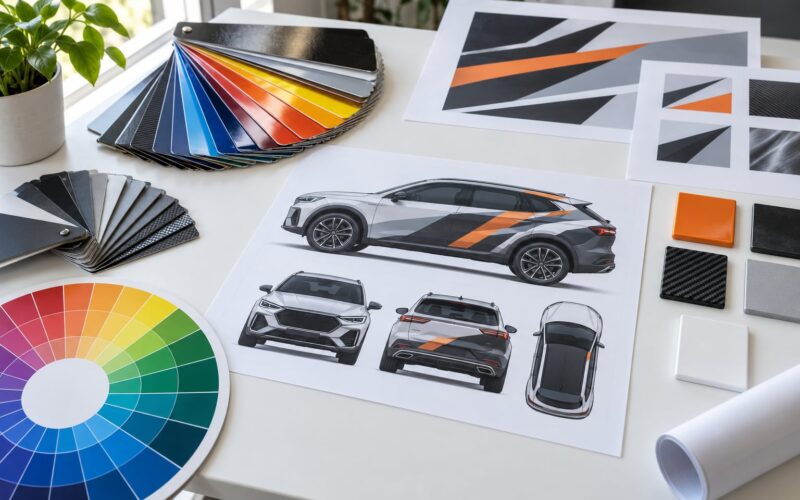
Use two or three colors with strong contrast against each other and against the trailer. Dark type on a light field beats light type on a dark field because it holds up in low sun and headlights. One typeface, two weights, no more.
Print panel-to-panel so every vinyl seam lands exactly on an aluminum seam. It costs one or two extra panels of material and it turns the hardest part of the install into a decision you already made. Experienced installers treat this as close to non-negotiable on riveted aluminum trailers.
Clean and Prepare the Trailer Surface
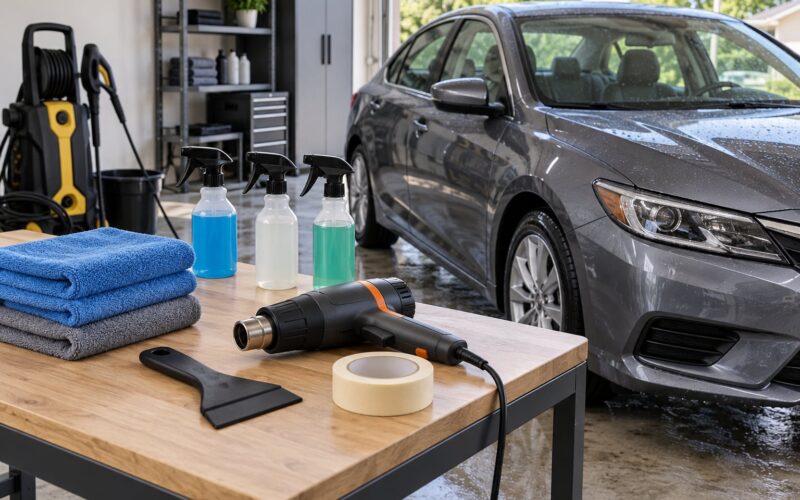
Wash the trailer with vehicle soap, dry it fully, then degrease every panel with isopropyl alcohol. Wax, road film, and bug residue are the top three reasons vinyl peels off a trailer within a season, and none of them are visible once the film is down.
Scrub around each fastener hole. Grime packs into the gaps where an aluminum panel overlaps the next one, and it contaminates the bond in a place you will not see again until the wrap is off.
Run your hand across the panel. Any rust, loose paint, dent edge, or rough weld has to be addressed now. Film bridges a small dent beautifully; it lifts off a scab of rust every single time.
Do a final alcohol wipe of each panel right before the film goes on, and do not touch the surface with a bare hand afterward. Skin oils are enough to cause a lifted edge.
Apply the Main Vinyl Panels
Mist the panel lightly with slip solution. Not a puddle. The film should move a few inches when you nudge it and stop where you leave it.
Lay the top edge of the film down first, hold the panel taut, and work downward. Peel the liner back six to eight inches at a time rather than stripping the whole panel, so you always have film in hand if a gust of wind shows up.
Squeegee from the center of the panel outward at roughly a 30-degree angle with light, even pressure. Multiple light passes beat one hard pass. You are pushing air out, not stretching the film.
Do not pull the film to make it fit. If a section is short, leave it, and heat that section later to take up the difference. Pulling creates tension that shows up as a lifted edge weeks later.
Leave the liner partly attached on the finished panel. It protects the face of the graphic while you work the panel next to it.
Wrap Corners, Seams, and Smaller Details
At each aluminum overlap you have a choice, and installers argue about it endlessly: cut the vinyl at the step, or heat it and conform it over. Cutting on the seam looks invisible when the design was printed panel-to-panel. Conforming over the step gives a continuous graphic but puts a hard stress line exactly where the trailer flexes in the wind.
Handle corners in small sections. Make a relief cut where the film needs to split, anchor the film above the corner, and work downward two or three inches at a time with light heat and light stretch. Beginners almost always rush this and end up with tenting they cannot fix without lifting the whole panel.
Rivets and screws get their own decision. Plenty of installers pull fasteners for the life of the trailer with no problems, and the finished job looks better and installs easier. Others wrap over the heads with a conformable film and report no failures either. The silver dots across a panel are what customers dislike most, so if the paint is sound and the screws come out cleanly, pull them.
Stagger the work so it stays manageable: take out the top half of the screws on a panel, lay the top of the film, reinstall the top screws, then repeat for the bottom half. Never strip a whole panel at once. Keep a bag of the original hardware, and if a screw head is oxidized, tap it with a small hammer to break the corrosion before it snaps.
Use heat sparingly and keep the gun moving from six to eight inches away. Low airflow, long passes, and patience. Overheating dulls the finish and drives the adhesive to the edges, which is how you get bubbles along a rail a month later.
Never cover a light, a reflector, or a license plate. If the design wants that space, redesign it.
Finish and Inspect the Wrap
Pull the masking film back at a low angle so it does not lift the graphic with it, then re-squeegee every edge and seam. Use tack adhesive under any edge that will not stay down on its own.
Trim with a fresh blade held slightly away from the surface so the vinyl does not get pulled up behind the cut. On a chafe rail or any sharp edge, add edge trim so road grit cannot find a way under the film.
Walk around the trailer at 30 feet and read the design. Then check it again from the driver’s seat in a mirror. If you cannot name the business in one pass, the type is too small or the layout is too busy.
Finally, test every light, marker light, and reflector, and confirm the license plate is fully visible and readable. Clear a leaf blower or a pressure washer at close range off the panel edges, then let the wrap sit for 24 hours before the trailer goes back to work.
Common Mistakes
A few errors account for nearly every bad trailer wrap:
- Measuring once and trusting it, instead of measuring every panel and photographing it.
- Stretching film to fit a panel that is genuinely too small.
- Skipping the degrease because the trailer looked clean in daylight.
- Working in direct sun, so the adhesive sets before the film is settled.
- Pulling the whole liner back at once in a breeze.
- Pushing a dull blade along a rail and wondering why the edge frayed.
- Heating a stubborn area until the vinyl turns shiny and starts to lift.
Common Mistakes and How to Fix Them
Most of these are cheap to prevent and expensive to repair, because fixing a trailer wrap means pulling the film off a panel that is already cured and bonded.
Bad measurements. Fix it by remeasuring panel by panel with a tape, not a wheel, and adding a three-inch margin on every edge. An inch short of vinyl cannot be stretched into a two-inch gap.
Lettering that is too big to read. Fix it by shrinking the message, not the trailer. If the business name fills the whole side wall, nobody absorbs the phone number underneath it. Two lines of large type beat six lines of medium type.
A dirty surface. Fix it with isopropyl alcohol and a clean cloth, always. A trailer that has been parked under trees for a season will hold a film of sap you cannot see in the shade.
Too much heat. Fix it by dialing airflow down, moving the gun farther away, and giving the film time. Heat is for stretching, not for drying. Excess heat raises the adhesive to the edge of the panel and you will find bubbles there later.
Lifting the film too early. Fix it by letting the panel settle, then re-laying it with the liner still attached. Liner is a second chance; once film is stretched thin and creased, it will not flatten again.
Ignoring hardware and edges. Fix it by re-squeegeeing every fastener line, adding tack adhesive to the stubborn heads, and fitting edge trim on any rail the trailer will kiss to a gate or a wall.
Cheap film. Fix it by using cast vinyl. Calendered film looks fine on a flat wall and behaves badly on a riveted, sun-baked, flexing trailer.
Professional habits worth copying: laminate the printed graphic, photograph each panel before covering it, work one panel at a time to completion, and keep the phone number somewhere other than the main message so a driver who reads only the biggest line still remembers the business. And leave the reflectors and the plate alone, because an unreadable trailer is a ticket, not an advertisement.
Frequently Asked Questions
Do you remove the rivets or screws before wrapping a trailer?
Pull them if the paint is sound and the hardware comes out cleanly, which is what most installers do on riveted aluminum trailers. Work in halves: remove the top screws, lay the top of the film, reinstall, then repeat for the bottom. If the screws are seized, the paint is chalky, or the panel is a bonded laminate, wrap over the heads with conformable cast film instead. Either way, never leave a fastener hole open to water.
How much vinyl do I need to wrap a trailer?
Measure each panel and add 10 to 15 percent for waste. As a reference point, a 24-foot trailer takes roughly 50 to 75 linear feet of 60-inch-wide film per side. Doors, the roof, and the front and rear bulkheads are usually measured and priced separately. Buy film in one lot if you can, since a color or batch mismatch across two rolls is visible in daylight.
Should I use soapy water to apply vinyl wrap?
Yes, a few drops of mild dish soap in clean water is the standard slip solution. It keeps the film tacky enough to move a few inches while you position it, then the water evaporates and the bond sets. Use a separate bucket for the soapy mix, mist the panel lightly rather than flooding it, and never spray soap directly onto the face of the graphic.
What is the hardest part of wrapping a trailer?
The corners, the door edges, and the steps where aluminum panels overlap. Those are the places a beginner creates tension or tenting, and once film is stretched thin it will not flatten again. The roof of a tall enclosed trailer is a close second, because there is no good way to lean over the work. Master the side panels first and save the doors for the end.
How do you wash a trailer wrap, and how long does it last?
Wash with vehicle soap and water using a soft mitt, and rinse from the top down so grime does not run across the graphic. Keep a pressure washer at least a foot away and never aim it at an edge or a seam, where the jet lifts the film. A well-installed laminated cast vinyl wrap in a moderate climate typically gives three to five years; sun-heavy states see the color fade sooner.
Should a trailer wrap cover reflectors, lights, and the license plate?
No. Reflectors, marker lights, signal lights, and the license plate must stay fully visible and unobstructed, and the rules about their placement and spacing come from federal and state transport regulations rather than the wrap shop. Design around them from the start rather than cutting them out afterward. Leave the panel clear, and check your state requirements before you cover anything near the rear frame.
Conclusion
Learning how to wrap a trailer for advertising comes down to four things done in the right order. Measure every panel and photograph it. Simplify the design so the business name reads in one glance. Degrease the surface properly, because nothing else survives a bad bond. Then apply the film one panel at a time, squeegee from the center out, and take your time at the rivets and corners.
Get those four right and the wrap will still be readable at highway speed years from now, and the trailer underneath it will be better protected than when you started. That is the deal, updated for 2026.