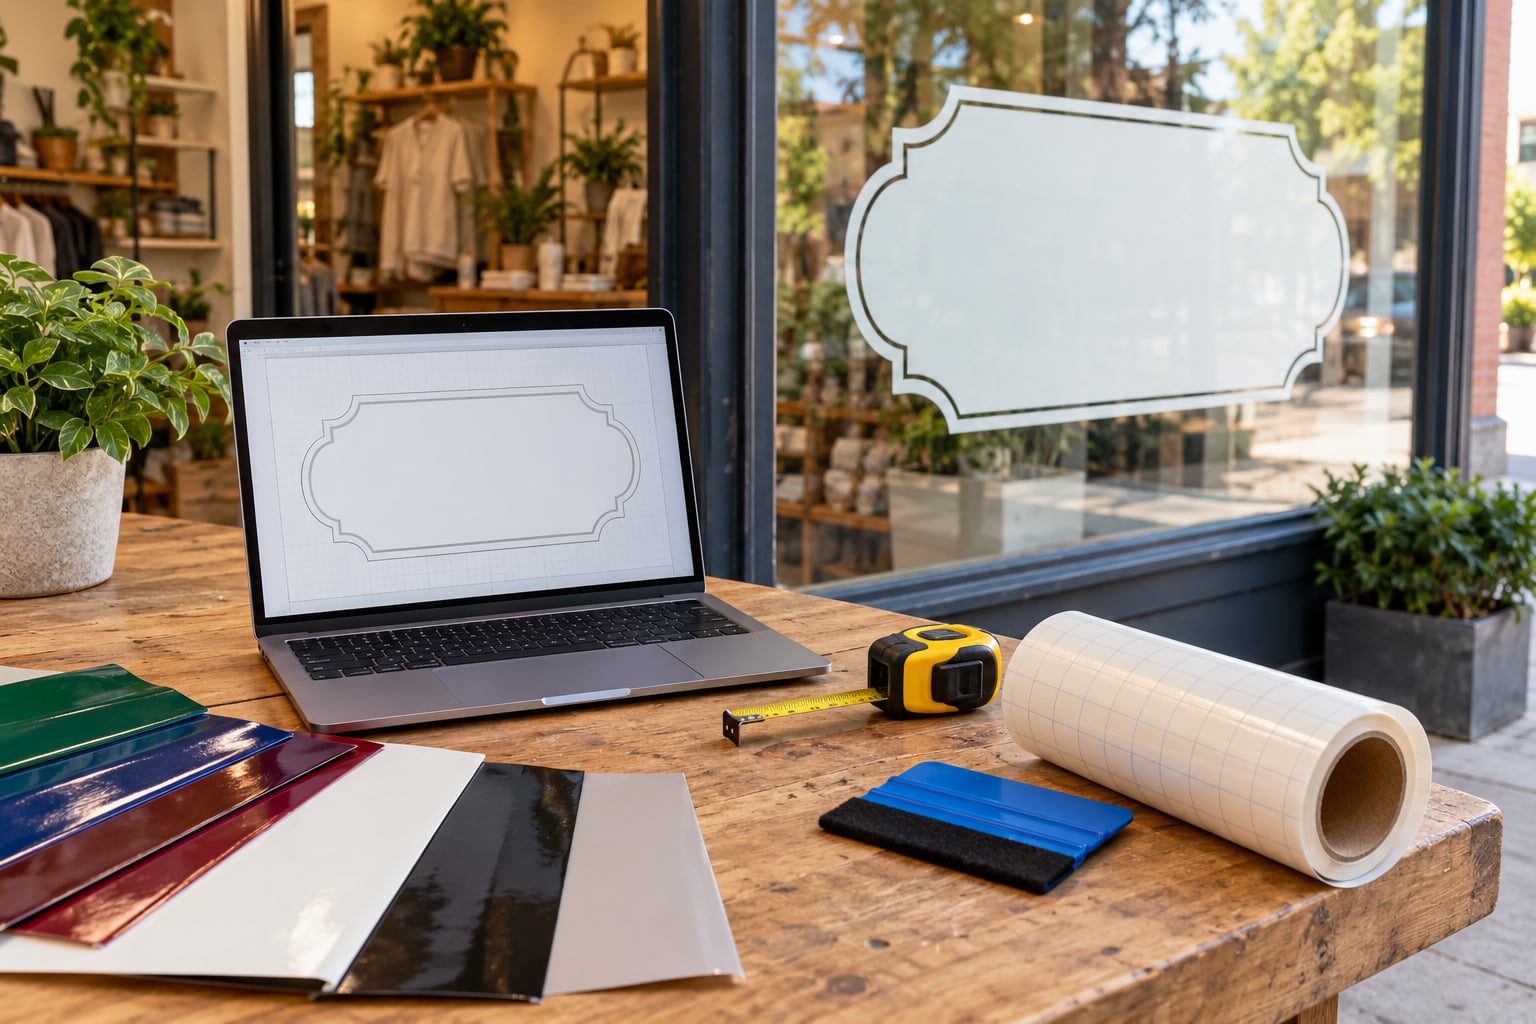
A window decal is a printed or cut graphic stuck to storefront glass to tell passersby who you are, when you are open, and what is happening inside. To design one for a retail store, you pick a single job for the window, measure the glass, choose a material, size the type for the sidewalk, then produce and install it. Most owners finish the design in an afternoon and apply it in under an hour.
Retail windows are the cheapest advertising surface you already own. No lease sign, no hardware, no drilling. The part that trips people up is not the sticking, it is the design file. Get the sizing and contrast right and the decal works; get those wrong and it looks like a temporary sale sign someone stuck up a decade ago.
Here is the process I would follow for any storefront, from an independent boutique to a cafe with six windows of different sizes.
Table of Contents
- What You Need
- Window decal and window film materials compared
- Step-by-Step
- Measure the Window and Choose the Decal Goal
- Create a Clear, Brand-Matched Design
- Prepare the Artwork for Production
- Proof the Placement Before Ordering
- Common Mistakes
- Frequently Asked Questions
- How big should a storefront window decal be?
- What type of vinyl is best for outdoor window decals?
- What is the difference between a window decal and a window cling?
- Can I design a window decal myself with a Cricut or similar cutter?
- How do I make window lettering readable in direct sunlight?
- Do I need permission to put decals on my storefront window?
- Conclusion
What You Need
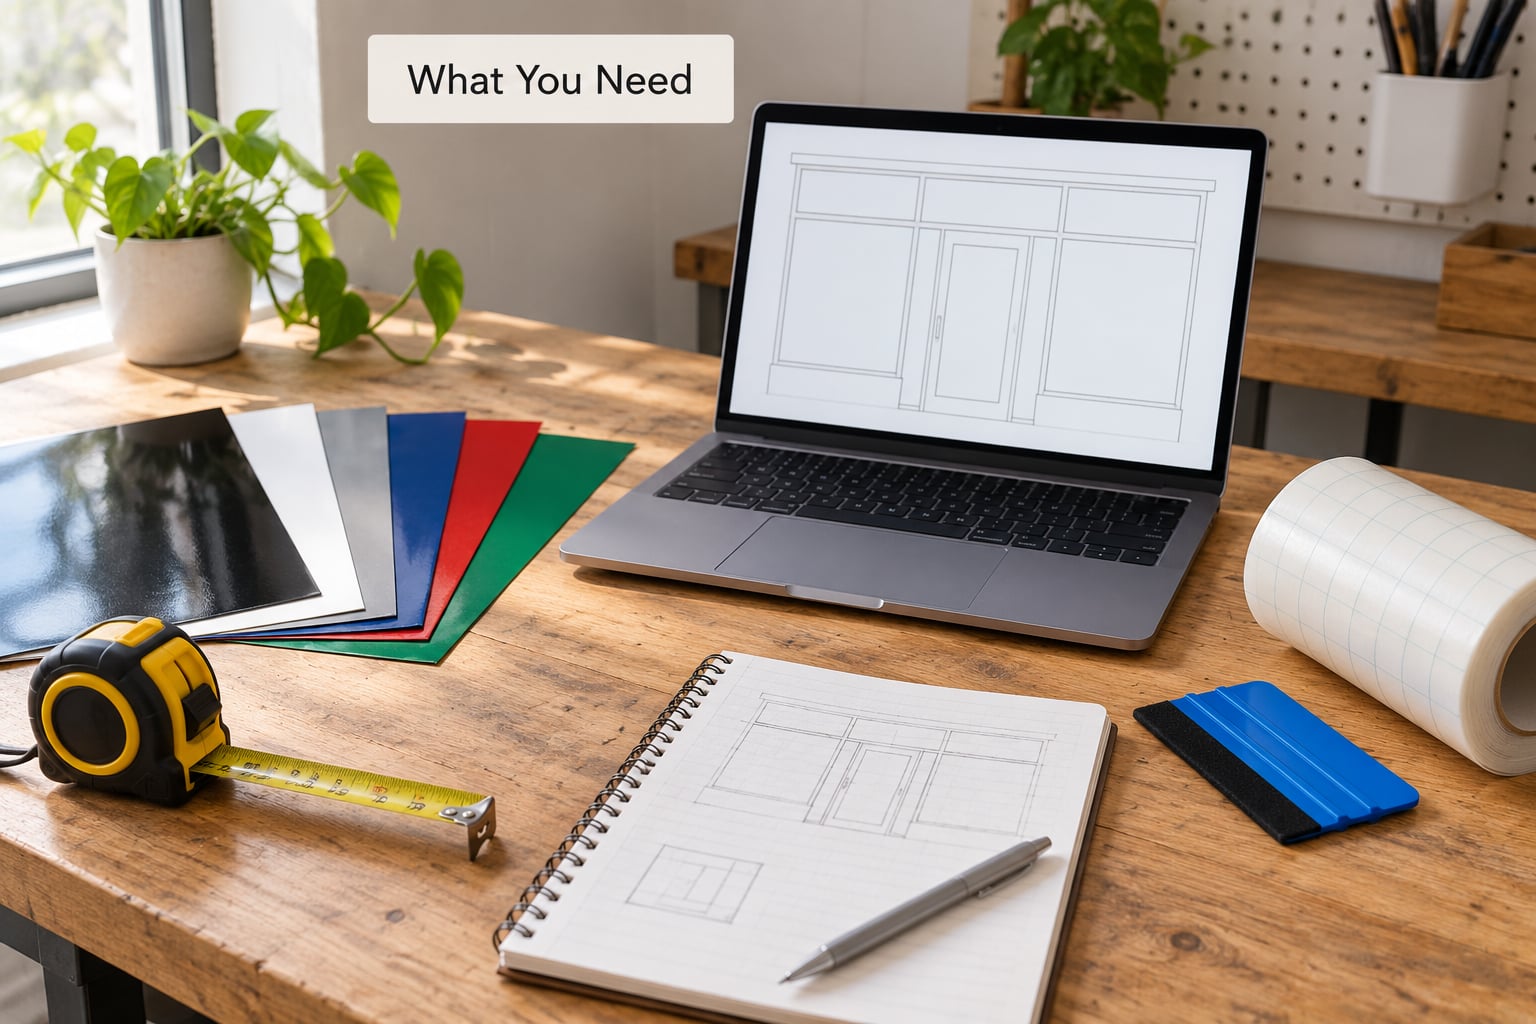
Collect these before you open any design software. Having the numbers and the files first means you design once instead of redrawing when the printer asks for a different size.
- Measurements: width and height of each glass pane, the frame depth, and how far the glass sits back from the sidewalk. Measure each pane separately, and measure twice.
- Brand assets: your logo as a vector file, approved brand colors, the fonts you use, and your tagline if you have one.
- Design tools: Adobe Illustrator or Inkscape for vector work, or Canva if the design is simple typography only.
- Decal material: a printed vinyl graphic, cut vinyl lettering, static cling for temporary messages, or perforated film for privacy.
- Application supplies: transfer tape for graphics, a plastic squeegee, isopropyl alcohol, a razor blade, and a lint-free cloth.
- Production details: the printer’s required resolution, file format, color profile, and bleed specification. Get these in writing before you design.
Window decal and window film materials compared
These four get confused constantly, so here is the short version before you commit to one.
| Material | Best use on a retail window | Outdoor life | Removal |
|---|---|---|---|
| Printed adhesive vinyl | Hours, address, logo, seasonal promotion | 2 to 5 years depending on sun exposure | Peels off, may leave residue if left for years |
| Cut vinyl lettering | Business name and address in solid color | Longest lasting option | Removes cleanly, heat helps |
| Static cling | Sales, holiday hours, temporary announcements | Days to a few weeks outdoors | Lifts off by hand, reusable if stored flat |
| Perforated window film | Privacy with visibility from inside | Multi year | Removes cleanly, usually needs two people |
| Frosted or etched glass film | Hiding clutter, office or fitting room privacy | Multi year | Removes cleanly |
Step-by-Step
Designing a window decal for a retail store comes down to four decisions in order: measure the glass and name the job, build a layout that reads from the sidewalk, prepare the file to the printer’s specs, and prove it at full size before anything is cut. Work in that sequence and you avoid the two expensive mistakes, ordering the wrong size and printing artwork that cannot be reproduced.
Measure the Window and Choose the Decal Goal
Measure the glass, not the frame. Most owners measure the opening and then lose an inch on every side to the frame profile, which shrinks the live area without them noticing.
Next, decide what this decal is for, because one window cannot do five jobs well. The options are usually identity (name, address, hours), promotion (a sale, a new arrival, a seasonal message), privacy (hiding a fitting room or a counter), or wayfinding (push or pull, entrance instructions). Pick one. A window trying to carry the store name, six product lines, an hours block, a phone number and a QR code reads as noise from the street.
Then measure the viewing distance: stand at the edge of your sidewalk or parking area and note how far you are from the glass when the business first comes into view. That distance sets your type size, which is the single number that decides whether the decal works.
Create a Clear, Brand-Matched Design
A storefront decal gets read in about three seconds, usually by someone walking. That means one message, large type, and a lot of empty glass. Leave the glass mostly bare. Design that covers most of the window looks like a hoarding board, and it also blocks the view of your merchandise, which is the other half of the job.
For legibility, use this rule of thumb: about one inch of cap height for every ten feet of viewing distance. A passerby reading from 40 feet needs letters at least four inches tall. Below that, the words blur into a gray smudge no matter how crisp the file is.
| Reading distance | Minimum cap height | What fits legibly |
|---|---|---|
| 10 feet | 1 inch | Shop name plus one line of detail |
| 25 feet | 2.5 inches | Business name and hours |
| 40 feet | 4 inches | Store name only |
| 75 feet | 7.5 inches | Logo mark, no words |
Stick to two type sizes at most. Headline for the message, smaller line for hours or the address. Avoid thin weights and any font with hairline strokes, since vinyl cutting and print screening both punish delicate letterforms.
Contrast matters more than color preference. White lettering vanishes against a bright sky reflection, and pale yellow disappears against warm brick. Dark ink or white vinyl with a dark outline both read reliably. If you want the merchandise visible behind the words, use a solid band behind the type instead of outlined letters, which turn to mush at distance.
Position matters as much as size. Put decals where eye level lands, roughly 45 to 60 inches from the ground for pedestrians, and keep them clear of the door swing and any door decal the landlord requires.
Prepare the Artwork for Production
Your printer will have specifications, and missing one is how a job gets delayed. Ask for the resolution they want at final print size. Large format printers commonly work from 150 to 300 dpi at the actual output size, not the size of your artboard, so scale first and then check resolution.
Build in a bleed of about 0.125 inch beyond the cut line so there is no white edge, and keep text and logos inside a safe margin of roughly 0.5 inch. Send vector artwork (EPS, PDF, AI, or SVG) for anything with type or a logo, so lettering stays sharp at any scale. Raster images need enough pixels for the final printed dimensions, and you should check what profile they want before converting to CMYK.
Clear vinyl is the hardest case. Clear decals have no background to carry contrast, so the artwork needs its own contrast layer: a solid color behind the lettering, or a white outline, or the letters will disappear the moment the glass reflects something. Tell the printer it is going on glass, and tell them which side.
Also ask whether they want a separate cut line or a die-cut shape, and whether lamination is included. Matte lamination kills glare on sunny storefronts. Gloss looks sharper but mirrors the sky back at the viewer, which makes white type hard to read on a west-facing window in the afternoon.
Yes, you can design a window decal yourself at home with a desktop vinyl cutter such as a Cricut or Silhouette. That route is fine for small lettering, simple shapes, and static cling, and it costs little. It breaks down once you need large-format full-color printing, precise cut lines at storefront scale, or laminated outdoor graphics, so anything bigger than a door decal is worth sending to a sign shop.
Proof the Placement Before Ordering
Never order from the design file alone. Print a full-size paper proof, tape it to the glass with painter’s tape, and stand back at your measured viewing distance. What looks balanced on a monitor is usually too small in real life, and this is the moment you find that out for the price of a sheet of paper.
Check three things: can you read the headline from the street, does the type sit clear of the door swing, and does the color still read when sunlight hits the glass? Look at it at the worst time of day for that window. An afternoon-sun window and a shaded window behave completely differently, and one design rarely suits both.
Mark the final position with tape and take a photo from the sidewalk. That photo becomes the reference for the printer and for whoever installs it, and it takes fifteen seconds.
Common Mistakes
Most failed window decals are not printing problems, they are design mistakes that were shipped anyway. These are the ones I see repeatedly, with the fix for each.
Filling the whole pane. Full coverage kills the view of your product and shrinks the type. Fix: keep the design inside roughly the middle third of the glass, and keep the lower portion clear so people can see in.
White on a bright window. White lettering against a sky or sun reflection drops out completely. Fix: use a solid color block behind the type, or switch to dark ink with a light outline.
Ignoring the view from inside. A printed vinyl decal looks like a dark mirror from the shop side during the day. Fix: perforated film reads evenly from both sides, or mount the graphic on the outside face of the glass.
Scaling artwork in the design software without checking resolution. A logo blown up from a web image comes out soft or pixelated. Fix: request the vector file from whoever made your logo, or redraw it as a shape.
Type sized for your desk, not the sidewalk. Fix: measure the viewing distance, then apply the one inch per ten feet rule before you commit to the layout.
Ordering without the printer’s spec sheet. Missing bleed, resolution or cut-line requirements means a reprint. Fix: get the spec sheet in writing, and read it before you start designing.
Applying to warm or dirty glass. Adhesive bonds badly to a hot pane and lifts at the edges. Fix: install in the morning or evening when the glass is cool, and clean with isopropyl alcohol rather than household glass cleaner.
Putting decals up without checking the lease. Center rules, landlords and local sign codes can restrict what goes on storefront glass. Fix: ask your landlord or property manager and check local sign ordinances before you print anything.
Frequently Asked Questions
How big should a storefront window decal be?
Size the decal by viewing distance, not by the window. Use roughly one inch of cap height for every ten feet between the glass and the reader, so a decal read from 30 feet needs letters about 3 inches tall. Keep the design inside the middle third of the pane so you still see merchandise through the glass, and measure each pane separately before you design.
What type of vinyl is best for outdoor window decals?
Printed adhesive vinyl is the standard choice for a permanent outdoor storefront graphic, and cast vinyl holds up better than calendered vinyl on a sun-facing window. Cut vinyl lettering lasts longest of all because there is no printed ink to fade. Add matte lamination on sunny glass, since gloss reflects the sky and washes out light lettering. Ask your printer which vinyl rated for outdoor use they stock.
What is the difference between a window decal and a window cling?
A window decal uses a permanent adhesive backing, so it stays put through rain and cleaning and usually lasts a few years. A static cling has no glue at all, it holds by static charge, which makes it removable in seconds and reusable if you store it flat. Choose decals for hours, branding and seasonal graphics you want up for months, and clings for short promotions and holiday hours.
Can I design a window decal myself with a Cricut or similar cutter?
Yes, for small lettering and simple shapes, especially in static cling or solid vinyl. A home cutter handles a door decal or a small hours block comfortably. Large-format full-color graphics, precise cut lines at storefront scale and laminated outdoor pieces need a wide-format printer, which is what a sign shop runs. Many owners design the file at home and send the print run out.
How do I make window lettering readable in direct sunlight?
Readability comes from contrast and size, not from color choice. Put the type on a solid color block rather than leaving it as bare lettering, keep it matte so it does not mirror the sky, and size it at one inch of cap height per ten feet of viewing distance. White vinyl with a dark outline reads on most backgrounds. Proof it on the glass at the worst hour of sunlight before you order.
Do I need permission to put decals on my storefront window?
Check before you print. Retail centers, strip malls and some landlords restrict or charge for window graphics, and local sign ordinances can limit size, color or how much glass a sign covers. Most removals leave residue or require heat to lift cleanly, which can cost more than the permission took. A quick email to your property manager and a check of your local sign code saves the whole job.
Conclusion
To design a window decal for a retail store, the process is short: measure the glass, choose one job for the window, size your type to the viewing distance, build the file to the printer’s specs, and proof it on the actual glass before you order.
Start with the measurement and a single message. A taped-on paper proof at full size will teach you more in five minutes than an hour of design work, and it costs almost nothing.