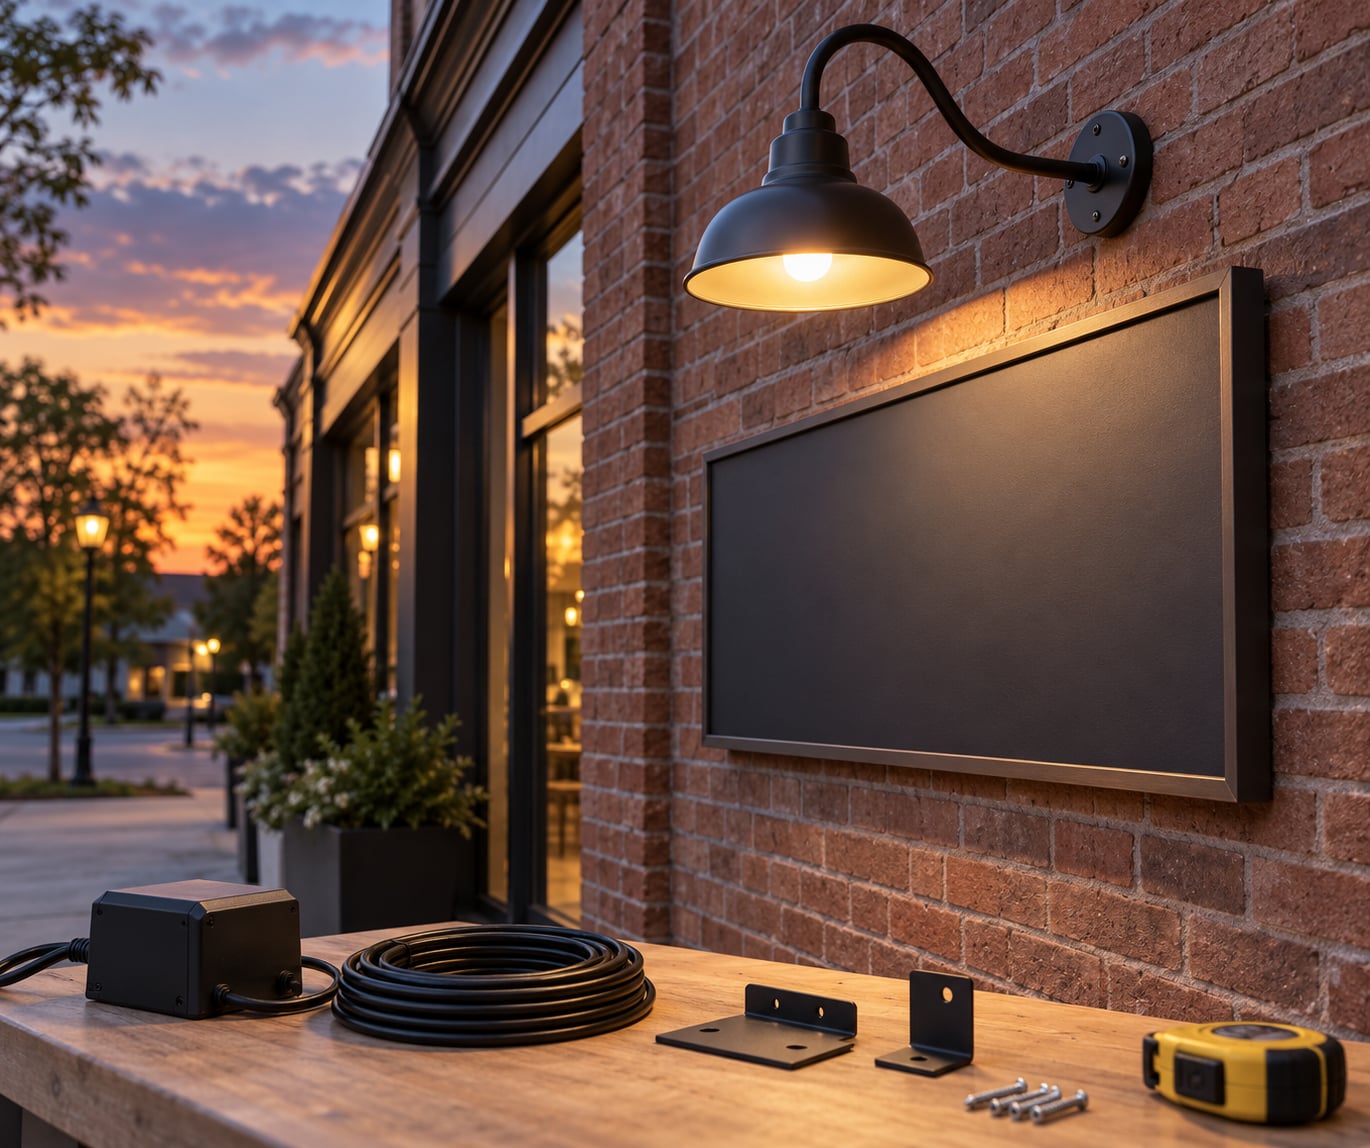
To light an outdoor business sign, you mount a light source in front of, behind, or inside the sign face, run it to a matching low-voltage transformer, and aim or diffuse it so the sign reads evenly from the street after dark. A photocell turns it on at dusk. Most plug-in and low-voltage retrofits are weekend work; anything that needs a new exterior circuit, roof or pole access, or a permit belongs with a licensed electrician.
A sign that goes dark at sunset gives up about half of its working life, since most small businesses are open roughly sixteen hours a day. Lighting it costs less electricity than a single porch light running overnight.
I get the same question from shop owners and restaurant managers: which fixture, where do I mount it, and where do I stop before I need a permit. This guide walks the whole job in order, from measuring the cabinet to walking across the street at night and checking the result.
One note before you buy anything. Ring two or three sign shops that install lighted signage and ask what the permit process looks like on your address before you commit to a fixture list. Permit requirements and inspection rules vary by city, and shops that do this work every week can tell you in one call whether your sign type needs sign-off by an electrician.
Table of Contents
- What You Need
- Step-by-Step
- How to Light an Outdoor Business Sign Safely
- Mark Mounting Points and Electrical Routes
- Install the Lights and Mounting Hardware
- Connect the Power Safely
- Aim the Lights and Reduce Glare
- Add a Timer or Photocell
- Test and Fine-Tune at Night
- Common Mistakes
- Maintenance and Long-Term Checks
- Frequently Asked Questions
- What is the best way to light an outdoor business sign?
- Can I install an illuminated sign myself?
- How bright should an outdoor business sign be?
- Can outdoor sign lights stay on all night?
- What lighting is suitable for signs in wet or cold weather?
- Conclusion
What You Need
Start by measuring what you are lighting. Note the sign’s width and height, the material of the face, how far it projects from the wall, and what is above it. A flat wall sign and a projecting blade sign need completely different geometry.
Next, decide the illumination goal in plain terms. Do you want the whole face evenly bright, the letters glowing from inside, or a soft halo outline behind raised letters? That choice decides everything downstream, so write it down before shopping.
Then gather the hardware:
- Mounting hardware matched to the wall or cabinet: exterior-rated screws or bolts, standoffs for halo lighting, brackets for gooseneck arms, and silicone sealant for any penetration into a cabinet.
- Exterior-rated electrical components: fixtures marked wet-location rated, exterior-rated junction boxes, conduit, and cable rated for outdoor use.
- A matching transformer or LED driver sized for the total wattage of your light source.
- A timer or photocell that matches the fixture and the install type.
- Hand tools: tape measure, drill with masonry bits, wire strippers, non-contact voltage tester, and a screwdriver set.
Size the transformer by adding up the wattage of every module and leaving roughly 20 percent headroom. A 60-watt LED load wants a 75-watt or larger unit, not a 60-watt unit sitting at its ceiling. Sizing is the single most common reason sign lighting starts failing after a year or two.
Now separate the two kinds of job. Plugging a listed low-voltage light kit into an existing exterior outlet, or swapping modules inside a cabinet you own, is realistic do-it-yourself work if you are comfortable with basic wiring. Running a new circuit, opening a junction box in the wall, mounting on a roof, or attaching to a pole is licensed work in most jurisdictions.
Step-by-Step
How to Light an Outdoor Business Sign Safely

Before anything else, inspect the sign and its existing wiring. Open the cabinet, look for water staining, corrosion, rodent damage, or a transformer that has already browned out. Check the label on any existing transformer and compare its wattage against what you plan to install. Retrofitting an old sign that already has a dead or undersized transformer is how a weekend job turns into a full rewire, so check now, not after the new modules are mounted.
Locate a suitable power source. The cleanest option is an existing exterior outlet or an existing sign circuit. Note whether the outlet is GFCI-protected and whether the circuit has capacity for the load you are adding.
Then pick your illumination method. Front lighting aims fixtures at the face and suits an opaque panel or a monument sign. Backlighting puts the source behind a translucent face so the panel glows evenly. Halo lighting pushes light outward behind raised letters for an outline glow.
| Method | Light source | Best for | Install difficulty |
|---|---|---|---|
| Front-lit floodlight | Weatherproof LED flood or gooseneck fixture | Opaque panel signs, monument and pylon signs | Easy, mostly mounting and aiming |
| Backlit light box | LED modules or LED strip inside the cabinet | Translucent or acrylic faces, storefront panels | Moderate, requires even module spacing |
| Illuminated channel letters | LED modules inside each letter can | Individual letter signage on a wall or raceway | Skilled, each letter is a small build |
| Halo lighting | LED strip or modules behind standoff letters | Raised metal or acrylic letters | Moderate, needs even standoff gaps |
| LED neon flex | Flexible LED neon rope or tube on a board | Script logos and curved lettering | Easy to moderate, surface mounted |
Map the layout on paper or tape before you drill. Mark fixture centers, cable routes, and where the transformer will live. Do not run temporary cords across a walkway or through a door as a permanent shortcut. Extension cords are not outdoor permanent wiring, and a cord across an entry is a trip hazard the first rainy night.
Mark Mounting Points and Electrical Routes
Center the sign or the lighting components first, then step back and confirm the alignment before marking anything. Even mounting points matter more than perfect spacing; a fixture an inch off line on a six-foot sign is visible from across the street.
Keep the panel access clear. Any junction box, disconnect, or transformer should stay reachable without removing the sign face, because that is what you will need the next time a module dies.
Plan cable routes that avoid sharp metal edges, standing water, landscaping that gets irrigated, and pedestrian areas. Run conduit along the structure, add drip loops at every entry point, and keep cable away from where a door or awning arm might pinch it.
Install the Lights and Mounting Hardware
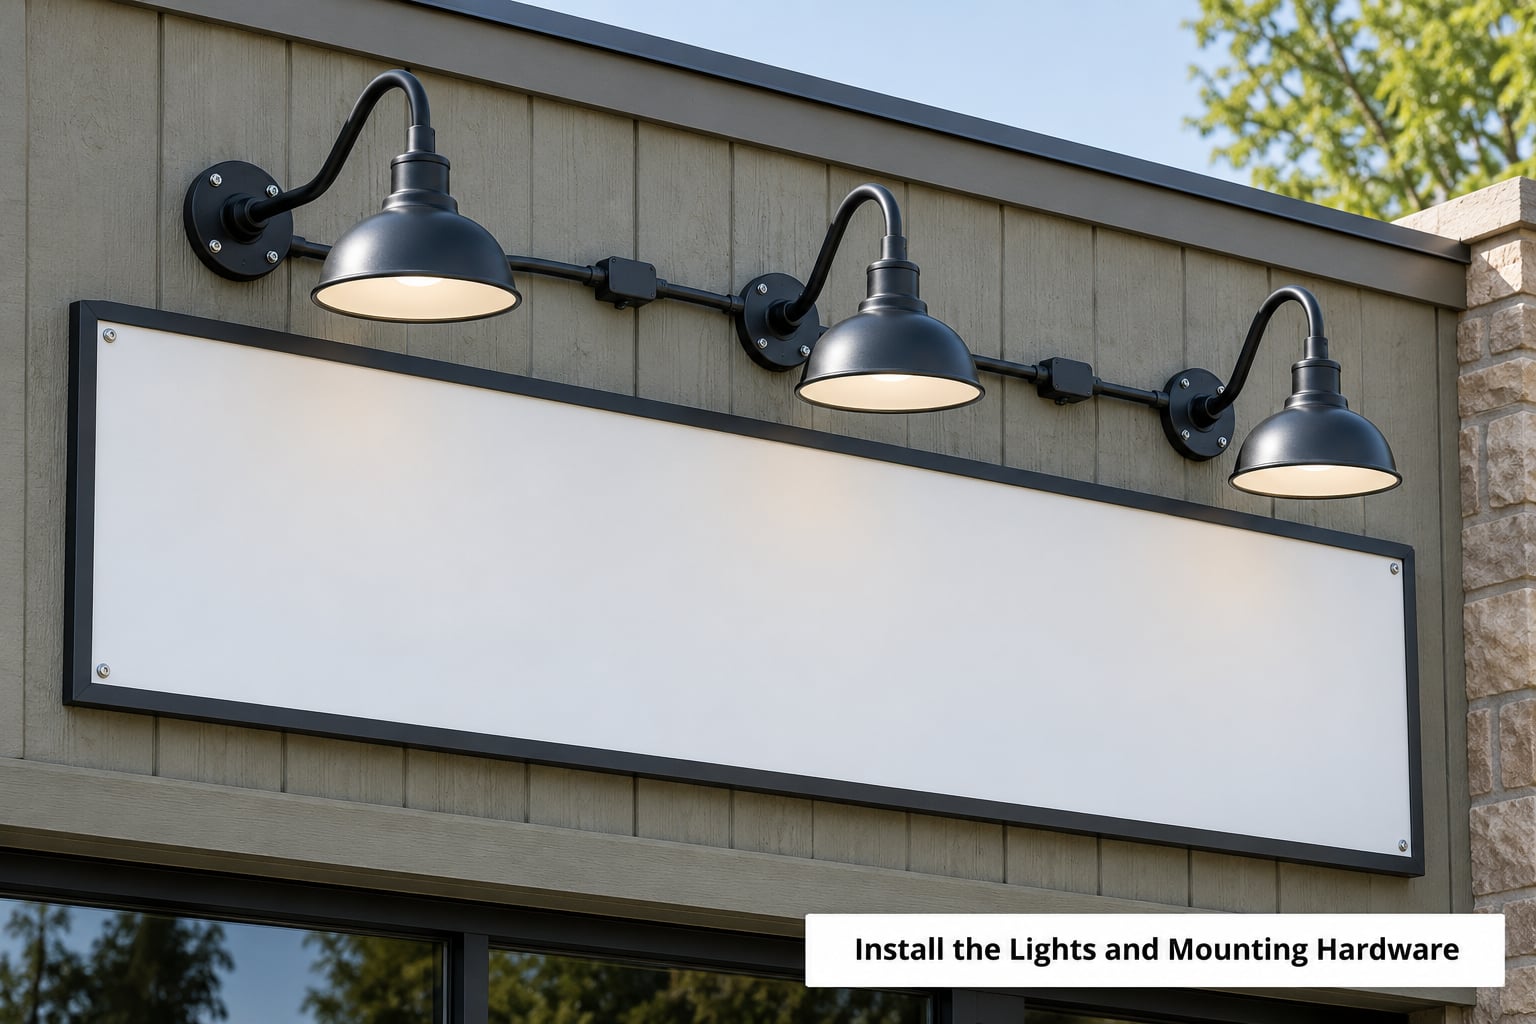
Fasten each fixture with the fasteners the manufacturer specifies. Masonry walls need masonry bits and appropriate anchors; wood and aluminum need the matching screw. Do not guess here, because a fixture that works loose in a year will rattle and mis-aim.
Space front-lighting fixtures so the beams overlap slightly at the sign face. Overlap is what stops bright spots and dark bands, which is the same complaint you hear constantly about poorly spaced LED strips inside light boxes. If you are backlighting a cabinet, space modules evenly along the interior and keep the same distance from the face so the glow reads uniform.
Seal every penetration and every cable entry with exterior-rated sealant and grommets. Add a drip loop, a gentle curve in the cable below each entry point, so water runs off instead of traveling into the fitting. Fit weatherproof covers over any junction you cannot hide inside the cabinet.
Before drilling into anything, confirm what is behind it. Old sign cabinets often carry wiring, and structural members are not something to discover halfway through a hole.
Connect the Power Safely
Low-voltage LED kits usually run from a listed transformer to a photocell, then to the fixtures. Follow the wiring diagram that came with the kit rather than guessing at a diagram you found online.
Every connection has to be rated for the location. Wet or damp locations need wet-location rated enclosures and fittings, and any cord or connector exposed to rain must say so on its label. A standard indoor junction box on an exterior wall will eventually fill with water.
Place the transformer where it stays dry, ventilated, and reachable. Inside an open cabinet or in an accessible exterior enclosure, never inside a sealed box with no airflow. Run the correct gauge cable for the load and the distance, and secure it so it cannot chafe against metal.
GFCI protection matters outside. If your existing outlet is not GFCI-protected, have one installed before you plug anything in, and test it with the button each season. Grounding is not optional; a floating transformer with a damaged ground is how a wet sign becomes a shock hazard.
Know when to stop. Hardwiring into a new exterior circuit, extending a circuit, opening a panel, or doing any work above eighteen inches that needs a ladder or roof access goes to a licensed electrician. Permit rules vary by city and county, and illuminated commercial signs are commonly inspected, so check your local building department before you start rather than after.
Aim the Lights and Reduce Glare
Turn the fixtures on at dusk and aim them from the passenger side of the approach. You want the sign face evenly lit and readable, with no hot spot in the middle and dark corners.
Watch the beam from a driver’s eye line, not just from the sidewalk. A sign that reads perfectly from directly in front can be unreadable two hundred feet up the road at an angle, which is the angle most people actually see it from.
Keep light off the roadway, off neighboring windows, and off the sky. Shields, hoods, and darker matte finishes on the fixture body all reduce glare. Narrow beam fixtures on a sign with a wide face throw hot spots, so match the beam spread to the sign’s proportions.
Glare complaints are the fastest way to draw attention from a neighbor or a code officer. If the sign looks dazzling from thirty feet, it will look uncomfortable from a bedroom window behind you.
Add a Timer or Photocell
A photocell, often called a dusk-to-dawn sensor, switches the sign on when light drops below a set level and off when it rises. For most signs this is the best default, because it needs no one to remember anything.
A mechanical or digital timer works when you want fixed dark hours, and a plug-in timer is useful for a kit running off an existing outlet. Make sure the control you choose suits the fixture type and the install: an indoor mechanical timer in a damp location will fail early.
Many municipalities set dark hours, which are local restrictions on illuminated signage during defined late-night periods, and some cap brightness. Confirm your local rules before you choose fixtures. A dimmer or a scheduled cutoff may be required, and it is much easier to plan for than to add afterward.
Test and Fine-Tune at Night
The first test happens after dark, never during the day. Walk to the far side of the street, or to the normal approach angle for a monument or pylon sign, and check the reading distance you actually need.
Look for even brightness across the face, consistent color temperature, no flicker, no shadows from a mounting bracket, and no glare into a driver’s line of sight. A mixed color temperature is a common complaint and it usually means fixtures from two different runs are on the same circuit.
Confirm the photocell or timer actually switched on and off, and check for moisture at every entry point after a rain. Finally, re-check every fastener by hand. Nothing is worse than watching a fixture hang crooked after the first gust.
Common Mistakes
Most sign lighting problems show up in the first year, and they cluster into a short list. Watch for these:
- Using an undersized transformer. Running a load at the ceiling causes flicker and early failure. Add 20 percent headroom.
- Exposed, non-weather-rated wiring. Any connector or box not rated for damp or wet locations will take on water.
- Loose fixtures. Aiming drifts as fasteners loosen, and vibration makes it worse.
- Poor aiming. Glare washes out the sign for drivers and annoys neighbors.
- Excessive brightness. Brighter than necessary is harder to read, not easier, and it costs more to run.
- Mismatched color temperatures. Mixing warm and cool fixtures on one sign looks sloppy from across the street.
- Blocked access. Sealing a panel or junction so it cannot be opened later turns a five-minute repair into a full removal.
- Skipping the permit check. Illuminated commercial signs are commonly inspected, and unpermitted work is expensive to fix.
| Symptom | Likely cause | Fix |
|---|---|---|
| Flickering after a year or two | Transformer overloaded or failing | Replace with a correctly sized unit |
| Dim or uneven glow in a cabinet | Modules spaced too far apart, or ageing drivers | Re-space modules or replace the run |
| One dead letter or section | Failed module or an open connection | Check the module, then the connector |
| Water inside the cabinet | Failed seal or a missing drain | Reseal entries, add a drain, dry and inspect |
| Sign comes on during daylight | Photocell misaligned or dirty | Clean and reorient the sensor |
If you are swapping working neon tubes for LED modules on an old sign, the cabinet is usually reusable. Replace the transformer rather than trusting the existing one, and check that the cabinet interior is clean, dry, and free of rust before you mount new modules.
Maintenance and Long-Term Checks
Put a short inspection on your calendar twice a year, once after the leaves drop and once before the busy season. Clean lens and module surfaces, since dirt and film cut output more than most people expect.
Check seals and fasteners, look for water or corrosion inside the cabinet, and confirm the transformer is running cool rather than hot. Test the photocell by covering it with your hand after dark, and confirm the sign switches off as programmed.
Trim vegetation that has grown into the beam, and replace failed bulbs or modules in matched color temperature and output so the sign stays even. If you notice rust creeping from a fastener hole, treat it before the panel warps.
In coastal areas, choose fixtures and hardware with a corrosion-resistant finish and rinse them periodically with fresh water. In cold climates, confirm the driver or transformer is rated for the lowest temperature your area reaches.
Frequently Asked Questions
What is the best way to light an outdoor business sign?
It depends on your sign face. Front lighting with a gooseneck or flood fixture suits opaque panels and monument signs. Backlighting with evenly spaced LED modules suits translucent or acrylic faces. Halo lighting works best behind raised letters, where the light spills outward as an outline glow. Pick the method that matches the face material before you pick a fixture, since it determines spacing and transformer load.
Can I install an illuminated sign myself?
Low-voltage LED retrofits are reasonable do-it-yourself work if you are comfortable with basic wiring and the kit plugs into an existing exterior outlet. Hardwiring a new exterior circuit, opening a panel, running conduit, or working on a roof or pole requires a licensed electrician and usually a permit. Many cities inspect illuminated commercial signs, and unpermitted work is expensive to correct later.
How bright should an outdoor business sign be?
Bright enough to read at your normal approach distance without glare, and no brighter. If the sign looks dazzling from thirty feet, it will read as uncomfortable from a nearby window and can attract complaints from neighbors or a code officer. Some jurisdictions cap brightness or set dark hours, so check local rules before choosing fixtures, and consider a dimmer where one is allowed.
Can outdoor sign lights stay on all night?
Many municipalities define dark hours, which are local restrictions on illuminated signage during late-night periods, and some require the sign to switch off or dim during those hours. Schedules vary by city and county, so confirm yours before installation. A photocell with a programmable cutoff handles this well, and it also stops wasting electricity on hours when nobody is driving by.
What lighting is suitable for signs in wet or cold weather?
Use fixtures, enclosures, and connectors labeled for wet or damp locations, and never rely on an indoor-rated junction box outside. For cold climates, confirm the transformer or driver is rated for the lowest temperature your area reaches, since cold reduces output and stresses drivers. In coastal areas, choose corrosion-resistant hardware and rinse fittings with fresh water periodically.
Conclusion
Start with three things: measure the sign, choose the illumination method that matches the face material, and confirm whether the power connection is plug-in or hardwired. That last answer decides whether you finish the job yourself or bring in a licensed electrician.
Once you know that, size the transformer with about 20 percent headroom, pick wet-location rated components, and plan for a photocell with a cutoff that meets your local dark hours rules. Everything after that is mounting, aiming, and a nighttime test from across the street.