An acrylic standoff sign is a rigid panel held away from the wall by small metal posts, so the sign appears to float and casts a soft shadow gap on the surface behind it. Understanding acrylic standoff signs comes down to three things: the acrylic you choose, the hardware that holds it, and the wall you mount it to. Updated for 2026, this guide walks through all three.
I have watched a lot of lobby signage go up over the years, and the same pattern repeats. The signs that read as expensive are not usually the biggest ones. They are the ones where somebody spent twenty minutes getting the hole pattern right and cleaning the wall before the panel went on.
Acrylic is PMMA, sold under names like Perspex and Plexiglas. It is light, rigid, easy to cut, and it takes print beautifully. It also scratches easily and it yellows under long-term ultraviolet exposure, which matters if your sign is going anywhere near a window or a south-facing wall.
Table of Contents
- What Are Acrylic Standoff Signs?
- How Are Acrylic Standoff Signs Made?
- What Types of Acrylic Are Best for Standoff Signs?
- Choosing Acrylic Standoff Sign Thickness and Size
- How thick should acrylic standoff sign panels be?
- Acrylic Standoff Sign Mounting and Attachment Options
- Where acrylic standoff signs work best indoors
- How to Choose Edge, Print, and Color Finishes
- How to Install Acrylic Standoff Signs Safely
- How to Clean and Maintain Acrylic Standoff Signs
- What Mistakes to Avoid When Ordering Acrylic Standoff Signs
- Frequently Asked Questions
- Are acrylic standoff signs better than metal signs?
- Can acrylic standoff signs be used outdoors?
- How far apart should the mounting holes be on an acrylic panel?
- What is the difference between clear and frosted acrylic for signs?
- How much should acrylic standoff signs cost?
- Conclusion
What Are Acrylic Standoff Signs?
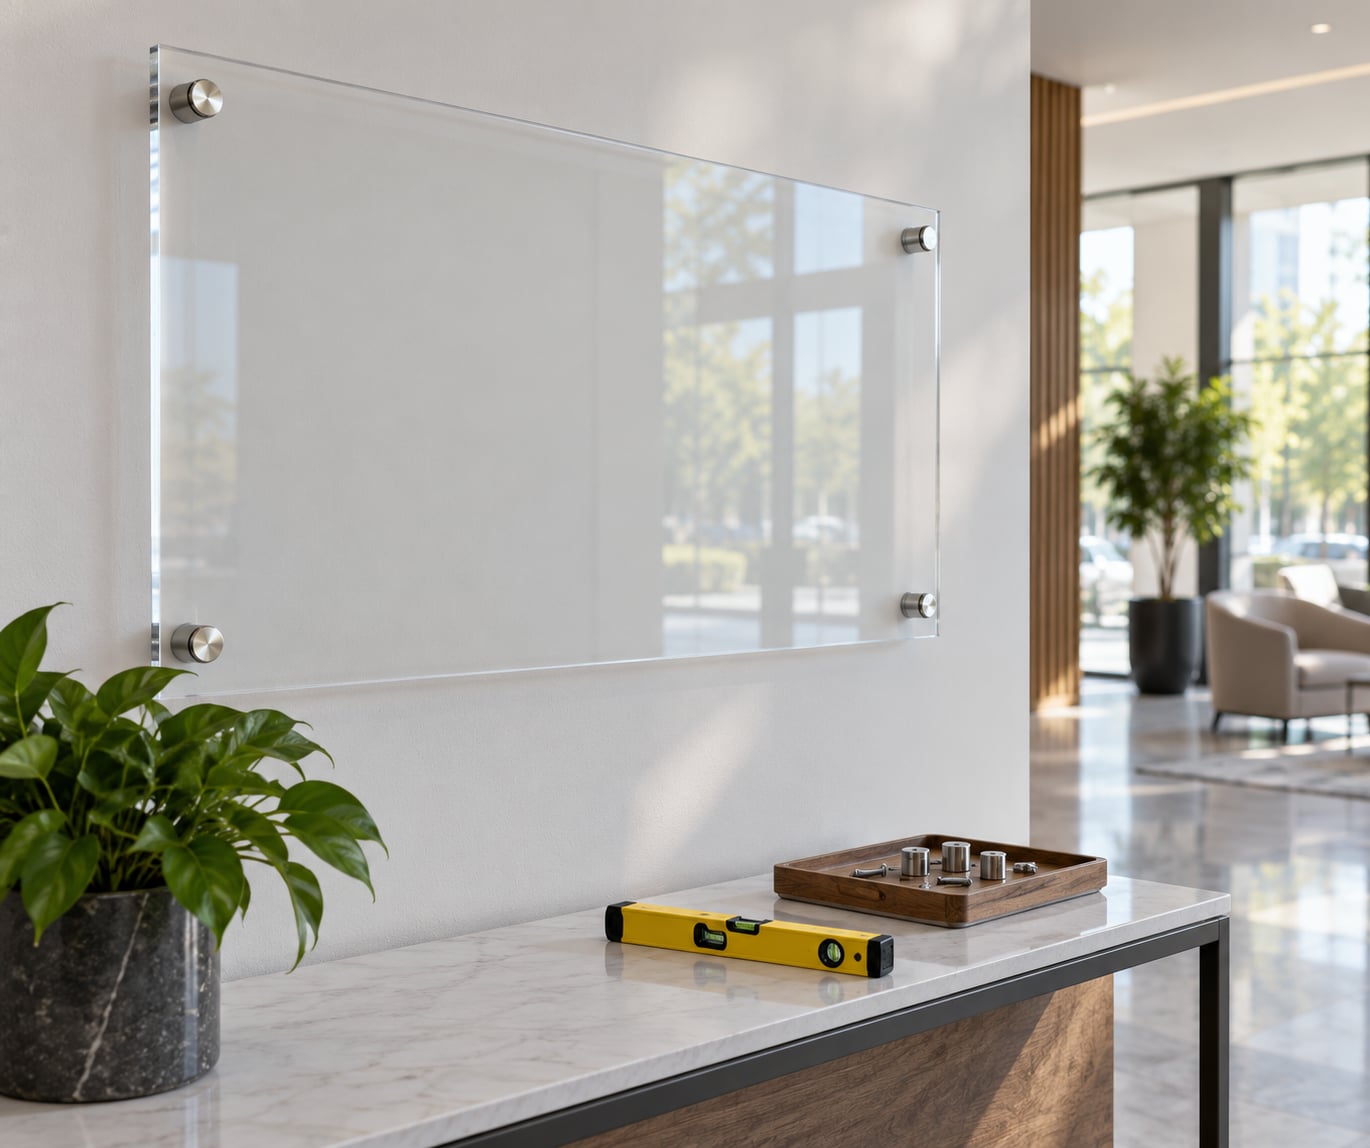
Acrylic standoff signs are panels mounted on short cylindrical posts, made of a base that screws into the wall, a spacer barrel that sets the distance between wall and panel, and a cap that clamps the acrylic from the front. The gap between panel and wall lets light pass behind the sign, which is what creates the floating look.
Adhered acrylic letters work differently. Those are mounted straight to the surface with adhesive or screw fixings, so they sit flush and read as part of the wall. A standoff panel stands proud of the surface, which gives it depth, a visible shadow line, and a much lighter overall weight.
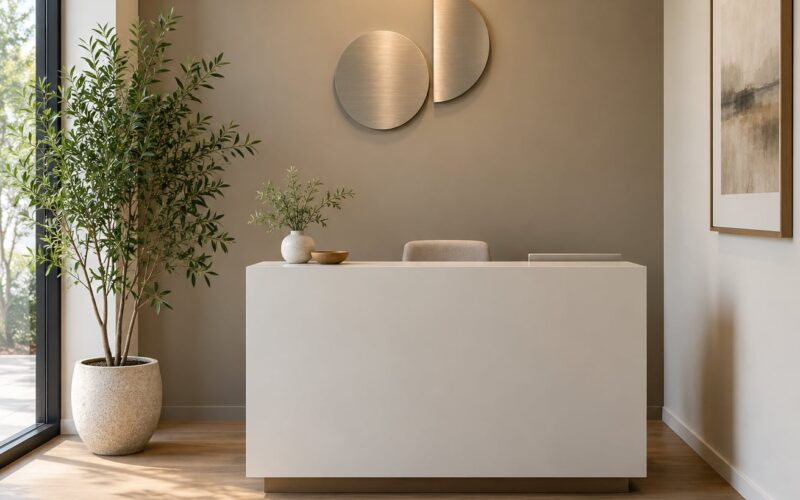
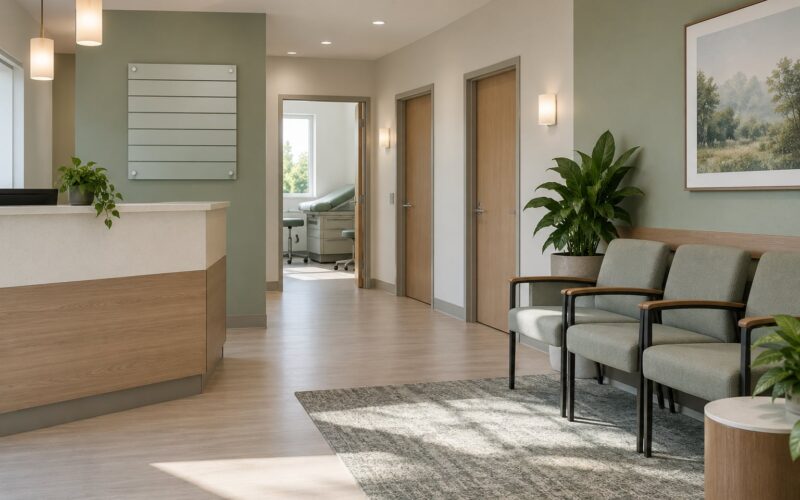
In practice you will see acrylic standoff signs in reception areas and lift lobbies, above retail counters, on salon and spa frontages, in gallery and studio settings, and on exhibition stands where the display is rebuilt each month.
How Are Acrylic Standoff Signs Made?
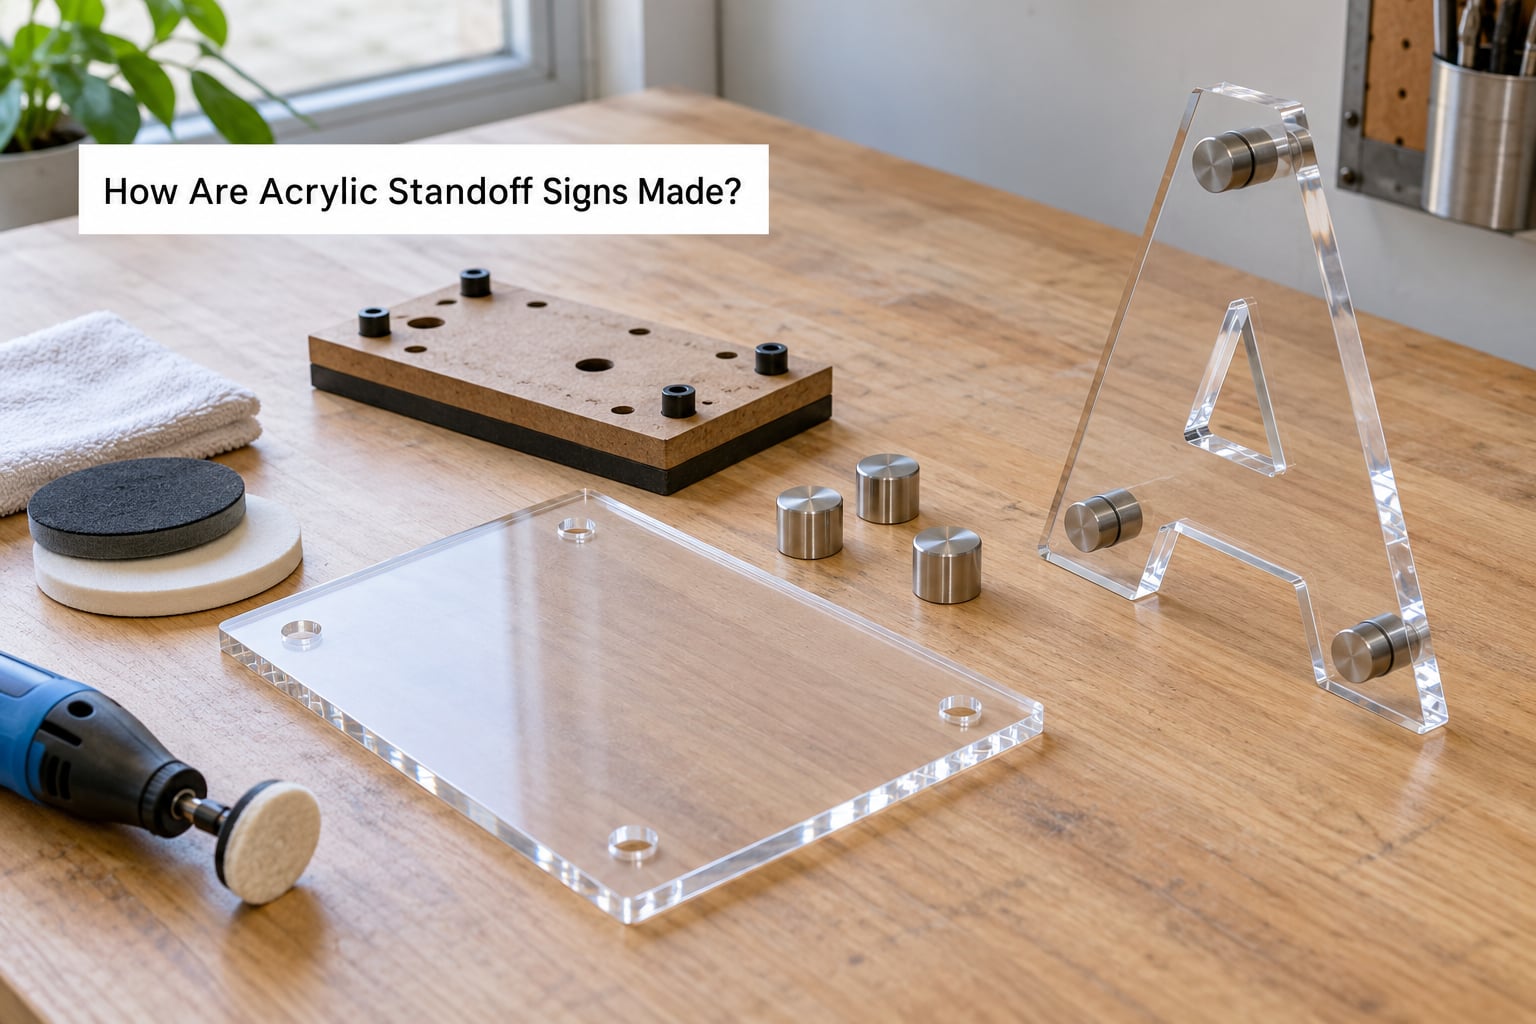
Production starts with artwork, not with acrylic. The file is sized to the finished panel, and anything that will be drilled has its standoff positions marked on the artwork so the holes land in the same place every time.
After that the panel is cut, either by laser or by a CNC router. Edges are then finished, and this is the step people skip and later regret. A flame-polished or buffed edge catches light along the border and reads as a finished product. A raw sawn edge looks like a cut plastic sheet, and it shows every handling mark.
Graphics go on by one of two routes. UV printing puts ink directly on the surface, which allows fine detail and full colour. Second-surface printing, where the graphic is reversed and applied to the back face, looks cleaner because the acrylic acts as a protective layer over the ink, at the cost of a slightly more muted colour.
Holes are drilled next. Sign shops typically start with a small pilot bit before stepping up, which reduces the chance of a crack running out of the edge. Then the panel is assembled with the hardware, checked for squareness, cleaned, and packed.
Two details decide whether the finished sign looks good: consistent hole spacing and clean edges. Neither is expensive, and both are visible the moment it hangs.
What Types of Acrylic Are Best for Standoff Signs?
Five acrylic finishes cover almost every standoff job, and they are not interchangeable.
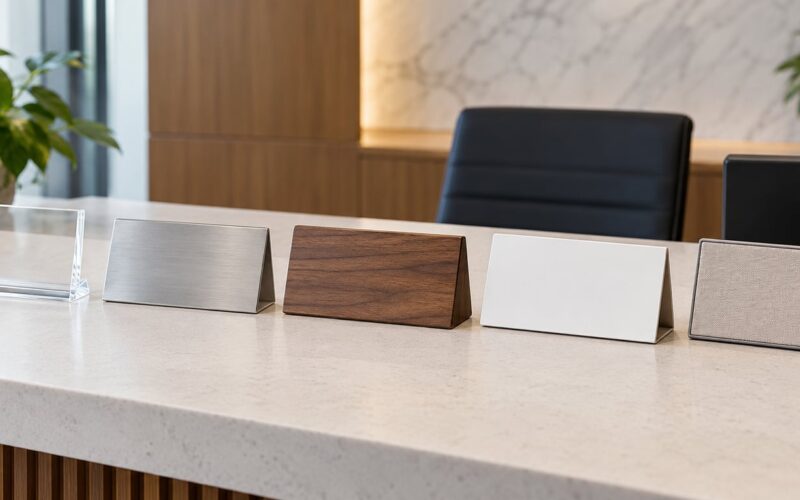
Clear acrylic is the default. Light passes through it, so backlit graphics and edge lighting work, and it disappears almost completely against a plain wall. Every fingerprint and scratch shows, which means the panel needs careful handling during install.
Coloured acrylic comes in tinted sheets ranging from pale tints to deep saturated tones. Colour blocks read at a distance and hide dust well, but dark colours absorb light and lose their edge definition indoors.
Frosted acrylic has a soft translucent surface. It diffuses light across the whole panel, works well for privacy and wayfinding, and hides scratches better than clear. Graphics sit under the surface and appear slightly muted.
Mirrored acrylic has a reflective face, usually applied as a film. It bounces light back into the room and looks striking in reception areas, though it reflects the room rather than staying neutral. It also shows every thumbprint.
Tinted acrylic covers the smoke and bronze families. It gives a warm, gallery-like appearance and reduces glare on a well-lit wall, at the cost of less light passing through.
| Acrylic type | Appearance and light | Scratch visibility | Best used for |
|---|---|---|---|
| Clear | Transparent, light passes through | Very visible | Lobby logos, backlit panels, gallery prints |
| Coloured | Solid tint, holds brand colour | Moderate | Brand panels, bold word marks, retail interiors |
| Frosted | Soft translucent diffusion | Low to moderate | Wayfinding, room numbers, privacy panels |
| Mirrored | Reflective face, bounces light | Very visible | Reception desks, premium retail fittings |
| Tinted | Smoke or bronze, reduced glare | Moderate | Warm interiors, art display, evening-facing areas |
Choosing Acrylic Standoff Sign Thickness and Size
Thickness comes down to panel size and how the panel is supported. Thicker acrylic sags less, takes a cleaner drilled hole, and resists bowing on a large surface, but it costs more and adds weight to every standoff point.
The common commercial choices are 1/8 inch, 1/4 inch, and 3/8 inch. Small panels and letterforms up to about a foot tall usually run in 1/8 inch. Reception panels and larger logo marks sit comfortably in 1/4 inch. Anything wide, long, or mounted on only four points wants 3/8 inch or a fifth standoff point.
How thick should acrylic standoff sign panels be?
Match thickness to the unsupported span between standoffs, not just to the total panel size. A wide panel with only four corner posts puts the most load in the middle of each edge, which is where a thin panel develops a visible bow. Adding standoffs along the top and bottom edges usually beats upgrading thickness across the whole panel.
Standoff projection is the second decision. Shorter projections of around 3/4 inch suit tight corridors and busy hallways. Projections of 1 inch to 1 1/4 inches read better on an open lobby wall, and longer projections of 1 1/2 inches and beyond create a deeper shadow gap that works well in low, warm lighting.
For legibility, a common sign-industry rule of thumb is roughly one inch of capital letter height per ten feet of viewing distance. A sign read from across a room needs much larger letterforms than one read at a reception desk.
Finally, decide indoor or outdoor before you order. Interior panels can be lighter in construction. Exterior work needs heavier acrylic, more standoff points, and UV-rated graphics, and it is worth reading the next section before committing.
Acrylic Standoff Sign Mounting and Attachment Options
Standoff hardware comes in a few standard shapes, and the shape you pick changes how the sign looks, how you service it, and how much it costs to install.
Cap standoffs are the classic choice. A base sits on the wall, the panel drops over the spacer barrel, and a round cap screws down on the front. Removing the panel means taking off the caps.
Disc standoffs use a wider, flatter disc on the front face. The larger visible face reads as more of a design element and works nicely on a reception panel where the hardware is meant to be seen.
Channel standoffs grip the panel along an edge rather than pressing in one point. They spread the load and suit tall, narrow blade signs where a single drilled point would crack the acrylic.
On the wall side, the anchor has to match the substrate. Drywall takes hollow-wall anchors or toggle bolts, which spread the load behind the face. Masonry and concrete take masonry screws or sleeve anchors. Glass and glazed partitions take a purpose-made clamp or a bonded base with no penetration.
| Mounting system | Appearance | Serviceability | Alignment | Typical use |
|---|---|---|---|---|
| Cap standoff | Small round hardware front and back | Panel removable by lifting off caps | Tolerance depends on base spacing | Lobby logos, room panels, retail branding |
| Disc standoff | Wider visible disc on the face | Removable, visible hardware | Good, disc hides minor error | Reception panels where hardware is featured |
| Channel standoff | Edge grip, face stays clean | Panel slides out of channel | Forgiving over long spans | Blade signs, tall narrow graphics |
| Adhesive bonded base | No visible fixing | Not removable without heat | Very good, template sets pattern | Smooth walls, rented space, glass partitions |
| Magnetic mount | Panel sits flat against metal backing | Lifts off by hand | Fixed by the backing plate, not the panel | Trade shows, frequently changed displays |
Where acrylic standoff signs work best indoors
Indoor is where this format earns its keep. Lobbies, reception walls, corridors behind a reception desk, gallery hangings and studio interiors all benefit from the shadow gap and stay clear of the two acrylic weaknesses: ultraviolet yellowing and thermal movement.
For rental space or a wall you are not allowed to drill, bonded bases and high-quality adhesive mounting solve the problem cleanly. The tradeoff is that the panel becomes a permanent fixture, so confirm the position before anyone peels a backing off.
How to Choose Edge, Print, and Color Finishes
Edge finishing is the cheapest upgrade that changes how a panel reads. A polished edge becomes a bright line that frames the graphic and separates it from the wall colour. A bevel adds a narrow angled facet that catches light and shows the panel thickness. A frosted or as-cut edge stays matte and utilitarian, which suits wayfinding panels where the hardware is meant to disappear.
Print method matters next. Face printing, where the graphic goes on the front surface, allows the widest colour range and the sharpest small type, and it is exposed to scratches and cleaning. Second-surface printing places the graphic behind the panel, so the acrylic shields it from handling while slightly softening colour and depth. For logos and word marks, first-surface printing is the usual choice.
Engraving cuts into the panel and exposes a matte surface beneath the gloss. It cannot fade or peel and it suits wayfinding and room identification, but it is limited to line work and single-colour output.
Colour accuracy is where signs go wrong most often. Give your fabricator the brand colours as physical references where possible, ask for a printed proof on the actual substrate, and check it under the same light the sign will live in.
How to Install Acrylic Standoff Signs Safely
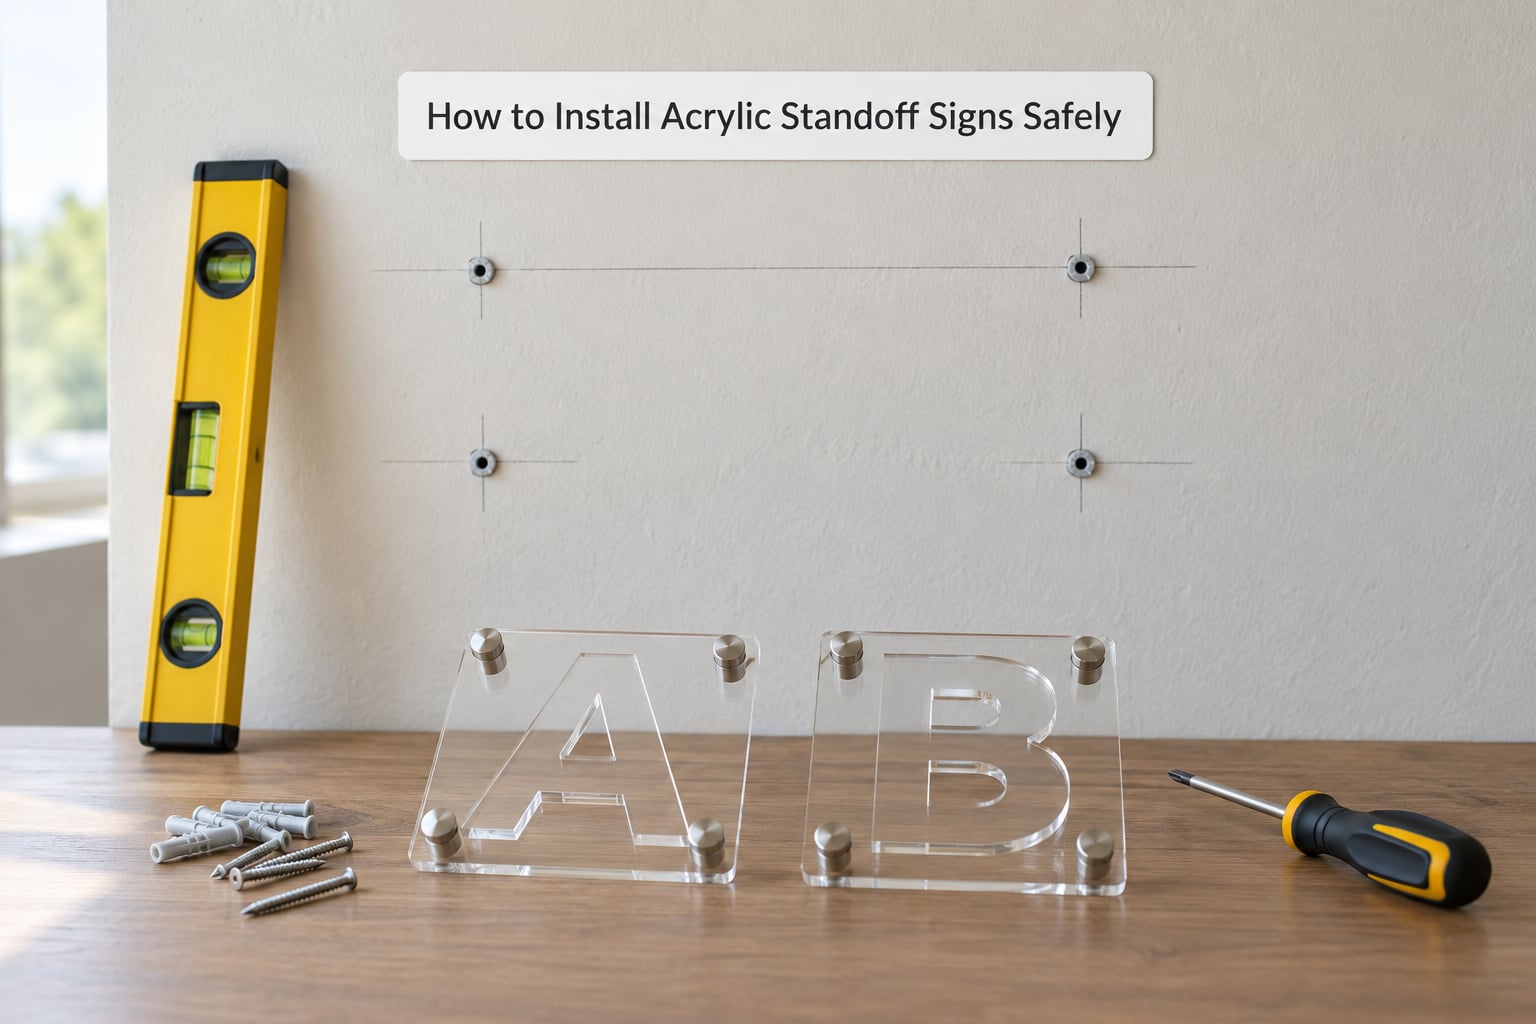
Installation rewards preparation. Most visible problems on a finished standoff sign trace back to a wall that was not marked properly or a surface that was not cleaned first.
1. Measure and check the wall. Confirm the panel fits the space with room for the base plates, and identify what you are fixing into. Know whether you have drywall, masonry, glass or a stud before you buy anchors.
2. Mark a level reference line. Tape a straight line across the wall at the finished height and check it with a spirit level. Sign installers work from that line because it keeps every standoff point on the same mark, which is the single most common source of a crooked install.
3. Transfer the hole pattern. Hold the panel or its template in position against the wall and mark each hole. Measure twice from two reference points rather than once from a corner, and confirm the marks sit inside the panel edges by a safe margin.
4. Install the anchors. Fit the anchor for your substrate into each mark. A hollow-wall anchor set with a screw spreads load behind the drywall face, while masonry and concrete need their own type. Test for hidden problems before you drill into a finished wall.
5. Fit the bases. Screw each standoff base to the wall and use the level again. A base that sits proud tilts the whole panel when the cap tightens.
6. Drill the panel. Support the acrylic fully on a flat padded surface, start with a small pilot bit, and step up to the final diameter with light pressure. High speed and heavy pressure are what chip or crack acrylic.
7. Assemble and inspect. Slide the spacer barrels through the panel, fit it over the bases, then tighten the caps by hand in a cross pattern. Clean the panel and the wall with a suitable cleaner before you handle the finished sign, because oils from your hands show immediately on clear acrylic.
Safety note: before drilling any wall, check for concealed wiring, plumbing or structure. Use a detector or locate known service routes first, and get a qualified tradesperson involved where the wall hides pipes, cable, or a structural member. Follow the anchor manufacturer’s instructions for the substrate and load you are working with.
How to Clean and Maintain Acrylic Standoff Signs
Acrylic is a thermoplastic, so it softens in heat and reacts badly to solvents. Clean it with lukewarm water, a drop of mild dish soap, and a soft microfiber cloth, then dry rather than rub.
Avoid alcohol-based glass cleaner, acetone, paint thinner, ammonia sprays, and any pad or sponge rated as abrasive. Paper towels and shop towels leave lint and can scratch. A soft cloth and a little soapy water will handle almost anything you are likely to meet.
Twice a year, walk around the sign and check each standoff point for movement. A cap that has loosened shows as a wobble, and a base that has worked loose from a stud wall will tilt the whole panel. Retouch an edge chip with a fine abrasive and polish, or replace the panel if the crack has spread.
Watch the edges first. Chips almost always start where a panel corner meets a wall or a door frame, not on the flat face. Keep the gap behind the panel free of dust, since condensation and grit collect there and it is the reason the shadow gap sometimes looks dirty rather than deliberate.
What Mistakes to Avoid When Ordering Acrylic Standoff Signs
Ordering errors are expensive to fix because acrylic does not forgive them. These are the ones that come up most often.
Artwork sized smaller than the panel. Scaling artwork up after approval softens edges and breaks kerning. Supply vector artwork and confirm the final panel dimensions before the file goes to production.
Inconsistent hole spacing. Holes drilled by eye instead of from a pattern will not line up with mounted bases. Always work from a full-size template or the marked artwork.
Low contrast between graphic and wall. Dark panel on a dark wall, or white on white, kills readability. Test the combination with a paper mock-up at the wall before approving the finish.
Assuming the wall can take the mounting. Thin partition walls, drywall without studs behind it, and glass partitions each need a different approach. Say up front what the substrate is and let the fabricator specify the fixing.
Leaving install responsibility unclear. Some suppliers ship a panel with the hardware bagged separately, and some do not include hardware at all. Confirm in writing who drills the wall, who supplies anchors, and whether the install is included.
Skipping the proof. A printed proof or a small acrylic sample in your brand colours catches colour and finish disagreements before a full panel is produced.
One more that gets missed: hardware quality. Thin, poorly machined barrels let the panel sit unevenly and wreck the floating look, which is the entire point of the format. Ask what the hardware is made of and how many standoff points the panel carries.
Frequently Asked Questions
Are acrylic standoff signs better than metal signs?
Not better, different. Acrylic gives you colour, print detail and a light, modern look at a lower weight, while brushed aluminium or stainless steel last longer outdoors and need no clear-coating. For indoor lobbies and studios acrylic is usually the stronger choice; for exposed exterior signage, metal wins on lifespan.
Can acrylic standoff signs be used outdoors?
Only with care. Standard PMMA yellows under sustained ultraviolet exposure, and gloss faces scuff and lose clarity. Exterior work needs UV-rated graphics, a UV-stable acrylic grade, heavier thickness, more standoff points, and stainless or aluminium hardware. Even then, expect a shorter life than a metal sign.
How far apart should the mounting holes be on an acrylic panel?
Match the spacing to the panel size and the projection. Keep the outermost holes a safe margin in from the panel edges, spread the remaining points evenly, and add a fifth or sixth standoff on wide panels so the middle of each long edge does not bow. Your fabricator should set the final pattern for the panel they are building.
What is the difference between clear and frosted acrylic for signs?
Clear acrylic is transparent, so light passes through and backlit graphics glow. Scratches and fingerprints are very visible on it. Frosted acrylic has a textured translucent surface that diffuses light evenly, hides scratches far better, and mutes colours slightly. Clear suits logos and backlit panels; frosted suits wayfinding and privacy panels.
How much should acrylic standoff signs cost?
Cost tracks panel size, acrylic thickness, print method, hardware count, edge finishing, and whether installation is included. A small cut-letter logo runs well below a large printed lobby panel, and polished edges plus premium hardware add meaningfully to a mid-size piece. Get itemised quotes so you can see which line drives the price.
Conclusion
The first decision is where the sign lives. That answer picks the acrylic type, the thickness, the standoff projection, and whether the panel can be bonded or must be drilled. Everything else, from print method to edge finish, follows from it.
Before production, ask for a printed proof on the real substrate and a small sample of the acrylic in your brand colours. It costs a little time and it is the cheapest way to catch a colour or finish problem before a full panel is cut.