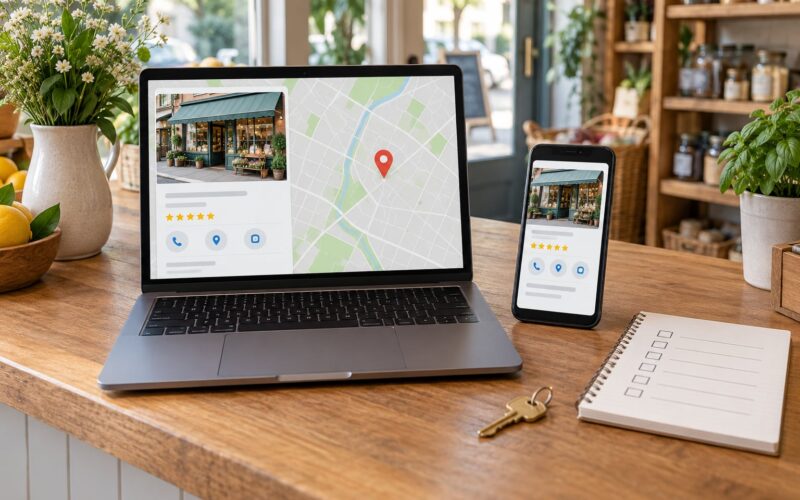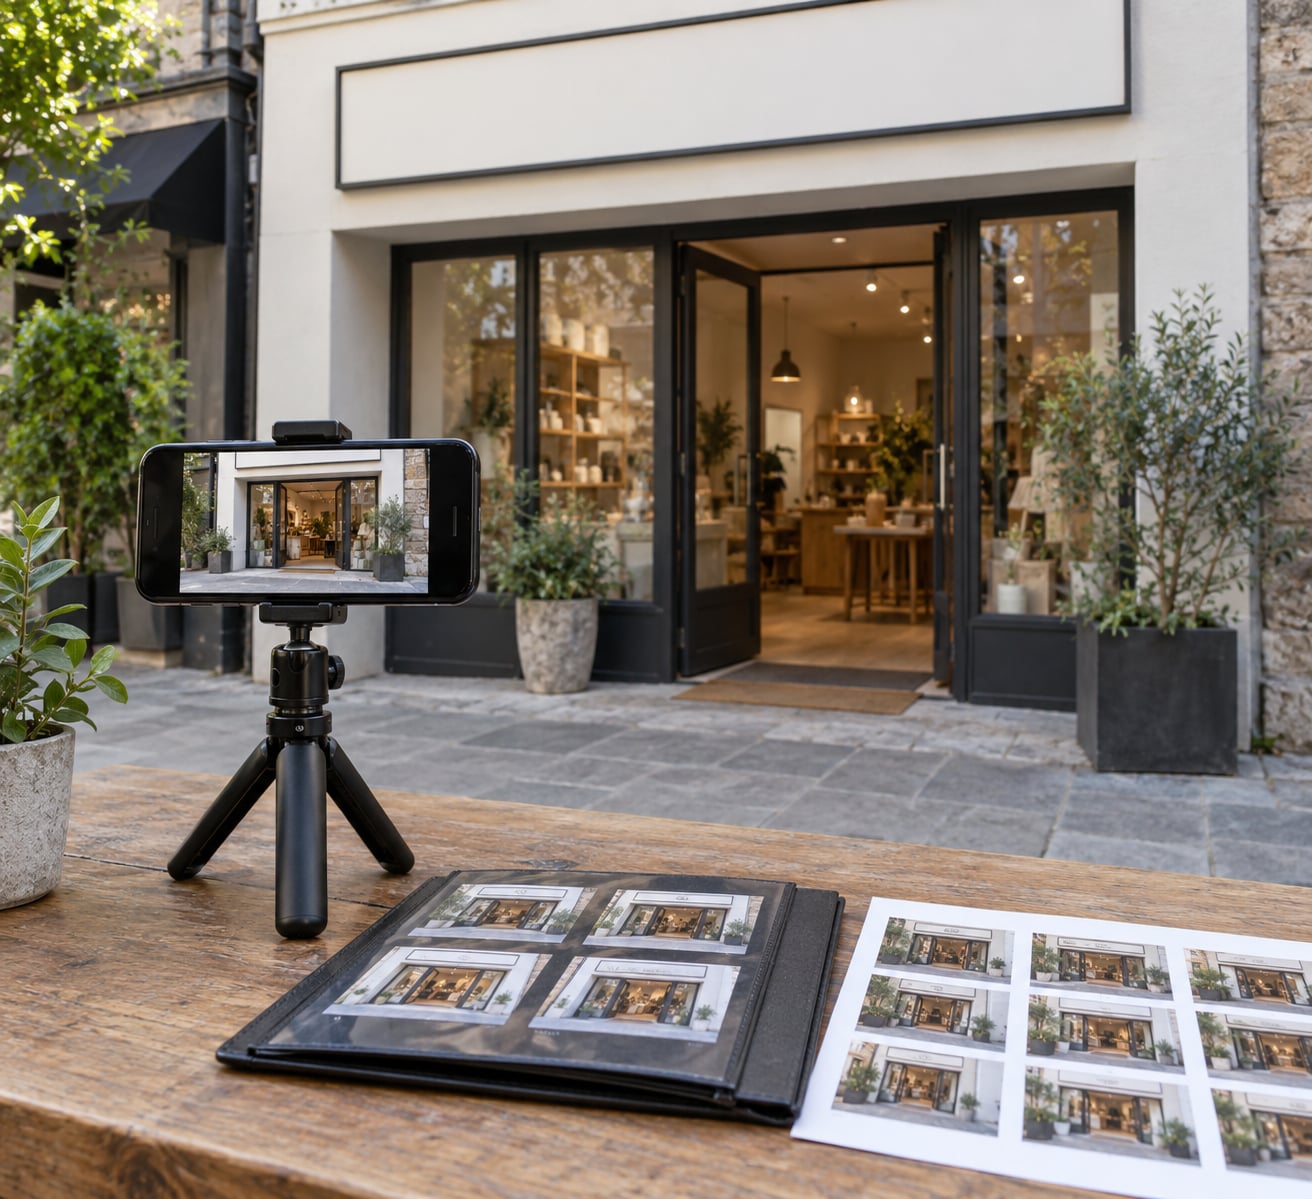
Here, a local listing means your Google Business Profile: the map pin, name, address, hours, reviews and photo gallery Google shows for one location. Learning how to use photos to improve a local listing takes one afternoon of shooting and about twenty minutes of uploading, done on a schedule rather than in a panic during a slow week.
The short version is simple. Publish original, recent photos that show the customer’s actual experience, put them in the right categories, and replace stale ones on a fixed schedule. Filters, geotagging services and a hundred extra uploads are decoration around that habit.
If you want the number first: most listings do well with a working set of roughly 20 to 30 photos spread across categories and refreshed every quarter. That is a planning range rather than a platform limit, and the mix of photos matters much more than the count.
Table of Contents
- What You Need
- Step-by-Step: Improve a Local Listing With Useful Photos
- Choose Photos That Represent the Customer Experience
- Take Clear, Original Photos
- Edit for Accuracy, Not Heavy Filters
- Add Useful Labels and Context
- Upload a Balanced, Current Photo Set
- Replace Outdated Photos Regularly
- Measure Views, Actions, and Customer Trust
- Common Mistakes
- Common Mistakes and Quick Fixes
- Frequently Asked Questions
- How many photos should I add to a local business listing?
- Are stock photos suitable for a Google Business Profile?
- How often should I update photos on a local listing?
- What types of photos help a local listing most?
- Should I add alt text to photos in my Google Business Profile?
- Do listing photos improve local search rankings?
What You Need
You need seven things, and most owner-operators already own six of them.
- Your listing platform. Know where you are working before you start. Google Business Profile is the big one, but Apple Business Connect, Bing Places, Yelp, Nextdoor and your own website gallery all take the same photos.
- A phone with a working rear camera. No dedicated camera is required. A recent phone in decent light beats an expensive camera in bad light every time.
- Recent, original photos. Your own building, your own work, your own staff, shot within the last few weeks. Borrowed and outdated images are the biggest trust problem on local profiles I look at.
- Brand basics. Your logo file, your primary colors, and the exact spelling of your business name and address.
- A basic editor. The crop and brightness controls on your phone are plenty. You are correcting a photo, not designing one.
- Permission records. A note of who approved a photo showing identifiable people, plus a habit of avoiding house numbers, license plates and paperwork.
- A way to track performance. A weekly line for profile views, calls, direction requests and website clicks, started before you change anything, so you can tell whether the photos helped.
Step-by-Step: Improve a Local Listing With Useful Photos
Seven steps, in this order. The order matters because it stops you uploading twenty images before deciding what the listing is even for.
Choose Photos That Represent the Customer Experience

The strongest photos answer the questions a customer would ask on the phone before they visit: can I find it, what does it look like, and do they actually do this work.
Work through these categories in order.
- Exterior and entrance. The shot that proves you exist. Legible signage, an open doorway, nothing distracting in frame.
- Interior. Layout, light, and how the space looks on an ordinary Tuesday rather than a good one.
- Team at work. People mid-task, faces identifiable only where you have documented permission.
- Completed projects. The finished result, shot from an angle that shows the scope of the job.
- Products. For retail and food, real items on real shelves beats a styled studio set every time.
- After the visit. A tidy finished room, a wrapped vehicle, a reset counter. It tells the customer what the experience feels like at the end.
If you run a service area business with no storefront, skip premises shots and give that share of the gallery to vehicles, uniformed staff and finished jobs. Customers in that situation visit your customer’s property, not yours, so the work and the people are what sell it.
Take Clear, Original Photos
Most weak profile photos fail on light and steadiness, not on camera quality.
- Use the rear camera and the native lens. Digital zoom crops pixels and gives you soft, noisy results. Step closer instead.
- Find even light. Face the biggest light source you have, a window or an open garage door, and keep the subject a few feet from it. Overhead fluorescents and mixed light make colors muddy.
- Rest the phone. Lean it on something solid or use a small tripod. Ten seconds of stillness beats any filter.
- Keep verticals straight. Stand back a step and hold the phone level rather than tilting up at the roofline.
- Keep color honest. No filters, no heavy warmth. Your brick, paint and van should look the way they do on site.
- Shoot both orientations. A landscape frame fits the cover slot better, while a vertical one fills a full-screen swipe.
Edit for Accuracy, Not Heavy Filters
Correction is fine. Cosmetics are not.
Fix exposure, white balance, sharpness and perspective. Crop out the contractor’s van in the driveway and the bins at the kerb. That is the whole edit, and it takes about a minute per photo.
Leave out heavy filters, text overlays, borders, price graphics and collages. A photo with your phone number baked into the corner reads as an advertisement, and ad-like images are the most commonly reported and removed on profiles. If a promotional message matters, put it in the post or the offer rather than inside the image.
Add Useful Labels and Context
Write a short alt description that names the subject and the setting, such as a plumber fitting a replacement kitchen tap in a fitted kitchen, rather than repeating your business name into every tag.
Alt text belongs to your own website gallery and to image-aware tools; a visible caption is a separate thing and many platforms still do not support one. Whichever you are using, naming files before upload keeps a growing library manageable, and something like exterior-entrance-october.jpg tells you what the file is two years later.
Knowing how to use photos to improve a local listing well means every image answers one question on its own, rather than depending on the post you wrote around it.
Upload a Balanced, Current Photo Set
Batch your uploads instead of posting one image whenever you remember.
A starting mix that covers the categories above: three exterior and entrance shots, three interior, six to eight work or project photos, four product or shelf photos, two team images, plus your logo and one cover image. Shoot through the month, drop everything into one folder, then upload in one sitting at the end of it. Local SEO practitioners usually land around six photos per job and scale that to a weekly habit.
| Photo type | Recommended size | Orientation | What it proves |
|---|---|---|---|
| Cover photo | 1080 x 608 pixels | Landscape | Brand presence in search and Maps results |
| Profile or logo | 250 x 250 pixels | Square | Identity at small sizes in the results list |
| Business photos | 720 x 720 pixels or larger | Square, landscape and vertical | The premises, the work and the people behind it |
| File size | Up to 5MB per file | Not applicable | Keeps the upload fast and avoids rejected files |
Keep every image unique, consistent in quality and under the platform’s file limit. Brands with ten or more locations can upload in bulk from a spreadsheet instead of profile by profile. Check the current upload tool and the category list inside your profile manager before a large batch, since that interface changes often and the steps here describe Google Business Profile as it works now.
Replace Outdated Photos Regularly
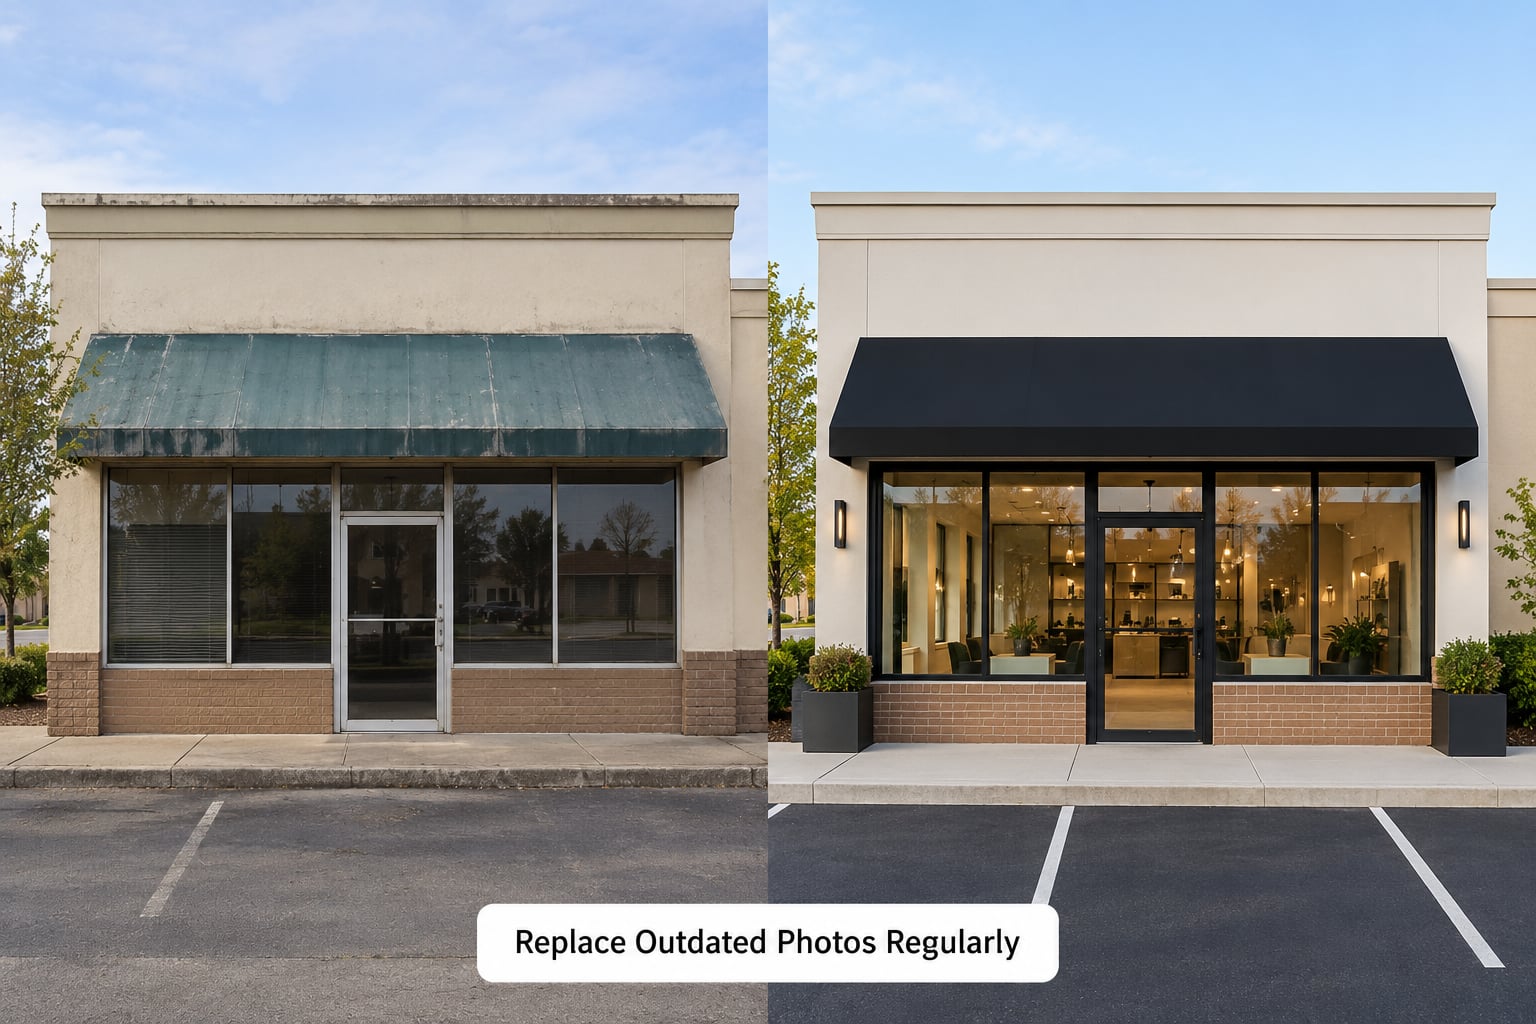
Put a recurring thirty-minute review in your calendar for the first week of each quarter.
On that review, hunt for images you uploaded twice, seasonal shots still showing last winter, signage that has since changed, blurry frames from an old phone, and anything that no longer matches how the business looks. Replace the weakest photo first rather than adding to a gallery nobody scrolls.
Two events should trigger an immediate replacement instead of a quarterly one: a rebrand or new sign going up, and any remodel or redecor. A listing whose front photo is two years out of date tells a customer the business may have folded, which is the opposite of what the photo is for.
Measure Views, Actions, and Customer Trust
Measure photos by pairing them with actions, never by counting views on their own.
Record profile views, calls, direction requests, website clicks and inquiries weekly, then compare the thirty days before a refresh with the thirty days after. Direction requests and calls usually move first, because photos answer the can-I-find-this-and-will-they-answer questions. Watch anything else you changed on the profile during the same window, since a price edit, a review banner or a seasonal dip moves the numbers too, and you would otherwise credit your photos for someone else’s change.
Be honest about what photos do. Google points to more requests for driving directions and more website clicks from listings with photos. Nobody has demonstrated a direct ranking lift from adding images, so treat them as engagement and trust, not a ranking switch. One more thing to ignore completely: services that offer to embed location data into your image files before upload. It is not a ranking factor, and you end up with copies of your originals you cannot find again.
Common Mistakes
Six mistakes account for most weak photo galleries, and each one has a simple fix.
- Borrowed library photos. Fix: replace every image you did not take on site with real rooms, real vehicles and real people.
- The same upload twice. Fix: delete duplicates so the gallery reads as variety instead of repetition.
- Dark, blurry or stretched images. Fix: reshoot in daylight with the rear camera, and never upscale a small file.
- Wide-angle distortion. Fix: step back and zoom in slightly on the native lens so doorways and faces stay true.
- Photos with no permission record. Fix: keep a dated note of who approved any recognizable person and skip the rest.
- Text overlays and promotional graphics. Fix: move the message into the post where it belongs.
Common Mistakes and Quick Fixes
Run this checklist before you publish a batch, and again whenever you inherit a listing from someone else.
- Order. Put the exterior or your strongest completed job first. Most people never swipe past the opening image.
- Visual consistency. If you upload from three different phones, the gallery looks accidental. Pick one device as your default and stick with it.
- Permissions. Any recognizable face, house number, vehicle plate or document needs a documented release, or it comes out.
- Accessibility. Every image on your website version needs alt text describing what is actually in the frame.
- Recency. Anything older than a season that is no longer accurate comes out.
- Honest representation. If the photo does not show the actual business, do not upload it, however good it looks.
- Contrast check. Open your listing on a phone in daylight, not on your laptop. That is how most people will see it.
If photos get removed or the profile is flagged, work out which image was flagged, delete the entire batch that contained it, and re-upload a smaller, plainer set. Removals usually trace back to one photo, and resubmitting that photo with everything around it tends to repeat the outcome. Keep a copy of the originals somewhere outside the profile so a rebuild takes minutes rather than a day.
Frequently Asked Questions
How many photos should I add to a local business listing?
Aim for a working set of roughly 20 to 30 photos spread across categories: exterior and entrance, interior, work, products, team, plus your logo and cover image. Quality and coverage beat raw count. Ten sharp, current photos of real work outperform a hundred blurry ones, and a small set you refresh every quarter looks far better than a large set that goes stale.
Are stock photos suitable for a Google Business Profile?
No. Borrowed library or purchased stock photos are one of the fastest ways to lose trust, and they are commonly reported by users, which can get them removed. Use photos you took of your own premises, your own work and your own staff. Where you lack good originals, book a half-day phone shoot rather than filling the gallery with images of somebody else’s business.
How often should I update photos on a local listing?
Run a short review every quarter and replace anything stale, plus publish new photos as you capture them through the month. Batch your uploads into one session rather than posting a single image at a time. A rebrand, a new sign, a remodel or a seasonal change should trigger an immediate replacement instead of waiting for the next quarterly check.
What types of photos help a local listing most?
Original photos showing the customer experience help most: a clear exterior and entrance with legible signage, the interior, completed projects or finished jobs, products on the shelf, and team members at work where permission is documented. Before-and-after pairs are strong proof of results. For a service area business with no storefront, weight the gallery toward vehicles, uniformed staff and finished work.
Should I add alt text to photos in my Google Business Profile?
Add descriptive alt text to photos on your own website and anywhere the platform supports it, using plain words that name the subject and the setting. Google Business Profile does not give you an alt text field on every surface, so do not lose sleep over it there. The practical habit that helps most is descriptive file names, like exterior-entrance-october, saved before you upload.
Do listing photos improve local search rankings?
Not directly. There is no proof that adding images moves a listing’s position in the map pack, and anyone selling you a ranking guarantee on photos is guessing. What photos reliably do is raise engagement: more direction requests, more website clicks and more calls, plus stronger trust before a customer commits. Treat photos as engagement and credibility work rather than a ranking switch.
Start by auditing the listing you have now and replacing the single weakest photo in the gallery. Then publish a balanced set covering exterior, interior, work, products and team, and set a quarterly reminder to keep it honest. That is how to use photos to improve a local listing in a way that lasts.