A home inventory is a room-by-room record of what you own: item name, description, brand, model and serial number, purchase date, value, and the receipt or photo that proves it. You build one by walking through your home room by room, photographing or filming each item, writing down its details, then saving the list and media in at least two safe places.
The work is bigger than it sounds, so most people put it off until a claim forces their hand. Then they are standing in a smoke-damaged house trying to remember what was in the back bedroom. Insurance companies pay for what they can prove you owned and what it cost, and an up-to-date inventory is the proof.
Here is how to create a home inventory for insurance in a few manageable sessions, including what to gather, how much detail each item really needs, and where to put the finished files.
Table of Contents
- What You Need
- How to Create a Home Inventory for Insurance: Step-by-Step
- 1. Set Up Your Inventory System
- 2. Walk Through the Home Room by Room
- 3. Photograph or Video Every Belonging
- 4. Record Descriptions, Receipts, and Values
- 5. Review and Back Up the Inventory
- Common Mistakes
- Frequently Asked Questions
- What should I include in a home inventory for insurance?
- How should I value my belongings for an insurance claim?
- Can a video walkthrough replace photographs in my home inventory?
- Where should I store a home inventory so it survives a fire or flood?
- How long does it take to create a home inventory?
- How often should I update my home inventory?
- Conclusion and Next Step
What You Need
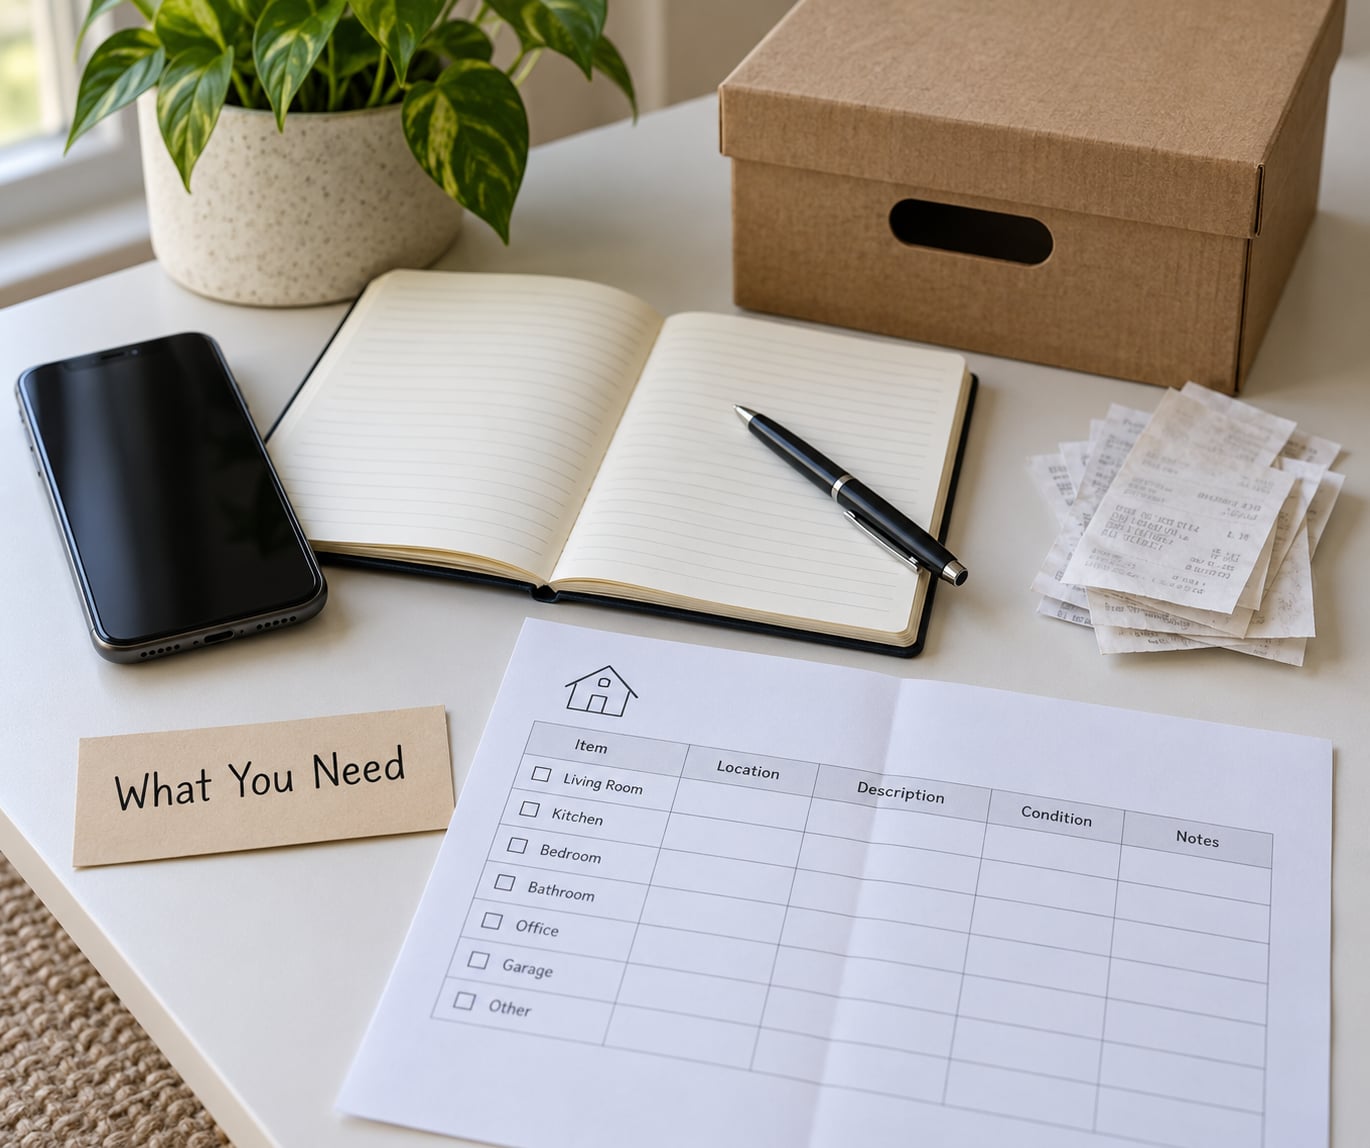
You can build a workable inventory with a notebook and a phone camera, so this is not a shopping list. It is a list of supplies that make the job faster once you start.
- A phone with a decent camera for wide shots, close-ups and serial number plates.
- A spreadsheet, a word-processing document, or a dedicated inventory app as your master list.
- Your insurance policy, so you can see your personal property coverage limit and any scheduled-item endorsements.
- Receipts, warranties, gift receipts and previous appraisal letters, gathered into one folder.
- A measuring tape or the model number off each appliance label for large items.
- Labels or colored tape for storage bins, closets and cabinets.
- Backup storage: a cloud folder and one physical drive or USB stick kept somewhere other than the house.
Pull the policy first. Knowing whether you are on replacement cost or actual cash value changes what you write down for every item later.
How to Create a Home Inventory for Insurance: Step-by-Step

Budget roughly four to six hours for a typical three-bedroom home, and spread it across several evenings. Larger homes, rentals with a shared building, and collections take longer. Nobody finishes this in one sitting, and forcing it is how people end up with half a list they never use.
1. Set Up Your Inventory System
Start by choosing one place where everything lives. A spreadsheet with one tab per room is the most portable option, because it works on a laptop, opens in any app, and copies to cloud storage without losing formatting. A dedicated inventory app does more for you, such as attaching photos to a row or scanning barcodes, but your data then lives inside that app and you need to check how to export it.
A narrated video walkthrough is the fastest method, and it works well for big rooms where you would rather talk than type. Most people end up with two of these rather than one: a spreadsheet or app for itemized detail, plus video for the overall rooms. Here is how the four options compare.
- Spreadsheet — high effort at first, then fast to update. Captures full itemized detail. Best for owners with many items who want permanent, portable records.
- Dedicated app — low effort. Captures full detail with photos attached. Best for people who want guided prompts and phone capture.
- Video walkthrough — medium effort. Captures visual condition, room totals and narrated values. Best for fast documentation of large rooms and bulky furniture.
- Paper notebook — medium effort. Captures descriptions and rough values. Best as a starting point or as a backup copy kept in the house.
The NAIC, the association of state insurance regulators, publishes a free home inventory app for exactly this purpose, and several insurers offer their own versions. Both cost nothing and neither requires you to buy anything else.
Then set your conventions. List every room first, including closets, cabinets, the garage, the attic and any shed. Number items as you go, such as kitchen-01 and kitchen-02, and use one naming pattern so you never end up with “blue lamp,” “lamp blue,” and “table lamp.” Decide where the master file and its backups will go before you start capturing.
2. Walk Through the Home Room by Room
Start at one end of the house and move in the same direction every time. Open closets, cabinets and drawers rather than estimating their contents from memory, and do the hidden spaces on the same trip: inside the coffee maker, under the bed, behind the dryer, in the garage, in the attic and inside the storage unit if you rent one.
Work in blocks that match your evening. Two rooms on a Tuesday, the garage and attic on Saturday. Close out each room before moving on, and check off the room on your list so you always know exactly where you stopped.
3. Photograph or Video Every Belonging
Three shots per item covers most claims. Start with a wide shot showing the item where it sits, move to a medium shot of the whole item, then finish with a close-up of the identifying details: the serial number plate, model number, barcode sticker or maker’s mark. Photographs pull double duty here, since the Insurance Information Institute notes that dated photos count as evidence of ownership in a claim.
Photograph condition as well as identity. A scratch on a dresser, a stain on a rug, the worn arm of a chair all become useful when an adjuster asks how old something was.
If you film instead, narrate as you go. Say the room, the item, the brand, the year you bought it and what you paid, out loud, as you pan across the space. The audio is the part people forget, and it is the part that carries the detail you would otherwise type out.
4. Record Descriptions, Receipts, and Values
For each item capture a description, the brand and model, the serial number where one exists, the purchase date and price, the condition, and where the proof lives. Add the receipt or photo filename. Note when you are estimating a value instead of using a receipt, and say why, such as no receipt and no way to confirm the model.
How much detail is enough depends on the item. The honest answer from people who have done this is that most households spend far too long on low-value belongings. Group them instead: record clothing as counts by category, and note “12 shirts, 6 pairs of trousers” rather than a row per shirt. Capture serial numbers for anything you would describe as expensive, and photograph a manual or a receipt for the rest. Above roughly five hundred dollars, write the full detail down.
Value everything as replacement cost, which is what a current comparable item costs new today, not what you paid years ago. If you have no receipt, a recent retail listing for the same model is reasonable evidence, and an appraisal is worth the money only for pieces that are genuinely valuable: fine art, jewelry, instruments, collectibles and other items where the difference between actual cash value and replacement cost runs into thousands. An appraisal is a formal document that has to be commissioned in advance, so it cannot rescue a claim after the fact.
Read your policy’s settlement language carefully, because it decides the payout. On a replacement cost policy, the insurer pays the cost of a comparable new item first and you replace the property afterward. On actual cash value, they subtract depreciation and pay the depreciated figure, so a five-year-old sofa is not worth what a new one costs. Personal property coverage is also a percentage of your dwelling coverage rather than a dollar figure, and the Insurance Information Institute uses the 80% figure as a common guideline for contents: aim to carry contents coverage of at least 80% of the full replacement cost of everything you own. Sit under that and a claim can be reduced, which is the single reason households get an unwelcome surprise at payout.
Two more things go in here. Add up the values by room at the end and compare the total to your contents limit, which tells you whether your coverage is actually adequate. And document property that lives away from the house, since standard policies extend only a limited percentage to items stored elsewhere. An inventory of a storage unit is worth building, but it does not guarantee the same payment as an in-home item.
5. Review and Back Up the Inventory
Once every room is checked off, go back through the list and look for gaps: an empty room tab, a photo file that will not open, an item with a value and no description. Compare the room totals against your policy limit one more time, since that number is the point of the whole exercise.
Then save copies in at least two places, with at least one of them outside the building. A cloud folder plus a USB drive in a fireproof document safe covers most people, and a paper copy inside the house means investigators can see it even if the electronics are damaged. Keep one more with a trusted person or inside your safe deposit box if you use one. A list stored only on the laptop that burned in the fire is the same as having no list.
Set the update rhythm while you are there. Once a year at tax time works for many households, and any purchase worth several hundred dollars should be added the day you bring it home. Swapping in a new television means a new row and two photos.
Common Mistakes
Waiting for a claim to start. After a fire or a flood, memory is the least reliable thing you have. The industry guidance is blunt about this, which is why the work happens beforehand.
Relying on memory or on photos alone. A photograph of a room with a laptop on the desk does not prove you owned a laptop, or which one. Pair every image with a written description, model and serial number.
Keeping everything in one place. One cloud folder, or one folder on one laptop, is a single point of failure. Two copies, one of them off-site.
Ignoring receipts and proof of purchase. Most disputes about value come down to a document that does not exist. Scan receipts as you catalog each room and name the photo files with the item so they stay linked.
Writing vague item names. “Electronics” and “silverware” tell an adjuster nothing. The make, model, serial number and approximate value turn a memory into a claim.
Spending three weekends itemizing socks. Group the low-value stuff by count. The people who finish are the ones who decided in advance what “done” looks like.
Forgetting items off-premises. The garage, the shed, a storage unit and anything at a family member’s house belong on the list, with the coverage limits noted.
One more habit closes most of these gaps. Add a line to the inventory the day anything significant changes, and put a recurring annual reminder on the calendar to review the whole thing once a year.
Frequently Asked Questions
What should I include in a home inventory for insurance?
Every room, closet, cabinet, garage and storage area, including the contents of drawers and appliances you do not want to unpack later. For each item, record a description, brand and model, serial number, purchase date and price, condition, and where the receipt or photo lives. Group low-value belongings by count instead of listing them one by one.
How should I value my belongings for an insurance claim?
Use replacement cost, meaning what a comparable item costs new right now, rather than what you originally paid. Check current retail listings for the same model when you have no receipt, and write down that you estimated the figure. Consider a formal appraisal only for items where actual cash value and replacement cost differ by thousands, such as fine art, jewelry or instruments.
Can a video walkthrough replace photographs in my home inventory?
Yes, and many people use both. Narrate as you film: name the room, the item, the brand, the year you bought it and the price. Video captures overall room condition and bulkier furniture faster than still photos, while close-up photographs of serial number plates are better for high-value electronics and appliances. A spreadsheet or app alongside the video gives you the itemized record.
Where should I store a home inventory so it survives a fire or flood?
Keep at least two copies in different places, with one outside the building. A cloud folder plus a USB drive or printed copy in a fireproof document safe inside the house covers most people. A paper copy inside the home is worth keeping because it survives even when electronics are damaged. Avoid storing the only copy on a laptop kept in the same room as the inventory.
How long does it take to create a home inventory?
Expect four to six hours of actual work for a typical three-bedroom home, spread over several evenings rather than done in one sitting. Kitchens, closets and the garage take longest, while living rooms go fast with a video pass. A dedicated app shortens the job considerably. The part people underestimate is sorting receipts and writing values, not taking the photographs.
How often should I update my home inventory?
Review it once a year, and add anything worth several hundred dollars the day you buy it. Also update after a move, a remodel, a divorce or a change in who lives in the home. An out-of-date inventory still helps, but gaps are exactly what an adjuster questions first, so a short yearly pass is better than a thorough update you never repeat.
Conclusion and Next Step
A complete home inventory does two jobs at once. It gives an adjuster something concrete to work from when you file a claim, and it tells you whether your personal property coverage actually matches what you own. Both are much harder to fix after the fact.
Start today with three small things: write out your room list, photograph one room end to end, and save what you create in two separate places, one of them outside the house. Do the same routine per room at your own pace, then total the values against your policy limit and talk with your agent about any gap you find. Rules and coverage details vary by state and by policy, so confirm what your own policy requires.