Grommets win when the banner hangs from frames, fences, scaffolding, or anywhere you want to swap attachment hardware every season. Pole pockets win when a rigid post is already in place, the banner needs to go up in under a minute, and nobody wants metal rings interrupting the artwork. That is the short version of banner grommets vs pole pockets: pick the finish that matches your mounting hardware, not the one that looks good in a product photo.
Both finishes are permanent additions made at the printer before the banner ever reaches you, so this is a decision you make on the order form, not at install time. Once a pole pocket is sewn or welded across the top edge, you cannot slide that same banner onto a zip-tie mounting point. Once grommets are set every 24 inches, you have wasted them if all you needed was a single rod.
Table of Contents
- Banner Grommets vs Pole Pockets at a Glance
- What Are Banner Grommets?
- Grommet spacing and placement
- What Are Pole Pockets?
- Sizing a pole pocket correctly
- Durability and Wind Resistance
- Mesh versus solid vinyl for pole banners
- Wind slits and what they do
- Grommets and pockets under load
- Making pole pockets without a welder
- Common banner mistakes that cause failures
- The reinforcement hybrid
- Appearance and Branding Impact
- Installation, Removal, and Portability
- Cost and Replacement Parts
- Which Should You Choose?
- Banner grommets vs pole pockets by mounting condition
- What to tell your printer
- Frequently Asked Questions
- Are pole pockets better than grommets for outdoor banners?
- Can banner grommets be used with a pole pocket banner?
- Which banner attachment method is easiest to install?
- Do grommets make a banner more wind-resistant?
- What hardware do I need for a pole pocket banner?
- Can I reuse a banner with grommets for different poles?
- Conclusion: Start With Your Display Plan
Banner Grommets vs Pole Pockets at a Glance
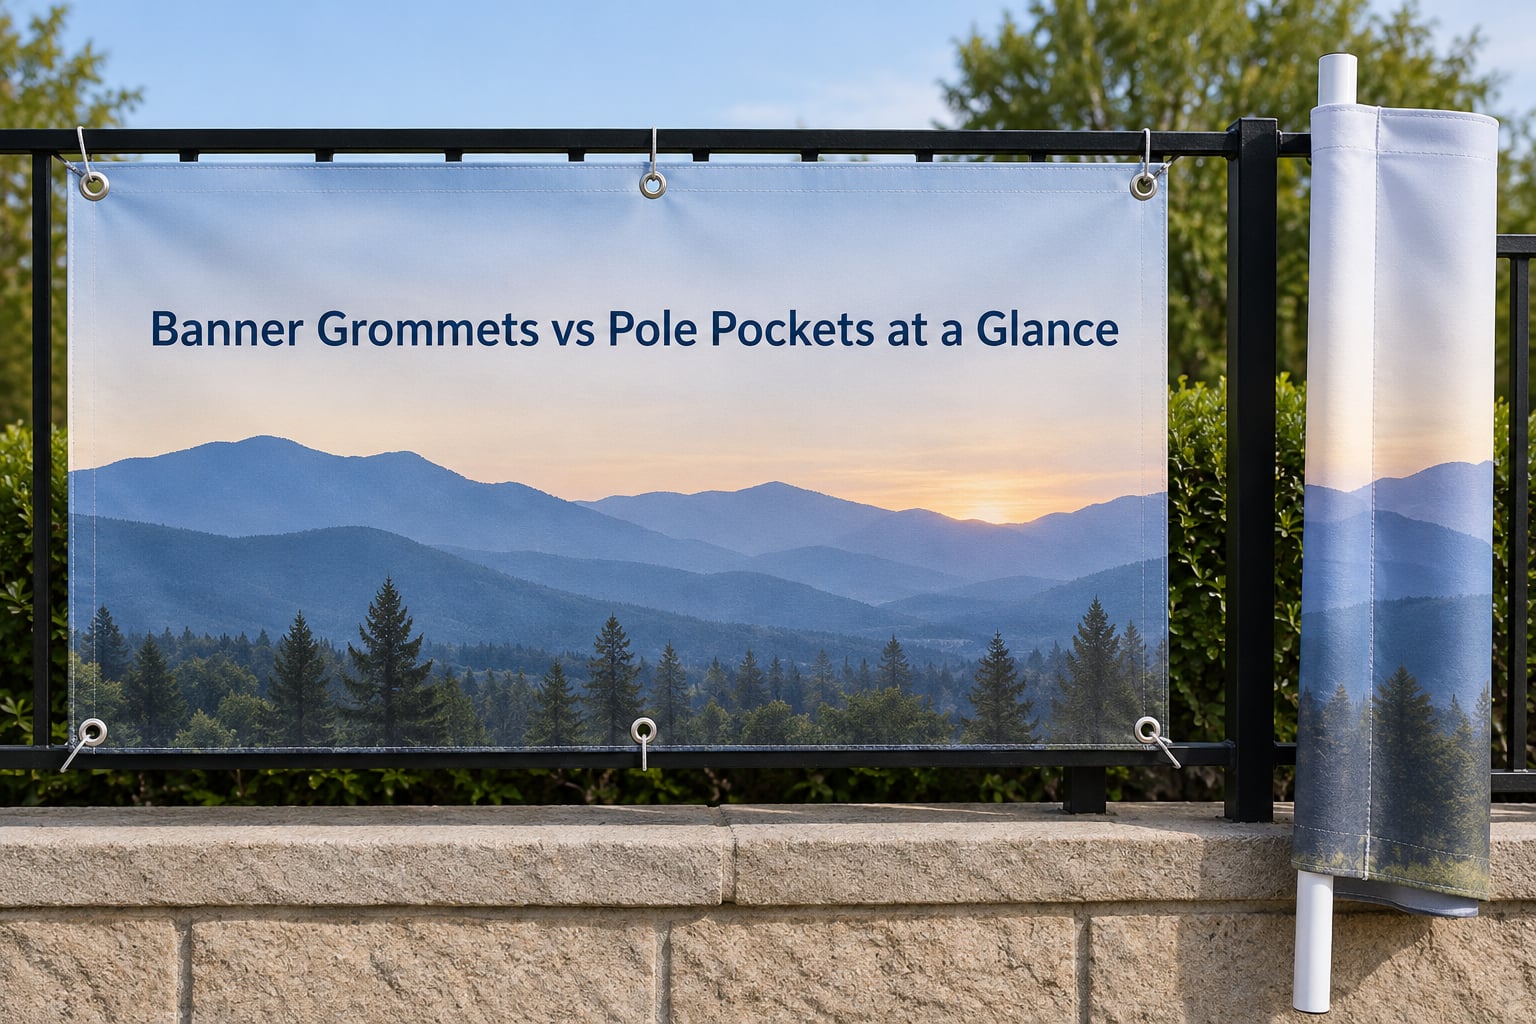
The table below covers the nine things buyers actually argue about. Scroll it first; if your mounting condition matches a row, the answer is already decided.
| Criterion | Banner Grommets | Pole Pockets |
|---|---|---|
| How it attaches | Rope, zip ties, bungee cord, screws, or cleats pass through metal rings | A rigid pole slides into a sleeve and carries the weight |
| Load path | Concentrated at each ring | Spread along the entire pocket edge |
| Best mounting | Fences, walls, scaffolding frames, ceiling rods, temporary rigging | Lamp posts, street poles, freestanding posts, weighted stands |
| Appearance | Metal rings interrupt artwork at the edges | Clean, hardware-free face |
| Setup speed | Minutes; one tie per attachment point | Seconds; slide the pole in |
| Portability | Rolls up small, hardware detaches cleanly | Bigger roll; pocket keeps its shape |
| Wind performance | Good, provided rings are spaced closely enough | Good along the top, weak at the pocket corners in a gust |
| Field repair | A single popped ring can be replaced | A torn pocket usually ends the banner’s life |
| Best banner material | 13 oz or 18 oz vinyl, mesh, or fabric | Mesh or lighter vinyl; stiff double-sided solid vinyl cracks at the seam |
What Are Banner Grommets?
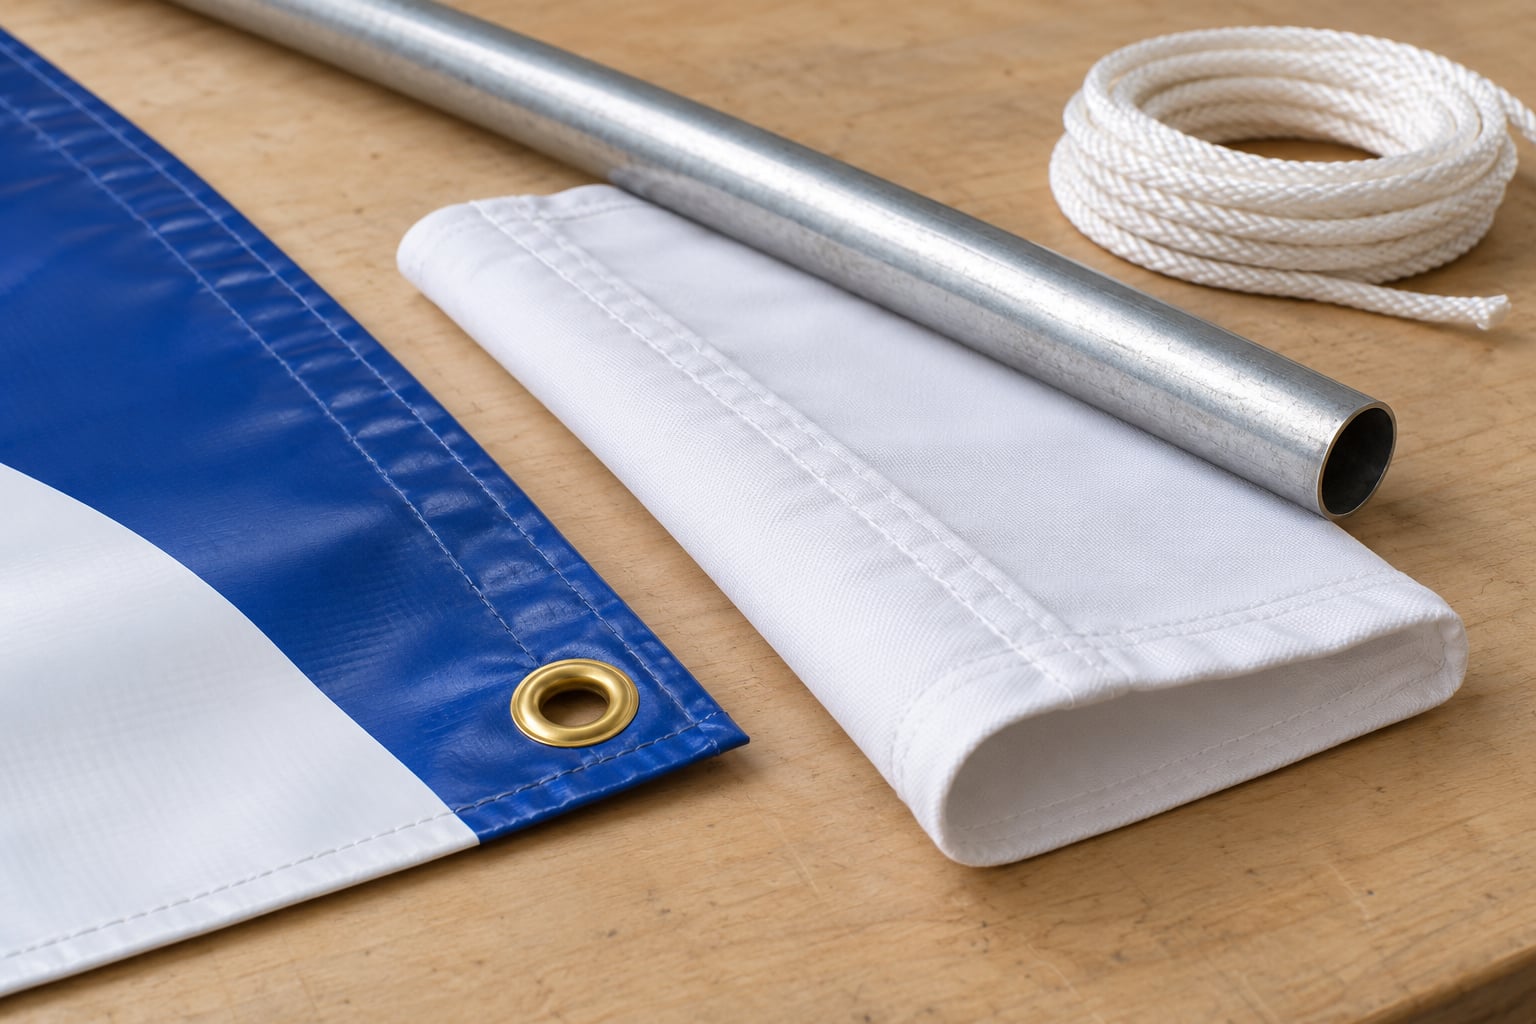
Banner grommets are metal rings set into reinforced holes punched along a banner’s edge. They let you tie the banner to anything with rope, cord, or a fastener, and the reinforcement around each hole is what stops the vinyl from tearing out when tension hits it.
You will mostly see 3/8-inch brass grommets on standard vinyl banners. The hole is punched through a folded and welded hem first, then the ring is set into that hem, so the load runs through a doubled layer of material instead of a single sheet. On heavy fence banners with nylon webbing reinforcement, printers step up to a heavier-duty ring because the webbing changes how the hole behaves.
Grommet spacing and placement
Spacing is where most wind failures start. Typical practice is a ring every 12 to 24 inches, or four corner rings only when the banner is small and mounted in a sheltered spot. On a large banner hung in an exposed location, one practitioner on Signs 101 recommends spacing rings every 24 to 30 inches all the way around for heavier banner weights. Corner-only mounting is the worst option: the middle of the banner sags, wrinkles, and catches wind like a sail.
Most shops offer grommets at three spacing tiers, and the difference is a real cost and durability decision. Tight spacing at 12 to 18 inches is overkill on a small indoor banner but sensible on a wide fence wrap that will be tied along its whole length. The 18 to 24 inch tier covers most storefront and street work. The 2 to 3 foot tier and the four-corners-only tier are for banners that hang vertically against a wall with almost no wind on the face.
Whichever tier you pick, tension evenly. Hanging one corner first and working down the edge twists the hem and loads every ring unevenly, which is how a ring that looked fine at install tears out three months later.
Keep artwork clear of the edge by 2 to 3 inches. Anything printed inside the hem or inside the weld line gets distorted or disappears, and text sitting too close to a seam is the first thing to turn unreadable once the banner is rolled and hung.
What Are Pole Pockets?
A pole pocket is a sleeve folded over the banner edge and then sewn or heat-welded shut. The post slides into the sleeve and the sleeve carries the banner’s weight along its whole length. There is no rope, no tie, and no fastener to replace.
A “top pole pocket” is the sleeve at the upper edge, which is the version most street banners use. Bottom pockets take a weighted rod or chain so the banner hangs flat instead of curling. Side or horizontal pockets let a banner slide onto a rail, which is common for trade show and retail displays.
How the sleeve is made matters more than most buyers expect. A sewn pocket uses an industrial sewing machine with heavy multifilament polyester thread, typically tex 90 or heavier, sometimes finished with a serger over the raw edge. A welded pocket uses a hot wedge welder running in the 700 to 920 degree range to fuse the layers. Welding is fast and consistent on vinyl, while sewing works on fabric and mesh where a film would not hold a stitch well.
Either way, the sleeve is a doubled layer. That doubling is why a pocket adds strength along the edge and stiffness at the same time, and it is exactly where a solid double-sided banner is most likely to crack.
Sizing a pole pocket correctly
Measure the pole’s diameter, then work out the flat width of the sleeve before it is folded. Circumference equals diameter multiplied by 3.14. Divide that circumference by two to get the flat width needed to wrap the pole once, then multiply by 1.5 to leave enough slack. A pocket sized exactly to the pole puts constant stress on the post and can crack it.
| Pole diameter | Flat pocket width |
|---|---|
| 40 mm | 100 mm |
| 50 mm | 125 mm |
| 60 mm | 150 mm |
Those presets come from a sizing guide that has circulated in the print trade since the mid-2010s, and they still match what shops quote. Whatever the number, leave a 30 mm no-go zone around the seam and keep text out of it.
Durability and Wind Resistance
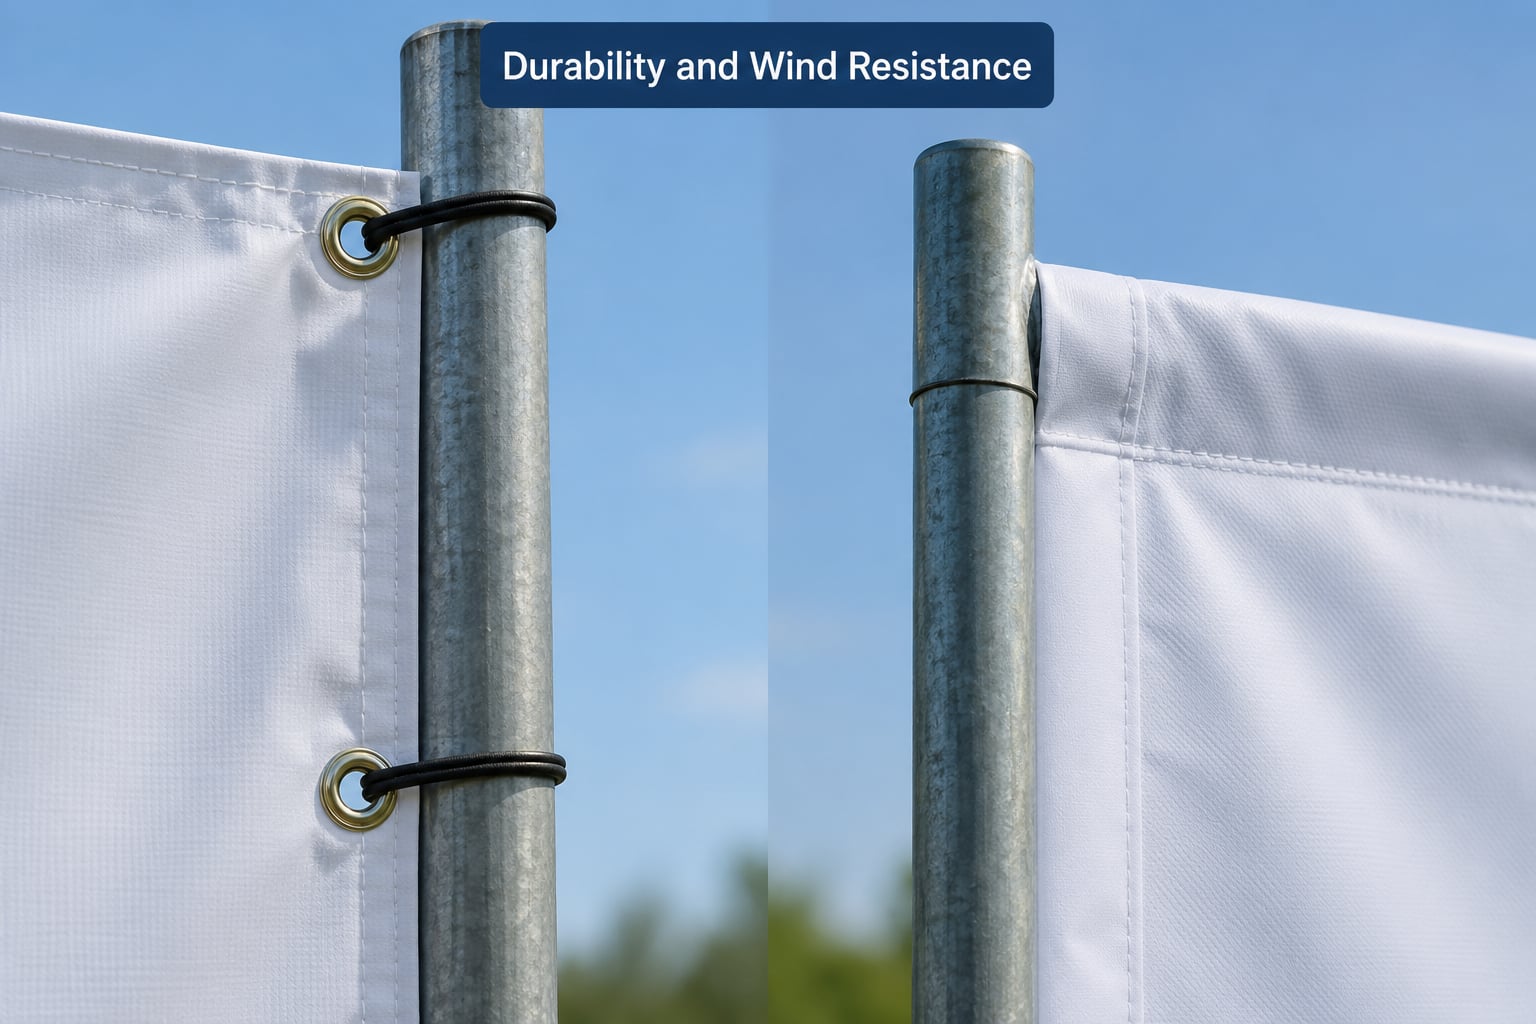
Wind does not destroy banners so much as it finds the stiffest point and pulls on it. Stiffness is the variable that matters, and it comes from the material and the edge construction rather than from the finishing choice alone.
Mesh versus solid vinyl for pole banners
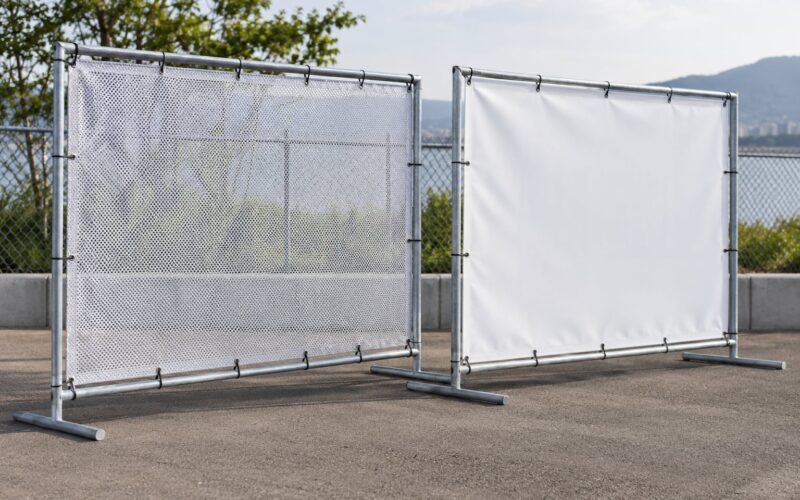
Solid double-sided vinyl is the most common pole banner material and, in print shop circles, the most common failure. Practitioners on Signs 101 and r/CommercialPrinting describe double-sided solid vinyl pole banners that simply did not last, and the diagnosis is consistent: two layers of stiff film welded or sewn into a pocket create a rigid panel that the wind treats like a lever. Mesh, or blow-through mesh, lets air pass through the banner instead of catching it, which is why street pole programs that care about longevity usually specify it.
Wind slits and what they do
A wind slit is a cut in the banner that lets air bleed out from behind it. On solid banners in exposed locations it is the difference between a banner that flexes and one that tears. One supplier traced repeated failures on a commercial pole banner product directly to missing wind slits. If your banner is solid vinyl and going outdoors above head height, ask for slits.
Grommets and pockets under load
Grommets fail one of two ways: the ring tears out of the hem, or the hem itself splits along the welded fold. Spacing rings more closely reduces the load per ring. Pole pockets fail at the corners where the sleeve ends, because that is where the fabric changes direction and the full weight of the banner concentrates.
Understand the difference in load path and the failure modes make sense. A ring is a point load. Wind pushes on the banner, that force transfers to the ring, and the ring works against the weakest material around it, which is the cut edge of the vinyl. A pole pocket is a line load. The pole pushes out along the whole sleeve, so there is no single point where force concentrates.
That is also why sagging is a grommet symptom and corner tearing is a pocket symptom. When grommets are spaced too far apart, the unsupported span between two rings bows outward and wrinkles the artwork. When a pole pocket is under-sized, the seam corners peel because the fabric cannot move enough to absorb a gust.
Making pole pockets without a welder
Not every shop owns a hot wedge banner welder, and that has produced a lot of improvised pocket work discussed on Signs 101. The common answer is banner tape with a grommet set at each end of the seams, which is reported to work well in most applications where a shop has no welding equipment.
Adhesive alternatives get mixed reviews. A shop owner running pole banners without sewing prefers HH66 adhesive over hem tape because tape eventually breaks down. A Signs 101 user notes that 3M 5952 and 4910 VHB tape can work, but only with reinforcement at each pocket end, which is the same corner-reinforcement point made above. The honest caveat: a taped seam is a serviceable seam for indoor or short-term work, and a genuine risk on a banner that will face wind for seasons.
Common banner mistakes that cause failures
Most of these are order-form errors, and every one of them shows up in the forum threads where people ask why their banners failed.
- Sizing the pole pocket too tight to the pole. The sleeve ends up carrying constant stress and can crack the post. Use the slack formula rather than measuring the pole and guessing.
- Hanging a grommeted banner from the corners only. The middle sags and acts like a sail, which is the classic reason a banner rips before its rings do.
- Skipping wind slits on a solid outdoor banner. Air builds behind the banner and the whole panel works against the hardware instead of flexing.
- Putting artwork in the seam no-go zone. A weld line running through text makes it unreadable once the banner hangs and the seam flattens.
- Ordering grommets when the mounting needs pockets, or the reverse. Because you cannot have both across the same edge, this is a remake, not an adjustment.
- Using stiff double-sided solid vinyl for a pole banner in wind. It looks better than mesh and fails faster for exactly that reason.
The reinforcement hybrid
Here is the part most vendor pages skip. Signs 101 practitioners treat grommets at the ends of the pocket seams as standard practice, not as the primary hanging point. The rings reinforce the two corners of each sleeve so the fabric cannot peel away under load. Practically, you can request a banner with pole pockets plus grommets at each pocket seam end. What you cannot do is ask for grommets all the way around and a full perimeter pole pocket, because the grommet hem and the pocket hem occupy the same edge.
Appearance and Branding Impact
Brass rings read as hardware. At three inches from the edge of a storefront banner they are noticeable, and no amount of good artwork hides them. For premium storefront branding where the banner is the sign, that matters.
Pole pockets leave the face completely clean. Nothing crosses the artwork, and because the sleeve is the same fabric as the banner, a double-sided pole banner looks identical from the street whether it is mounted or lying in the shop.
Appearance is not purely cosmetic. A ring torn out of a hem leaves a visible hole and a ragged edge, and you cannot repair the appearance, only the function. A dented or torn pocket sleeve has the same problem.
There is a subtler branding cost. Design around a grommet banner differently from a pocket banner, because the usable area is genuinely different. With grommets you are designing around rings, so you accept a hardware line near the edge and keep your headline well inside it. With pole pockets you are designing around a band of doubled material where the artwork can distort, which is why a clean pocket banner can carry full-bleed artwork edge to edge.
For premium storefront branding, I lean pole pocket. For a trade show booth back wall that will be re-hung between shows, I lean grommet, because the appearance penalty is minor on a fabric back wall and the flexibility is worth more than the clean face.
Installation, Removal, and Portability
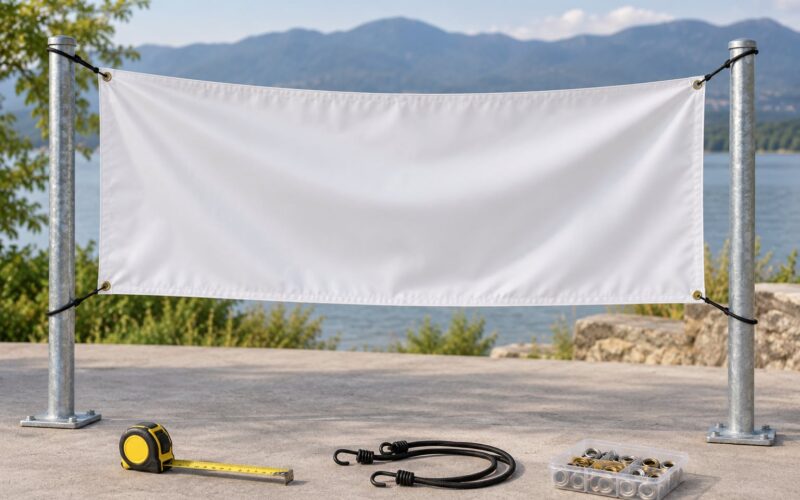
Grommeted banners take a few minutes. Tie a zip tie or a short length of nylon rope through each ring, tension evenly, and trim. For a wall or ceiling rod, screws with washers through the rings work; for a frame, bungee cord gives you the stretch that absorbs gusts. Moving to a new spot means untying and retying, or simply rolling it up.
Pole pockets take seconds. The sleeve goes over the post, you seat the post in its bracket, and you slide it down until it sits. The limitation is that the post has to already be there, and it has to match the diameter you ordered for. A banner rolled up after a weekend festival and taken to a different site with no posts is less useful than a grommeted banner you can hang on anything.
Portability tips toward grommets for the same reason. Grommets add almost nothing to the roll and every hanger works. A pole pocket banner is fine to transport, but it is only useful where poles of the right size are already installed.
Two more practical differences. A pole pocket banner usually wants a bottom weighted rod or chain to hang flat, and that rod is another thing to lose or to leave behind. A grommeted banner needs no permanent hardware at all, so the same rolled banner works for a trade show, a storefront, and a fence with nothing more than a handful of zip ties.
Removal matters for leased or shared hardware. With grommets you can take the whole banner down and leave the frame in place. With pole pockets, the post often has to come out of its bracket too, and if the posts belong to a city or a landlord, that is the part you cannot just do.
Cost and Replacement Parts
Both finishes usually add a modest charge to a custom banner order, and many shops include grommets or pockets in the base price at the standard sizes. The differences that actually move the total are the material weight and the extra steps: 18 oz vinyl, mesh, and per-side pockets cost more than a single 13 oz banner with four corner rings.
Material weight is the quiet cost driver. A 13 oz vinyl banner gets a welded hem and takes grommets cleanly. An 18 oz vinyl banner is heavier, tougher, and more expensive, and printers commonly flush-cut it rather than welding a hem, which changes what finishes are available to you. Mesh sits in between and is often quoted at its own rate. Ask what the base price includes, because some shops treat grommets or a standard single pole pocket as included while charging per side and per extra ring beyond that.
Where cost drivers differ by finish:
- Grommets: charged per ring, so spacing and banner width set the bill. A wide banner at tight spacing costs more than a small one at four corners.
- Pole pockets: usually charged per pocket. Top and bottom on a street banner is the common configuration; adding side pockets for a rail mount is extra.
- Both: the reinforcement hybrid adds two grommets per pocket, which is small, but it requires a shop that runs both a welder and a grommet setter.
Replacement economics tell the same story. A popped grommet is a repair: new ring, set it into the existing hole, done. Hardware is the cheap part. Zip ties and short cord lengths cost almost nothing and any sign shop can set a ring. A torn pole pocket means the seam has separated from the banner face, and that is not a field fix, because resealing it properly needs a hot wedge welder or an industrial sewing machine.
So over a multi-season life, a grommeted banner is cheaper to keep alive. Pole pockets cost less to hang, since there is no hardware to buy and no time spent tying, but they concentrate risk into a seam that either works or does not.
Which Should You Choose?
Banner grommets vs pole pockets by mounting condition
- Lamp post or street pole program: pole pockets. The posts are already installed and sized, the banner goes up fast, and the clean face matters for a streetscape.
- Construction fence or scaffold wrap: grommets, spaced every 12 to 24 inches, tied with rope or zip ties. Fences move, and rings let the banner flex.
- Scaffolding frame or overhead pipe: pole pockets sized to the standard 50 mm scaffold tube, matching the 125 mm flat width.
- Trade show or retail booth: either. Side pockets slide onto a rail cleanly; grommets work if you want tension from a frame.
- Storefront window or wall: grommets with screws and washers, or adhesive hooks on lightweight vinyl.
- Festival stage or temporary event: grommets with bungee cord, since nothing is permanent and the banner moves between sites.
- Over-the-street banner across a road: grommets plus wind slits. Long spans need distributed load points, and this is where rings beat a single sleeve.
What to tell your printer
Most disappointing banners come from an underspecified order, not a bad banner. Before you check out, have answers to these so you are choosing rather than accepting the default finish.
- Material: 13 oz vinyl, 18 oz vinyl, mesh, or fabric. Mesh is the safest outdoor answer for wind.
- Finish: grommets, pole pockets, or the pocket-plus-seam-grommet hybrid.
- Double-sided or single-sided: double-sided works with both finishes, but adds weight and stiffness.
- Pole diameter: the actual measured diameter, not a guess, so the pocket is sized correctly.
- Grommet spacing: every 12 to 18 inches, 18 to 24 inches, 2 to 3 feet, or four corners.
- Pocket placement: top, bottom, side, or a combination.
- Wind slits: yes or no, and the reasoning if it is a solid vinyl outdoor banner.
- Edge finish: sewn hem, welded hem, or flush cut.
- Artwork safe zone: keep critical text and logos at least 2 to 3 inches from any edge, and out of the 30 mm seam no-go zone.
- Mounting conditions: tell them where it hangs and how much wind it takes, because that changes what spacing the shop will recommend.
One last check before you approve the proof. Confirm the finish matches your hardware reality, not your expectation. Buyers order grommets expecting pockets and buyers order pockets expecting rings, then find out at install that they cannot have both across the same edge.
Frequently Asked Questions
Are pole pockets better than grommets for outdoor banners?
Neither is automatically better outdoors. Pole pockets suit fixed posts where the sleeve carries weight along the whole edge, which is why street pole programs use them. Grommets suit anything that flexes or gets tied repeatedly, such as fences, scaffolds, and frames. For long outdoor life, mesh material matters more than the finish you pick.
Can banner grommets be used with a pole pocket banner?
Partly. You cannot have a full perimeter grommet hem and a full perimeter pole pocket on the same edge, because both need the same strip of material. What you can order is a pole pocket banner with grommets set at the ends of each pocket seam. Signs 101 practitioners treat that as standard reinforcement, not as a hanging point.
Which banner attachment method is easiest to install?
Pole pockets by a wide margin. You slide the post into the sleeve and seat it in a bracket, which takes seconds and needs no tools. Grommets mean one tie or fastener per ring, so a banner with twelve rings takes several minutes and a pair of pliers. Easiest to remove is the same answer, since you just lift the pole out.
Do grommets make a banner more wind-resistant?
Spacing does, not the rings themselves. Rings set every 12 to 24 inches share the wind load evenly, while four corner rings let the middle of the banner act as a sail. Wind resistance improves further with mesh material and with wind slits on solid vinyl. A poorly spaced grommeted banner fails sooner than a pocket banner made from mesh.
What hardware do I need for a pole pocket banner?
Just the posts and something to hold them. Typical hardware is a pole mounting bracket sized to your pole diameter, a base plate or ground spike for freestanding posts, and a weighted rod or chain for the bottom pocket so the banner hangs flat. No rope, ties, or fasteners are needed at the banner itself.
Can I reuse a banner with grommets for different poles?
Yes, and that is the main advantage of grommets. The same banner fits any frame, fence, wall, or rod that fits through the rings, as long as the spacing suits. Pole pocket banners cannot move that way, because the sleeve is cut to one pole diameter. If your banner needs to travel between sites, grommets are the reusable finish.
Conclusion: Start With Your Display Plan
The banner grommets vs pole pockets question comes down to one thing: whether a fixed post already exists at your mounting location. If posts are already installed and sized, order pole pockets and get the clean, hardware-free face plus setup in seconds. If the banner needs to flex, move, or tie to fencing, scaffolding, frames, or walls, order grommets spaced every 12 to 24 inches and accept the small hardware footprint.
Before you order, settle three things. Where the banner lives, how often it changes location, and how much wind it takes. Then pick the material, because mesh outlasts stiff double-sided solid vinyl in either finish. If you can specify wind slits and a reinforcement grommet at each pocket seam end, you will get more life out of whatever you choose.