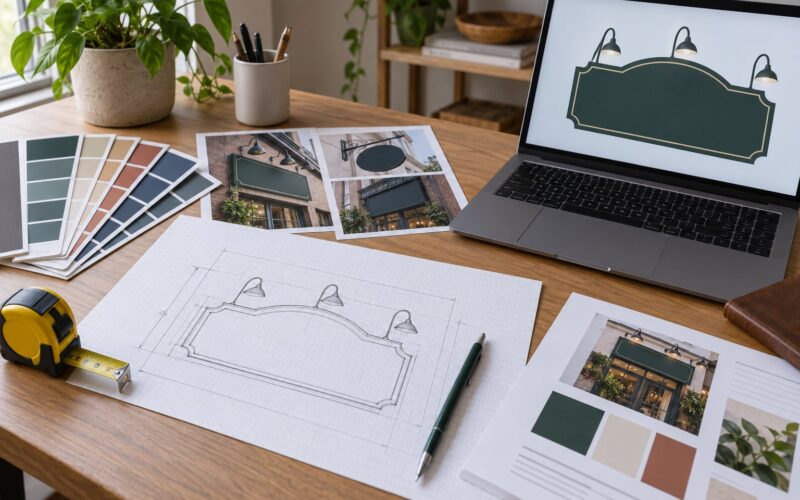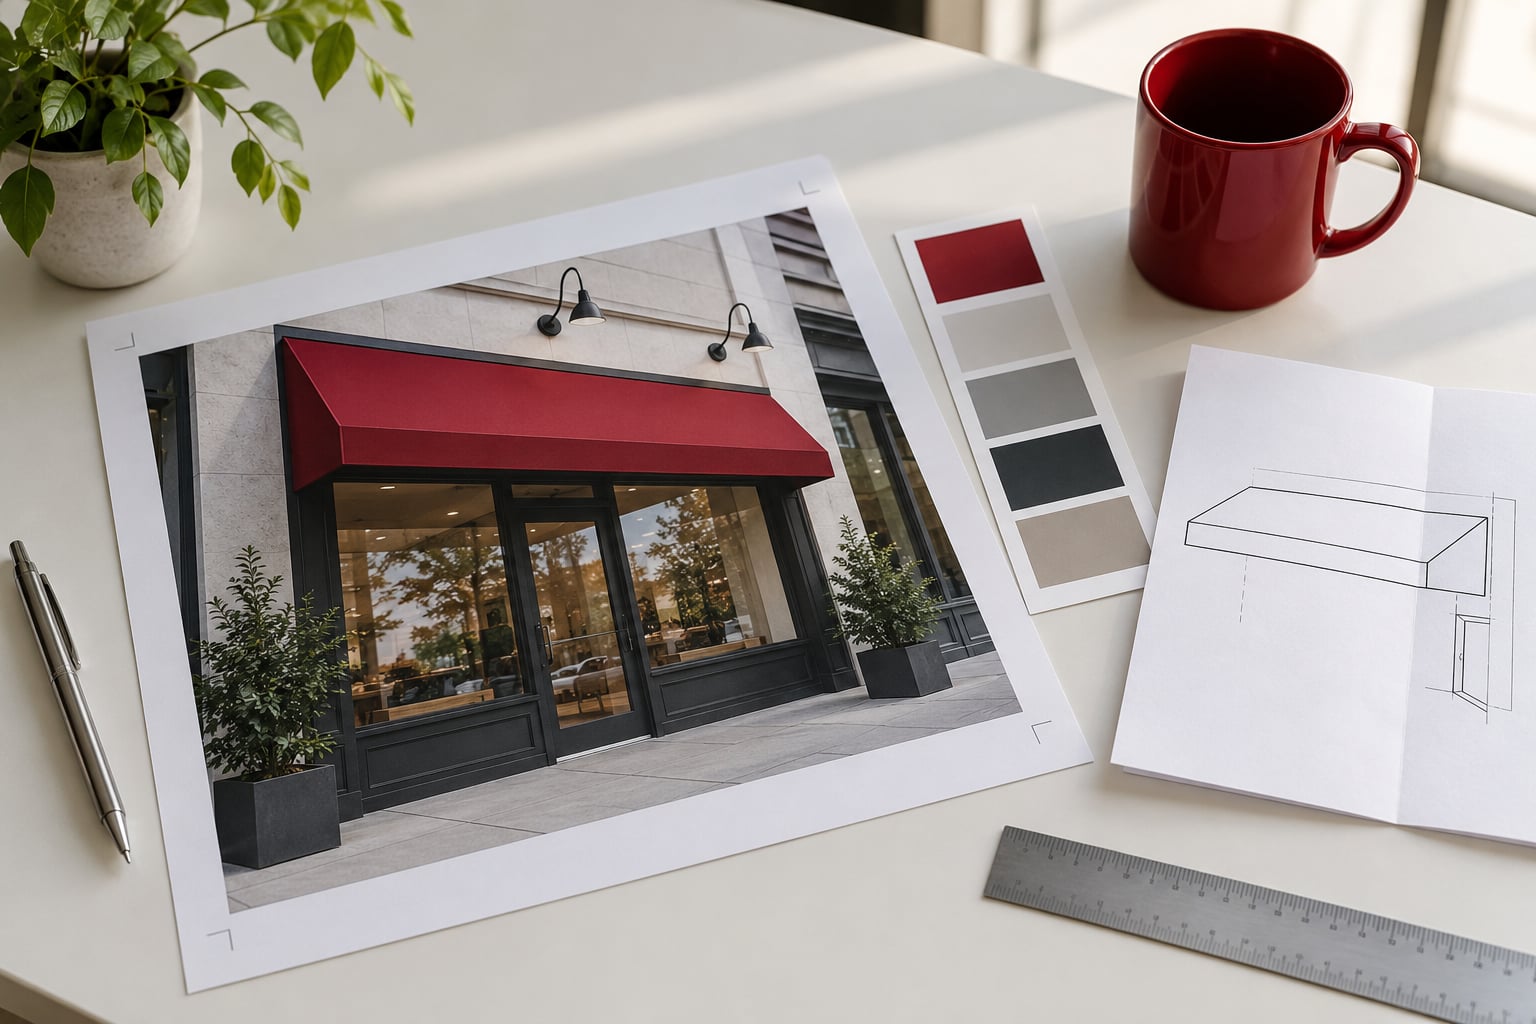
A sign design proof is the visual preview your sign company sends you before anything gets fabricated. It shows the wording, layout, colors, dimensions, materials, and mounting details of the proposed sign so you can approve it or ask for changes while edits are still cheap.
Think of it as the last quiet moment in the project. Once a sign is cut, bent, routed, or printed, changing it stops being a small fix. The proof is where you catch the typo in your phone number while it still takes an email to fix.
Table of Contents
- What Is a Sign Design Proof?
- What to Expect from a Sign Design Proof
- What the Proof Includes—and What It Does Not
- What to Check Before You Approve the Design
- What to Expect From a Sign Proof Review, Item by Item
- Red Flags That Should Send the Proof Back
- How to Give Clear Revisions on a Sign Proof
- When Does a Sign Company Need a New Proof?
- What Happens After You Approve a Sign Design?
- Frequently Asked Questions
- Is a sign design proof the final production file?
- Why do the colors on my digital sign proof look different from what I expected?
- Can I make small changes after approving a sign proof?
- Should I approve a sign proof based only on a phone screen?
- How long does it take to approve a sign design proof?
- What to Do First With Your Sign Design Proof
What Is a Sign Design Proof?
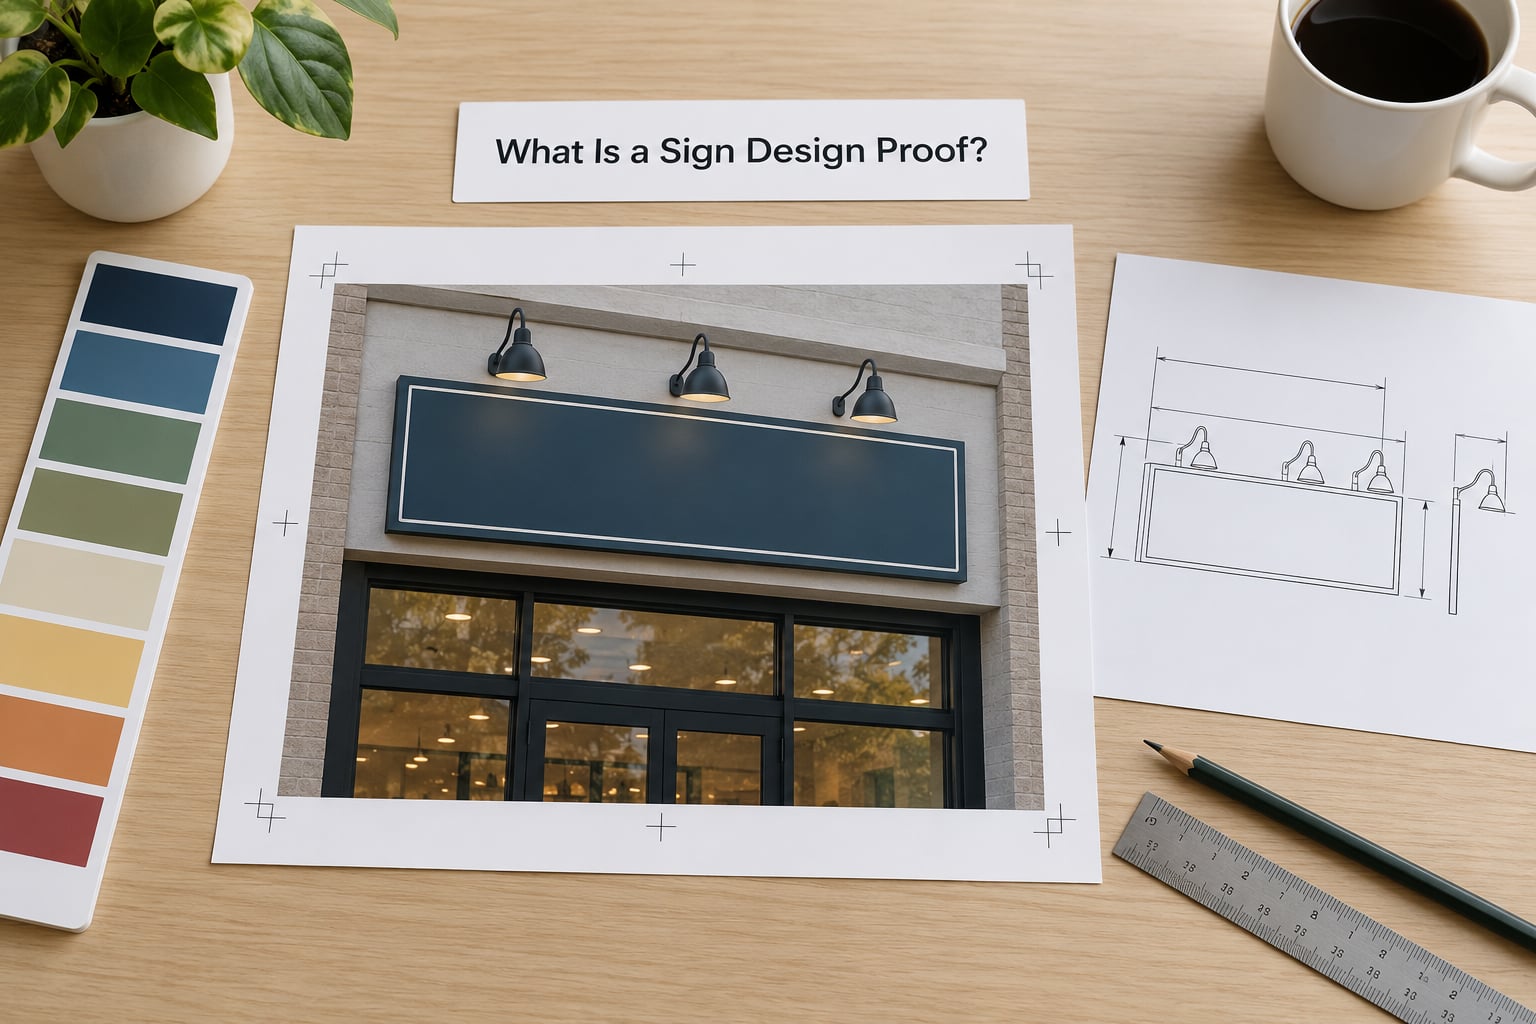
A sign design proof is a rendered or printed representation of what your finished sign should look like, built from the files and measurements you supplied. For most projects it arrives as a PDF, sometimes paired with a scaled drawing or shop drawing that shows real-world size.
The proof exists to be checked and signed off on. Experienced sign-shop staff treat a physical proof before metal fabrication, especially for channel letters and monuments, as standard practice rather than an optional courtesy. That is not a marketing stance; it is how fabricators avoid cutting the wrong thing.
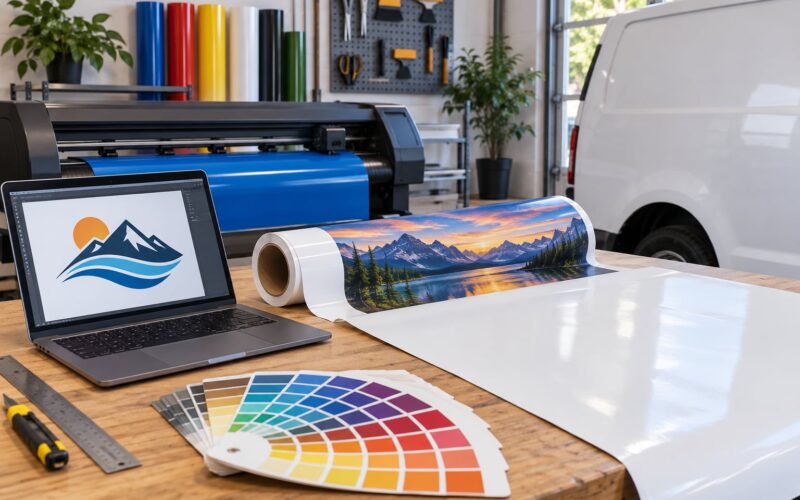
One thing a proof is not is the production file. Your sign company keeps the production-ready artwork as vector files or layered artwork prepared for a specific material, machine, and color profile. You approve what the sign will look like, and the shop converts that approval into the file that actually feeds the equipment.
What you are really approving is a record. Signers on trade boards like Signs101 and printplanet describe a signed proof as a contract, with the conditions printed on the proof tag. That framing matters, and we come back to it later in this guide.
What to Expect from a Sign Design Proof
In short, expect a visual representation of your proposed sign showing the exact wording, layout, colors, materials, dimensions, and intended finish, subject to any limitations the sign company states on the proof itself.
A complete proof normally carries most of these elements:
- All wording, spelled out. Business name, tagline, phone, address, URL, and hours, in the exact order they will appear.
- Logo placement and clear space. Where the mark sits, how big it is relative to the panel, and how much empty space surrounds it.
- Layout and proportions. Whether the design is horizontal, vertical, or stacked, and how the pieces balance across the face.
- Color callouts. Named colors, Pantone or vinyl references, and finish notes such as glossy or matte.
- Dimensions and scale. Overall sign size, letter heights, and sometimes a scale drawing with mounting points.
- Material notes. Aluminum, acrylic, HDPE, stainless steel, or vinyl, often written as a callout beside the element it describes.
- Finish and fabrication details. Paint specs, return depth on channel letters, illumination type, and mounting hardware.
- A signature line and date. Often with a printed notice about what approval means and who is responsible afterward.
Not every proof includes everything on that list. A simple window decal and a routed monument sign do not get the same level of specification. Ask early what your shop includes so you know what you are looking at.
What the Proof Includes—and What It Does Not
| Element | Usually included | Often needs separate confirmation |
|---|---|---|
| Copy and wording | Yes, spelled out exactly | Nothing |
| Logo and layout | Yes, positioned on the face | Exact clear-space measurements |
| Color | Approximate reference or swatch | Exact matching, especially on reflective or translucent materials |
| Dimensions | Overall size and letter heights | Panel-to-panel seams and mounting coordinates |
| Material and finish | Material callout on most jobs | Fabrication tolerances and paint batch details |
| Hardware | Roughly noted for large installations | Bracket, standoff, and pole specifications |
| Illumination | Day-and-night rendering on lit signs | LED module type, wattage, and color temperature |
| Installation | Sometimes a permit drawing | Final lift plan, electrical work, and landlord sign-off |
| Production file | Never shown | Created by the shop after approval |
If a row in the right-hand column matters to your project, ask about it in writing during the proof stage. It costs nothing to ask and it is awkward to raise six weeks after installation.
What to Check Before You Approve the Design
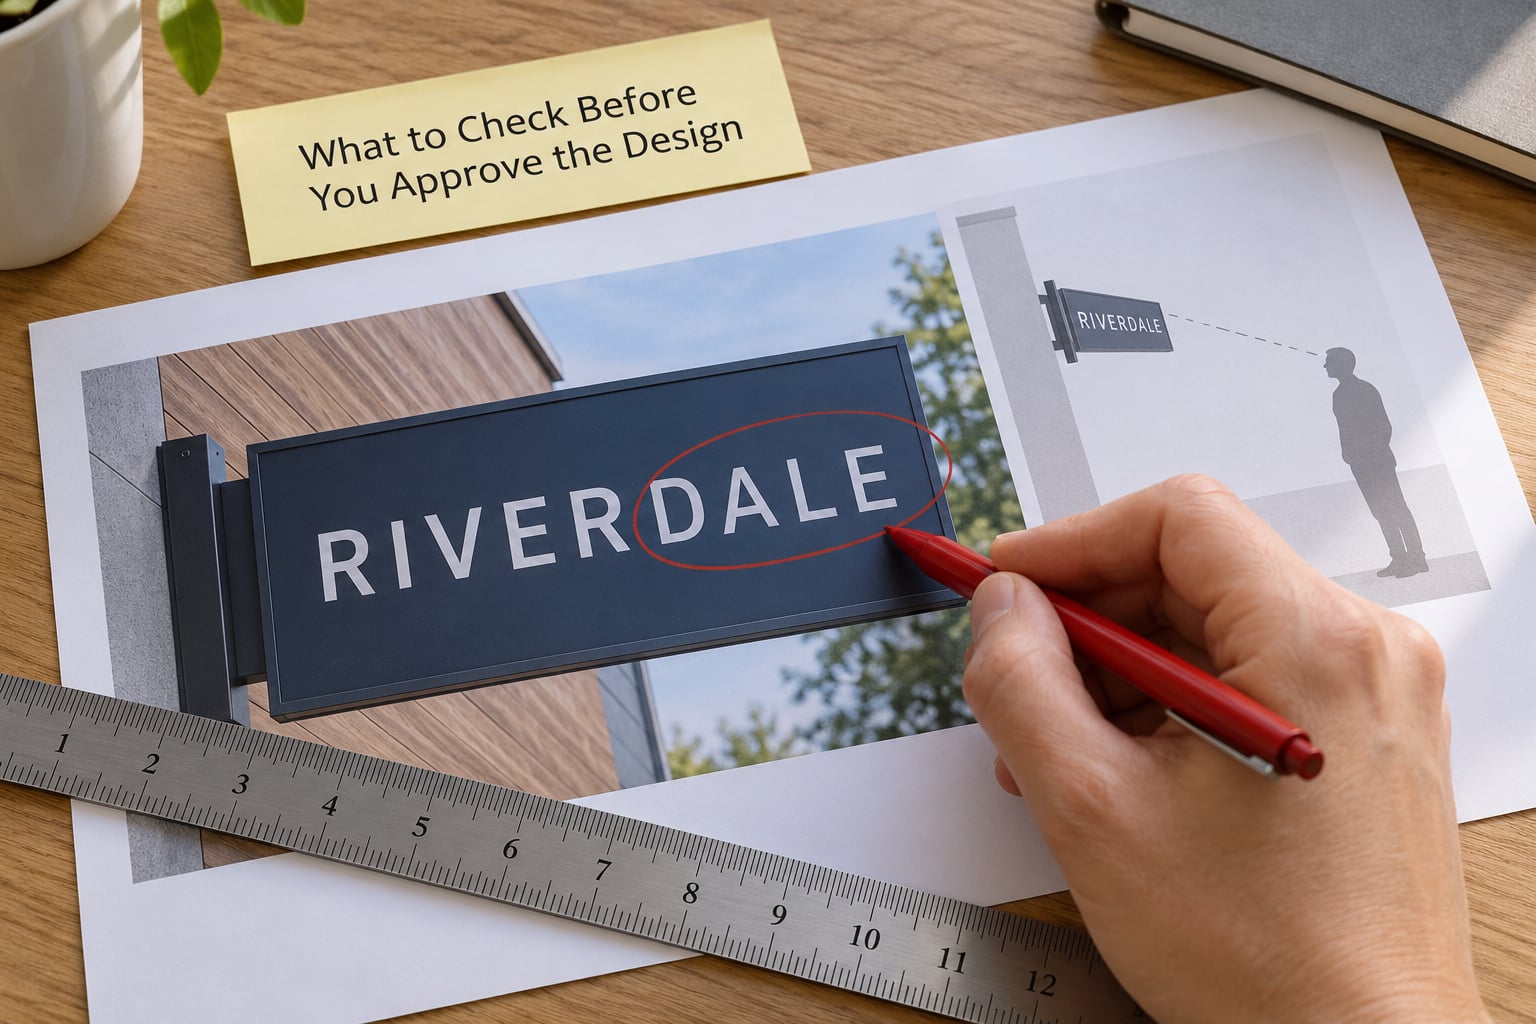
Print the proof or open it on the largest screen you have, then read it backwards from the last word to the first. Reversed reading is the fastest way to catch swapped or doubled words, and print-shop staff swear by it for a reason.
What to Expect From a Sign Proof Review, Item by Item
- Business name. Check every character, including whether a doubled letter snuck in. Correction example: the proof reads “Bakewll” and should read “Bakery”.
- Spelling and grammar. Read the whole line forward, then backward. Example: “Freshly Baked Daily” submitted as “Freshly Baked Daliy”.
- Phone number. Read every digit aloud against your actual line. Example: the proof shows 555-0142 where the real number ends 0143.
- Address and URL. Confirm the street suffix and the domain character by character. Example: “.con” instead of “.com”.
- Logo placement. Look at clear space on all sides and ask whether the mark will be reproduced at a size your guidelines allow.
- Colors. Compare the proof against your brand guide, not against your memory. Note any color the shop flagged as approximate.
- Contrast. Check that lettering stays readable against its background, especially for reflective vinyl on sunlit glass.
- Typography. Look for a substituted font, stretched letters, or text that kerns badly. Shops work from vector files, and a missing font changes spacing.
- Margins and safe area. Make sure nothing important sits close to the edge or to a seam that will run through it.
- Dimensions. Measure the printed proof with a ruler and compare the proportion to your actual wall, door, or window.
- Imagery. Confirm the right photo is used, at a resolution the material can hold without visible pixelation at close range.
- Finish. Glossy and matte change contrast a lot on dark colors. Say which one you want rather than assuming.
- Viewing distance. Stand back the distance a customer will stand. If the smallest line of text blurs there, it will blur in person.
- Installation conditions. For exterior signs, check the mounting height, the wall or pole dimensions, and whether the landlord or the city requires a permit drawing.
Red Flags That Should Send the Proof Back
A few signals mean stop, not approve. The proof arrived without a revision number or date, which is how clients end up approving an old version. A required detail is described in vague language like “logo area” instead of a size.
Other red flags: the shop asks you to approve from a phone screen, the layout puts the smallest text at the bottom where glare hits it, or the dimensions do not match the space you described. Any of those are worth a conversation before signing.
How to Give Clear Revisions on a Sign Proof
The fastest way through a revision round is to consolidate everything into one message. Shops routinely see three emails and two text threads for what is really one change, and version confusion is a consistent complaint from sign-shop owners and designers alike.
Use a simple structure for each item:
- Locate it. Name the element and its location, for example “the word ‘Entrance’ in the lower right corner”.
- Say what is wrong. Describe the current state, not the feeling about it.
- State the correction. Give the exact replacement text, color reference, size, or position.
- Mark required versus optional. Required changes block fabrication. Optional ones are preferences you would accept to keep the schedule.
Annotating the proof itself works well too, as long as each mark is numbered and repeated in your written list. A marked-up PDF with numbered callouts avoids the ambiguity of freehand arrows.
Ask how many proof rounds your quote includes and what extra rounds cost. Designers commonly build a set number of proofing stages into the contract, and rounds beyond that can be chargeable.
When Does a Sign Company Need a New Proof?
Ask for a revised visual proof whenever the change would alter how the sign looks. That covers wording, layout, colors, material, size, logo treatment, or illumination. Those changes move pixels on the face of the sign, so they belong on a proof rather than in an email.
Some details can move in writing instead. Refining a bracket dimension, confirming a permit number, or verifying which electrical connection a contractor will use will not change the appearance, and shops often handle those in an email or on the shop drawing.
The rule of thumb is simple: if you would be upset seeing it installed and could not unsee it, get it on a proof. If it is invisible to a customer looking at the sign, a note is enough.
What Happens After You Approve a Sign Design?
Once you sign, the shop moves through a predictable sequence. Approval and any deposit come first, then the designer prepares the production file and the shop produces a scale drawing or permit drawing where the job needs one.
Fabrication follows: material is cut, formed, finished, and assembled. Illuminated signs go through electrical work and a lighting check. Before delivery or installation, most shops do a quality check against the approved proof, which is exactly why version control matters.
Installation is where the approved proof earns its keep. It carries the dimensions, mounting type, and finish decisions that the crew and any electrician are working from.
Late changes are where costs appear. A change made after approval usually means a new proof, a new approval, and rework of materials already cut. If the error was yours and it survived your review, that remake is typically yours to pay for. If the shop built something that does not match what you signed, that is the shop’s problem. This is the rule that makes sign-off meaningful rather than ceremonial, and it is why a signature line and a date belong on the proof.
For repeat orders of an approved design, shops often skip the proof entirely to save time. That shortcut works when nothing changed, and it fails quietly when someone edited the phone number last time.
Frequently Asked Questions
Is a sign design proof the final production file?
No. A sign design proof is a preview for your review and approval, usually a PDF or printed proof plus a scaled drawing. The production file is the production-ready artwork the sign company prepares for the specific material, machine, and color profile. You approve the appearance; the shop builds the file that feeds the equipment.
Why do the colors on my digital sign proof look different from what I expected?
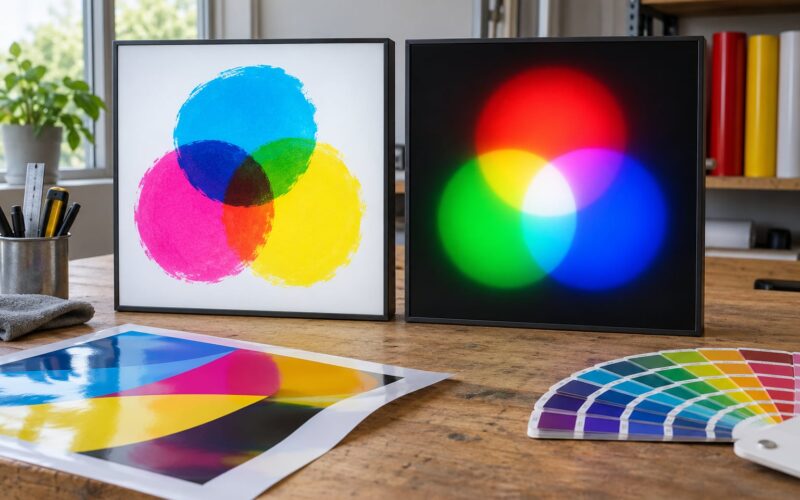
Monitors, phones, and print shops each render color differently, and a screen shows light while a painted aluminum sign returns light. Bright colors shift the most, and gloss or matte finish changes contrast again. Ask for a physical color chip or material sample, and treat screen color as an approximation rather than a promise of the finished match.
Can I make small changes after approving a sign proof?
Technically yes, practically it depends on timing. Before fabrication starts, a change is usually easy: new proof, new approval, short delay. After material is cut or bent, the cost of a remake falls on whoever approved the wrong version. Ask your shop for the last date changes can be accepted without reordering material, and get it in writing.
Should I approve a sign proof based only on a phone screen?
No. Phone screens are small, bright, and often use automatic color adjustments, which is a common source of complaints after fabrication. Print the proof at full size or open it on the largest display you have, measure it with a ruler, and step back to the distance a customer will stand. Small text that blurs at that distance will blur in person.
How long does it take to approve a sign design proof?
The approval itself takes ten or fifteen minutes if you have your brand files, phone number, and address handy. The delay usually comes from response time rather than review time, since each round of amends adds days while a job waits. Ask how many proof rounds your quote includes and set yourself a same-day or next-day response rule to keep the schedule moving.
What to Do First With Your Sign Design Proof
Print it, hold a ruler against the dimensions, and stand back the distance a passerby will stand. Then gather every correction into a single numbered list, separating required changes from preferences, and return one clear approval or revision request.
That single list is the whole job. Sign shops would far rather amend a numbered list once than reconstruct your intent from four emails, and you get a faster sign and a record you can point to later.